
Planning your first backpacking trip can be intimidating and overwhelming. I’m sharing my tips and packing list to help you choose what you need to be successful backpacker!
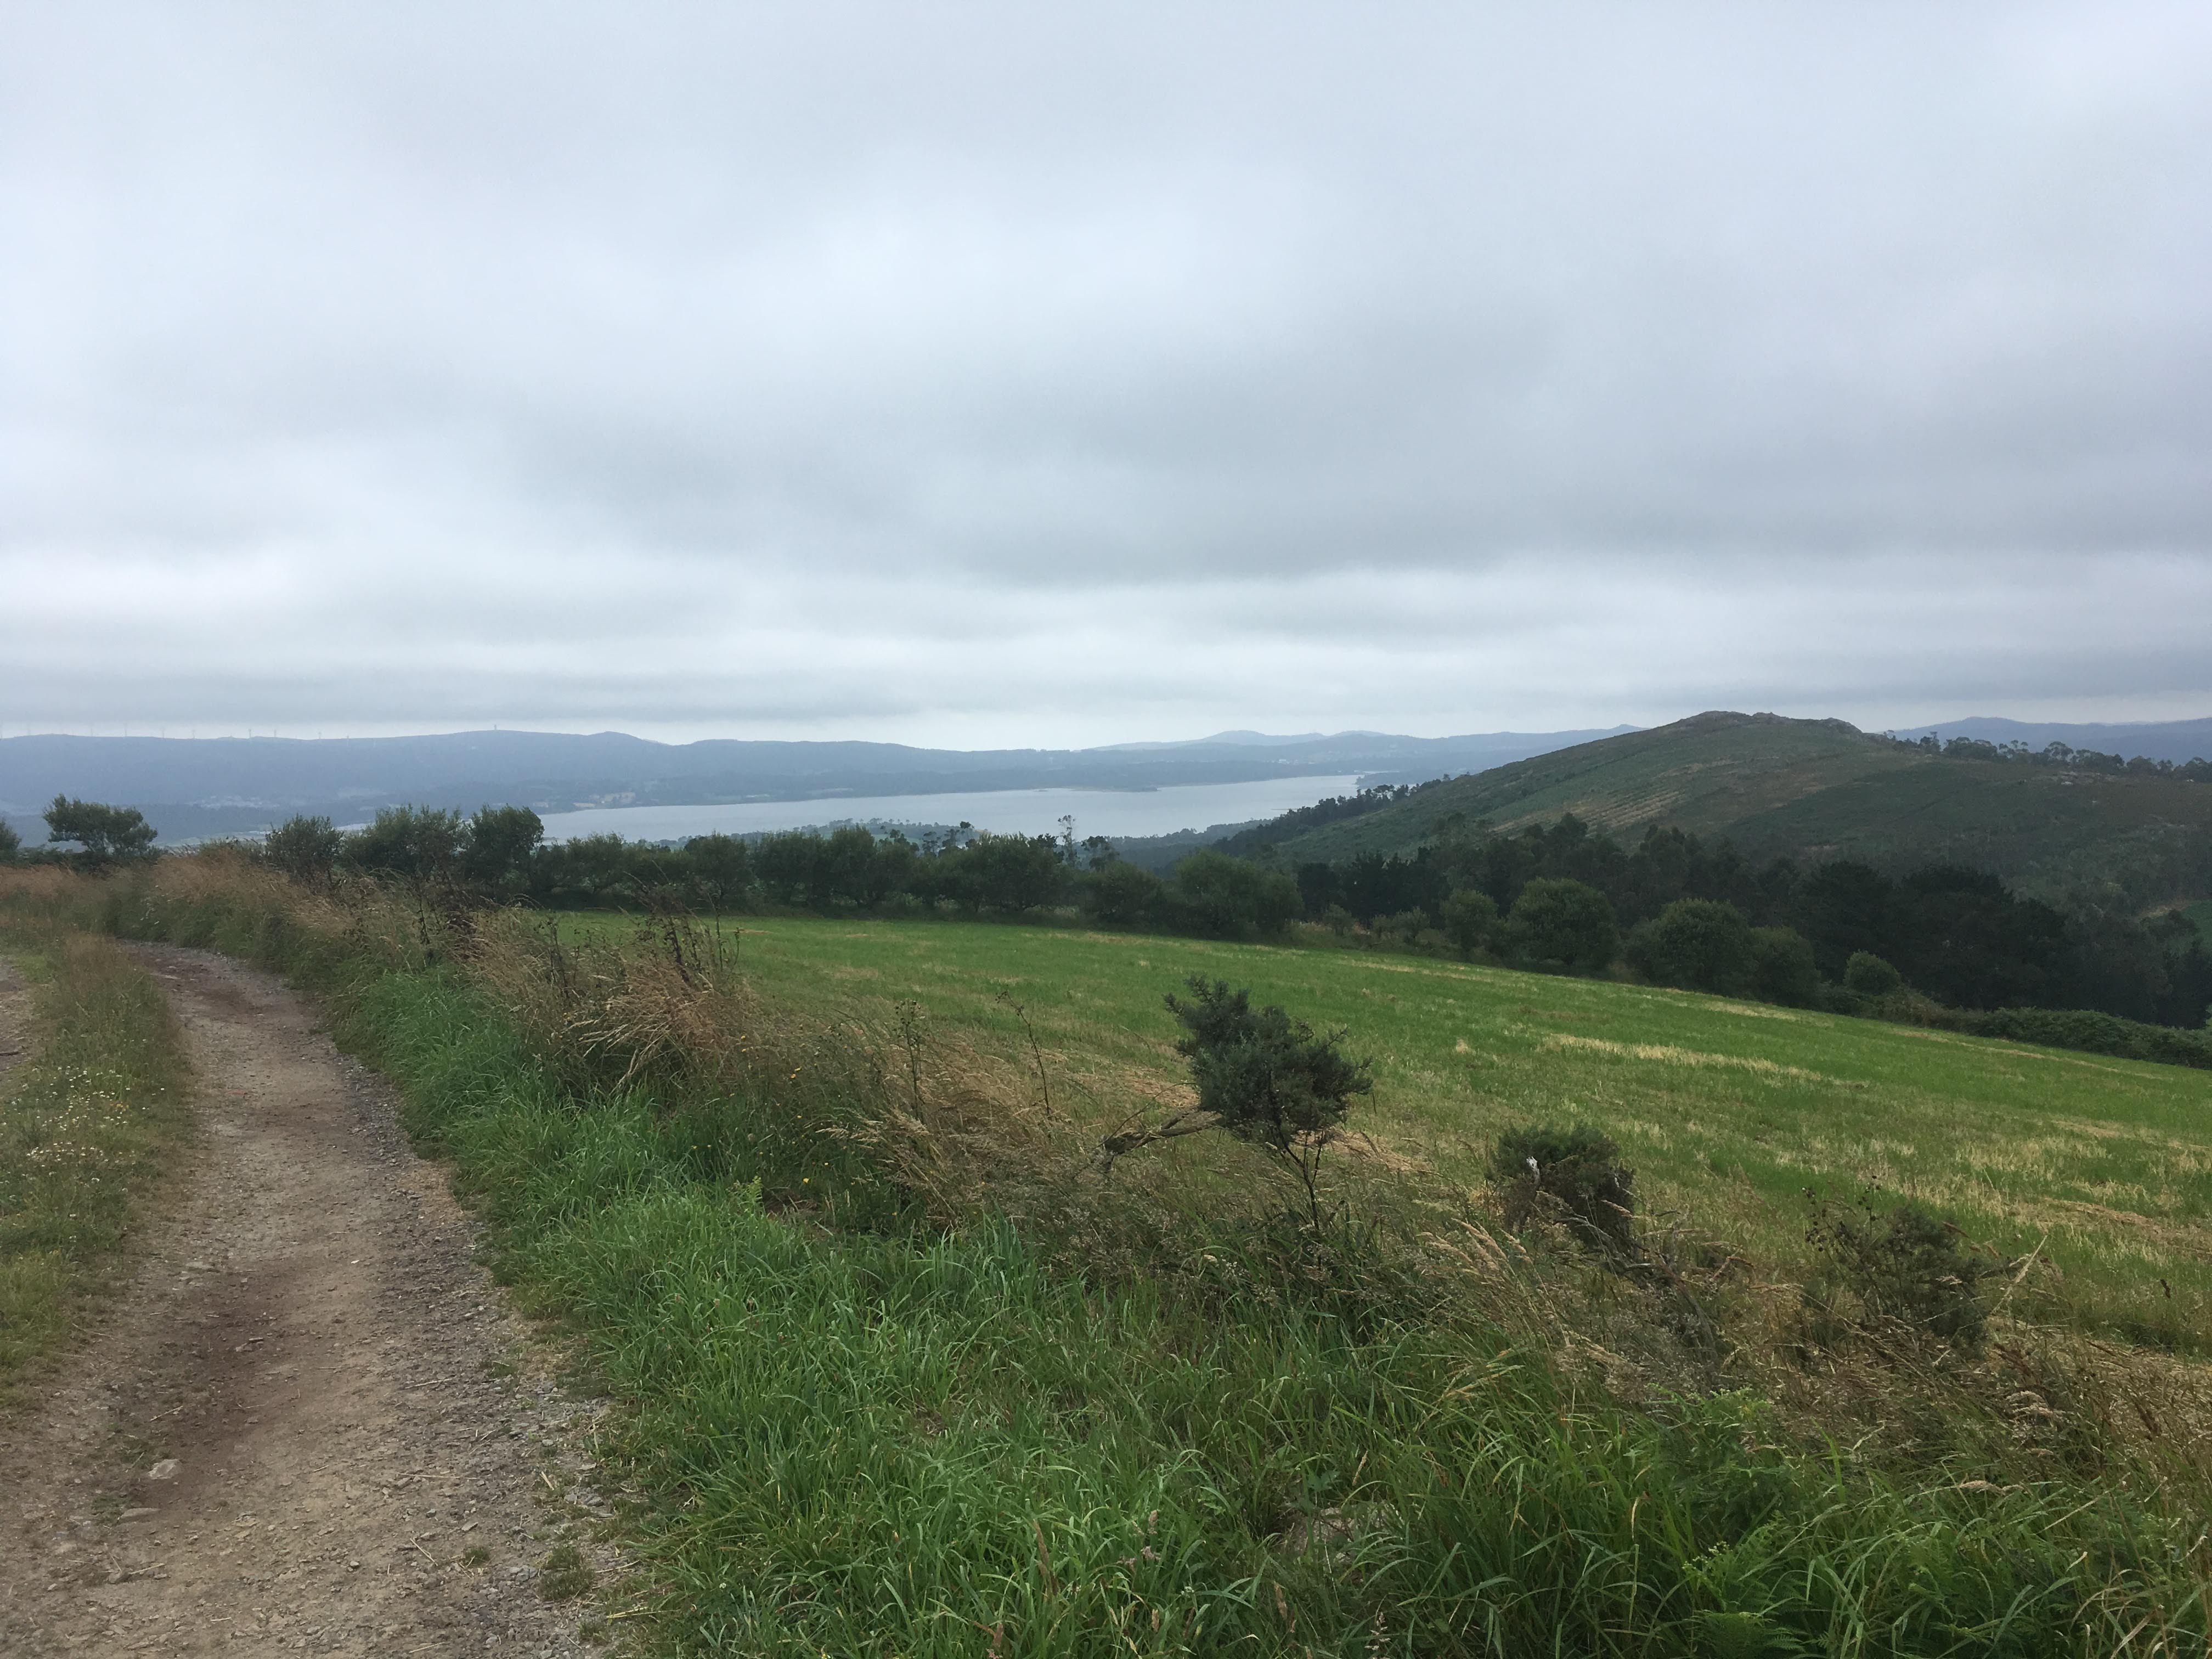
If you told middle school me that she would enjoy strapping a heavy pack on her back and hauling it up a mountain, I would have laughed in your face. But last summer I found myself doing just that, for 25 days on the Camino de Santiago. As I laced up my boots each morning and tightened the straps of my pack, I found that I felt freed rather than burdened. If all your possessions can fit on your back, you can go anywhere in the world.
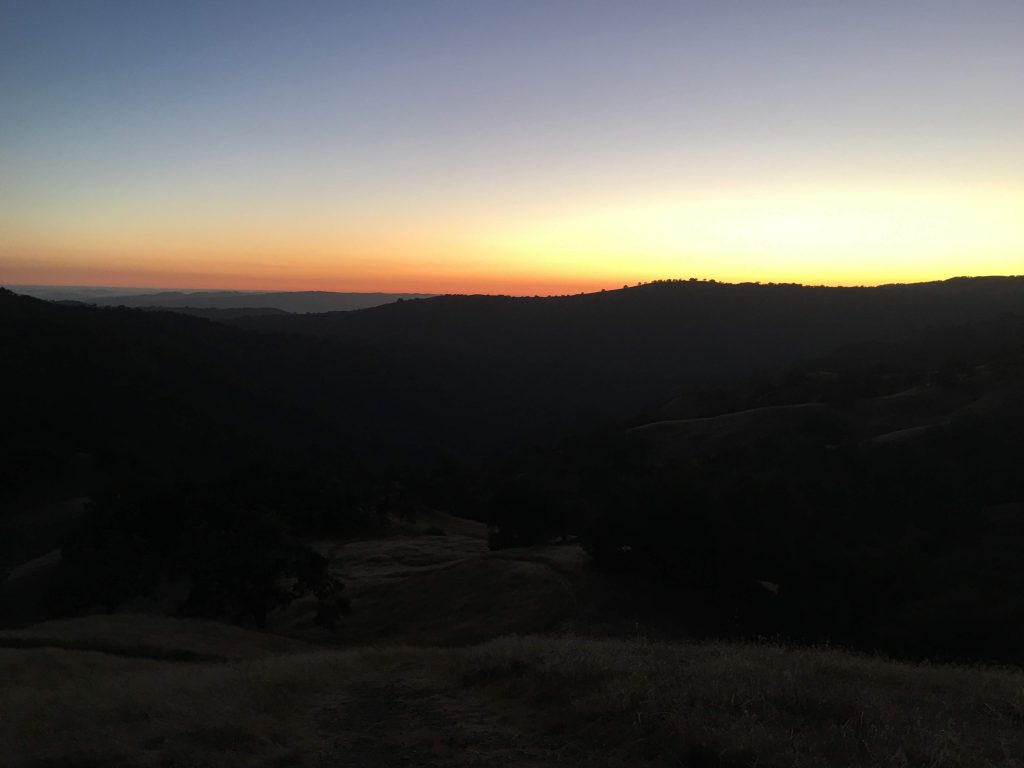
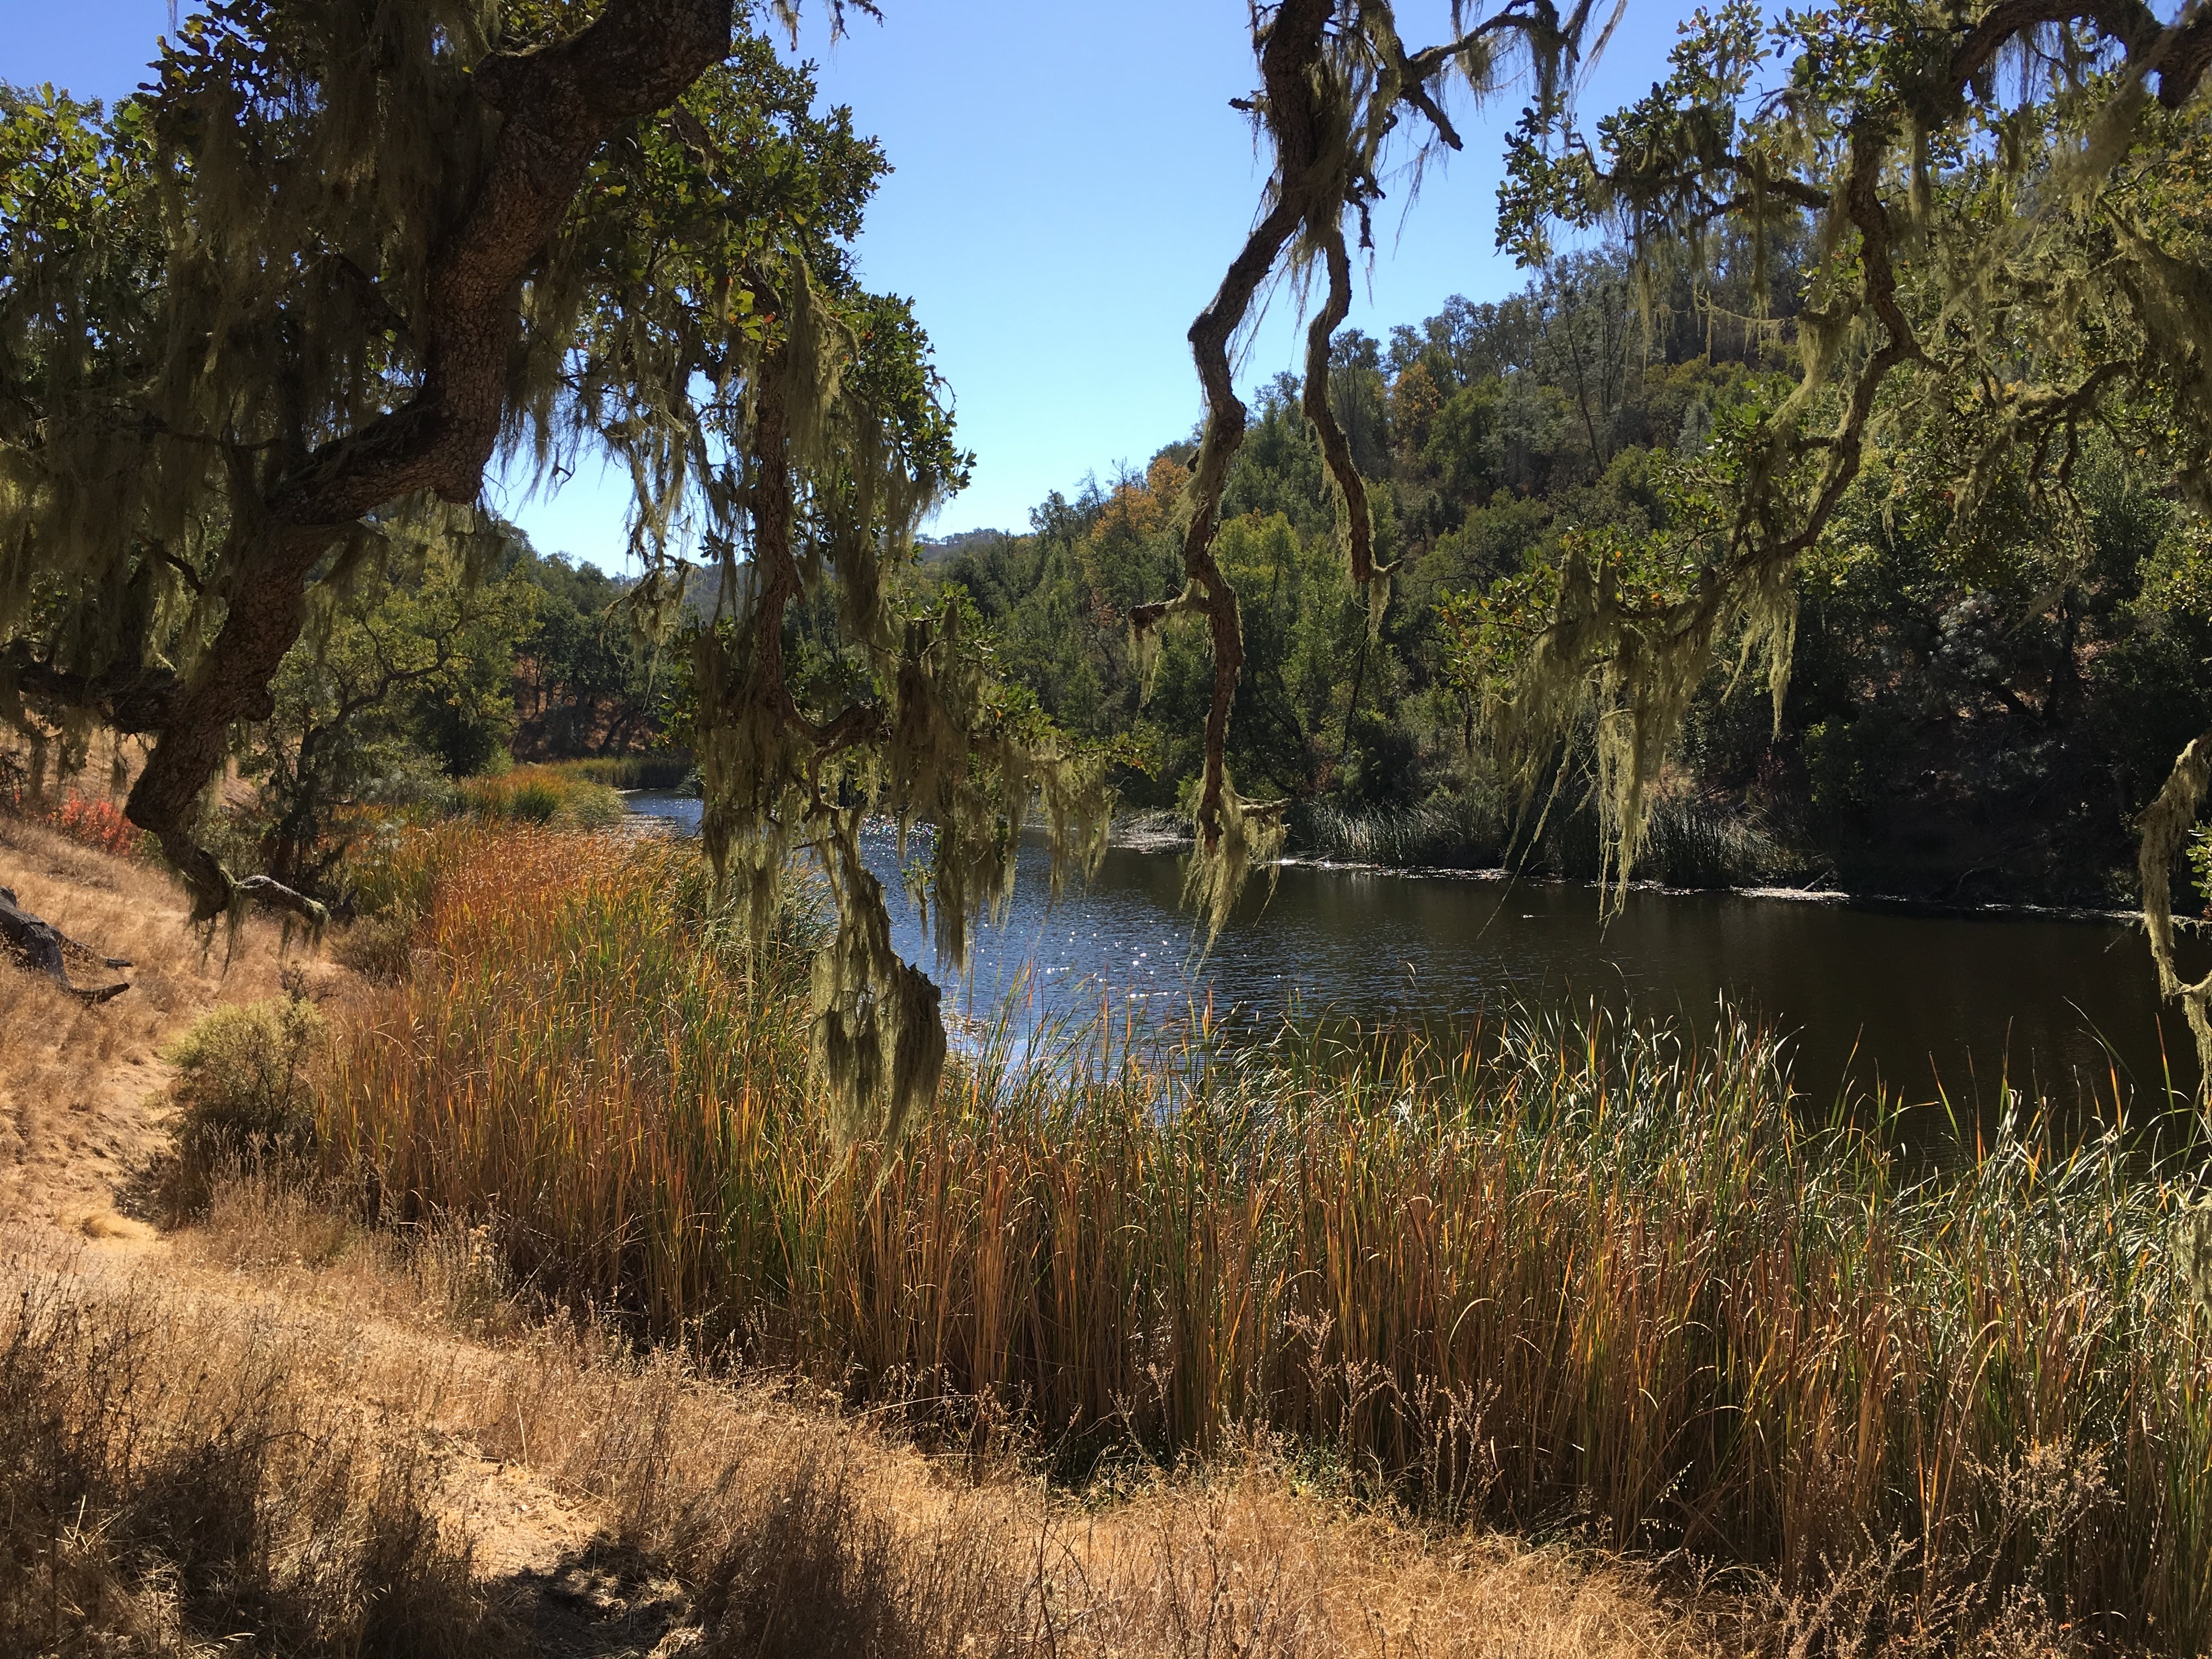
Of course, you don’t have to buy a ticket to Spain to enjoy backpacking. My first backpacking trip after the Camino was at a state park just an hour drive from my apartment. No matter where you go, you will need to invest some time and money in preparing for your trip. The right equipment and preparation can make a huge difference in your first backpacking trip!
Other hiking adventures:
- Hike of 10 Trails, Yosemite National Park
- Guide to hiking the Camino de Santiago
- Guide to winter hiking in Zion National Park
How to prepare for your first backpacking trip
-
Choose a location and obtain necessary backpacking permits
Some popular sites, such as Yosemite, will require permits to be obtained months in advance, so do your research and plan accordingly. Different trails will also have different fitness requirements and elevation changes. It’s best to start somewhere close to home that doesn’t require a permit. Low barrier to entry means you’re more likely to follow through!
-
Make longterm investments in hiking equipment
The biggest challenge to backpacking is gathering the necessary equipment, which can be quite pricey. For some items, it’s worth making a longterm investment, as they can last you through many hikes. Quality is also important – you can really hurt yourself if you choose the wrong equipment, and you don’t want to limp down the mountain with blistered nubs instead of feet. I include a more detailed packing list at the bottom of this post as well.
- Hiking shoes – I would recommend purchasing a sturdy pair of hiking boots with ankle supports. I have a pair of waterproof Oboz, which I love. Make sure to try these on in-store, and leave enough room for thicker socks and potential foot swelling throughout the day.
- Backpack – Depending on the length of your trip and the amount of weight you need to carry, you’ll want to pick a specific pack. Packs are sized by liter – I have a 40L Ultralight Osprey Lumina, which is made to carry about 20-25 pounds. A well-fitted backpack will fit right on your hips so that the weight of the back is carried by your lower body. If you go to REI, you can try the packs on with weights, and store employees will adjust and assess the fit.
- Tent – Your tent will be one of the heavier pieces of equipment, so it is worthwhile to invest in something lighter. I’d recommend purchasing a 2 person tent, which will give you more room when you’re alone while also allowing you to backpack with a companion.
- Sleeping bag and pad – A high quality light sleeping bag that will protect you in below freezing temperatures can run you $100+ dollars. If you’re not quite ready to make that leap, you can buy a down blanket at Costco, fold in half, and sew up the sides. But please make sure to check the nighttime temperatures of your camp site – I can tell you from personal experience that a cold night can ruin your trip.
- Cooking gear – I use a handy, foldable PocketRocket as my camping stove, and will also carry a pot and spork. Don’t forget fuel for your stove as well!
- Hiking clothes – These are probably the least necessary item, as gym clothes will work well. I would prioritize buying a pair of high quality wool socks to protect your feet from blisters. Over time, I would invest in sweat-wicking shirts, detachable pants, and rain gear.
-
Understand location-specific needs
Each location will be a little different and will require you to bring different items. Some questions to consider:
Will there be a drinkable water source? If no, you’ll have to bring a water filter or enough water for your hike. If you don’t have enough water, you will die – so this is very important 🙂
Will there be bears? If so, you’ll need a bear canister
Will there be rain? You may need to bring your tent’s rain cover along with a pack cover and rain jacket and pants
Will there be somewhere to go to the bathroom? Or will you need to take care of your own waste? -
Break in your boots
New shiny boots will hurt your feet, so walk a few miles to get a feel for your boots and break them in. On long hikes I’ll also preemptively bandage potential hot spots to avoid blisters, using Moleskin.
-
Prepare food and water
It sounds obvious, but make sure you have the right amount of food and water. For food, you can either pack non-perishables such as pasta, or go the super light route with dehydrated food, such as Mountain House. Just add boiled water, and you have a hot meal. Don’t forget snacks to fuel your trip as well, since you will need energy throughout the day. I love snacking on nuts and dried fruits, along with Rx Bars. They aren’t the tastiest, but they do keep you satiated and provide a burst of energy.
-
Pack your bag and practice taking it on and off
Bag packing is an art to make sure that your pack is balanced and items are easily accessible. At the bottom, I put my sleeping bag and pad. In the middle, I put my heavier items to distribute the weight. At the top, I put things like jackets I might want to pull out quickly during my hike. Water bottles and snack bars go in easily accessible pouches that don’t even require me to take off my pack to reach.
It’s also important to learn how to safely take your backpack on and off to avoid any injuries or strain. This video is a helpful demonstration, or you can get in-person help from your local REI.
My general backpacking gear list
Boots
Flip flops
Backpack
Sleeping bag
Sleeping pad
Tent
PocketRocket + fuel
Camping pot and spork
Dried food + snacks
2 Nalgene 1L water bottles
Water purifying bag + filter
Swiss army knife
Headlamp
Sunblock and bug repellent
Hat
Whistle
Portable battery
2 pairs of Merino wool socks
1 Merino wool shirt
1 convertible hiking pants
1 foldable jacket
1 light raincoat
1 bandanna
Toothbrush + toothpaste
First aid – Band-aids, Ibuprofen, Moleskin, antibacterial cream, alcohol pads
Backpacking was so daunting when I first got started, and was honestly a monetary investment. But it’s such an adventure. You can sleep in the heart of nature and conquer towering packs. You’re unfettered and ready to wander. Your first backpacking trip is your gateway into this experience – after you have a taste, you’ll want to go back again and again!
Great post 🙂
Thank you!
Great tips! 😁
Pingback: Backpacking 10 Lakes Trail in Yosemite National Park – Halicopter Away
Great informative post.