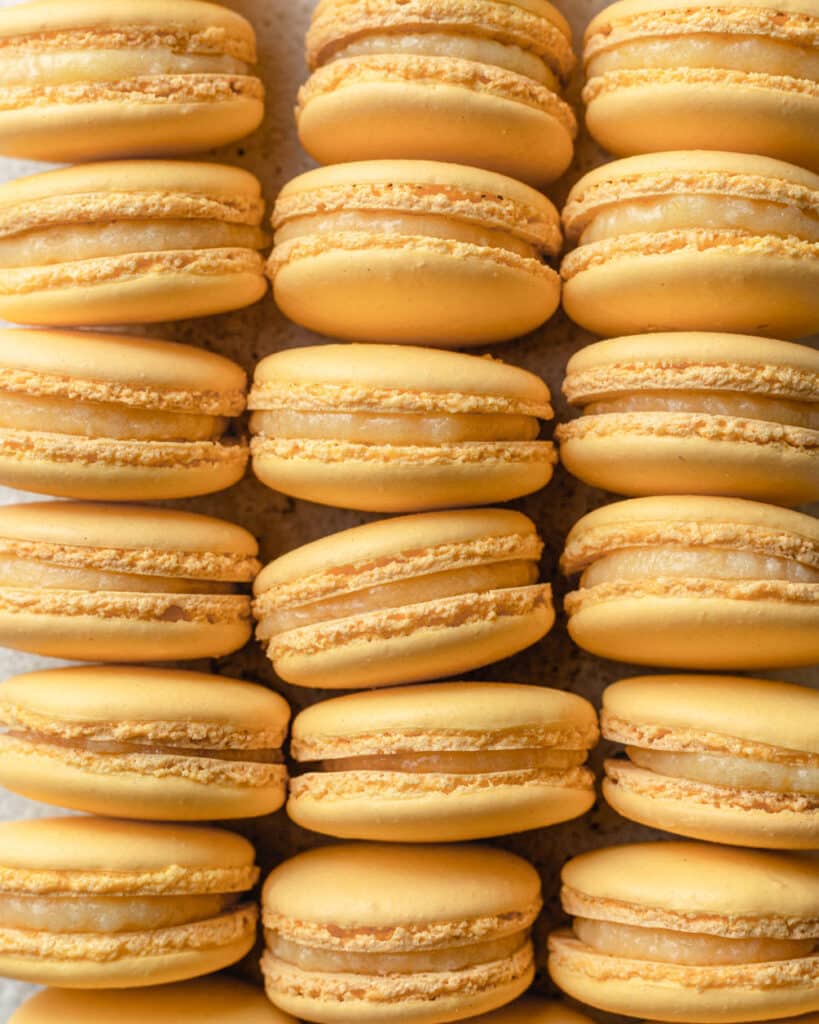
Learn how to make macaron shells using the Italian meringue method! This method consistently leads to beautiful, full macaron shells perfect for filling with your favorite flavors.
This page may contain affiliate links. This means I may get a small commission if you purchase through these links, at no additional cost to you.
I’ve made hundreds of macarons using all 3 methods – Italian, Swiss, and French. The Italian method is my favorite and I’m excited to share it with you!
What’s the difference between Italian vs Swiss vs French macarons?
There are 3 different methods for making macarons – Italian, Swiss, and French. The differences between the methods primarily lies in how you make the meringue.
They all lead to delicious macaron shells and most bakers will land on a method that personally works best for them. For me, this is the Italian method because it produces a stable meringue and is very precise. I find that my shells turn out fuller and fluffier than if I use other methods.
Italian macaron method
Pros: Produces a more stable meringue and is very precise
Cons: Requires a food thermometer to heat up the sugar syrup
For the Italian method, you heat up sugar syrup to ~240F and trickle it into egg whites to create the meringue.
For some bakers, heating up the sugar syrup can feel like overkill but I like the precision of it. It takes out any guesswork and helps me consistently make great macarons.
Swiss macaron method
Pros: Produces a more stable meringue, does not require a food thermometer
Cons: Requires heating up egg whites and sugar in a double boiler, which can be hard to do for larger quantities
For the Swiss method, you heat up the egg whites and sugar together in a double boiler. Once the sugar dissolves, you beat the mixture to create the meringue.
This method is fairly similar to the Italian method, and you can use food thermometer as well to monitor the temperature of the sugar and egg white mixture. But for some reason my Italian macarons turn out better so that’s the method I choose to use.
French macaron method
Pros: Simplest method
Cons: Produces a less stable meringue
For the French method, you whip up the egg whites and slowly add sugar to create a meringue. This is the simplest because it does not require heating anything. However, the meringue is less thick and less stable.
The French method is very hit or miss for me. It works very well when I’m at my parent’s home and I get to use their nice oven. But in my rented apartments, the results are all over the place
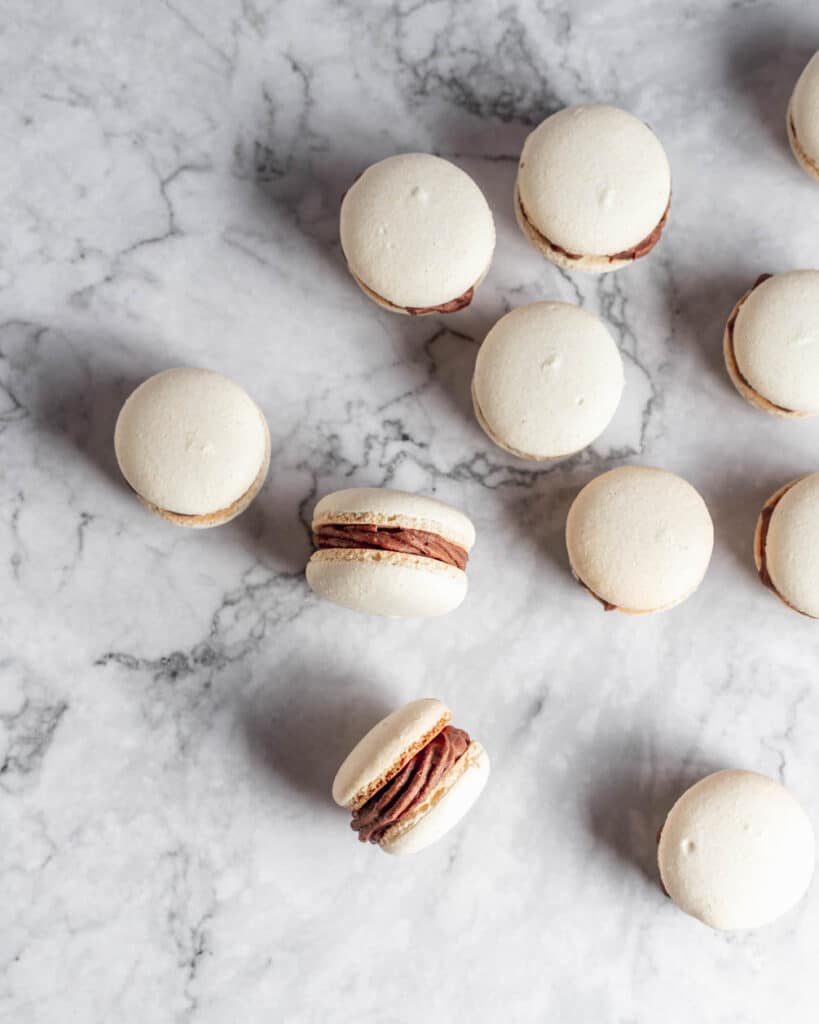
These mocha macarons are made using the French method!

How to make Italian meringue macarons
There are 6 overall steps when making macarons using the Italian method:
- Prep work to maximize chance of success
- Create an almond paste by mixing together egg white, powdered sugar, and almond flour
- Make an Italian meringue, which involves whisking a hot sugar syrup into egg whites
- Fold the meringue into the almond paste in the “macaronage” step
- Pipe & rest
- Bake!
Let’s go through each of these steps with tips and tricks so you can make perfect Italian macarons!
Prep work to do before making macarons
There are a couple of things that I like to do at the very start of a macaron baking session. These things help maximize chance of success and keeps me organized.
- Wipe down all of your baking utensils, bowls, and silicone mats with vinegar or lemon juice. The acid helps remove any traces of fat or water that would interfere with the meringue
- Mise en place aka weigh out all of your ingredients ahead of time
Make the almond paste
The almond paste is the simplest part of making Italian macarons! You just mix together the almond flour, powdered sugar, and half of the egg whites until a paste forms.
It will look very thick and chunky at first, but smooth out into a thick, peanut butter-like consitency.
Make the Italian meringue
Your Italian meringue is the foundation for your macarons, so it’s important to get this step right! A soupy meringue will lead to flat, spread out macarons, and an overbeaten meringue will lead to cracked shells.
- Mix together water and sugar and heat to 244F
- While the water and sugar are heating, beat the remaining eggs white until they hold a soft peak. There should be many small, clustered bubbles. It’s very important for the egg whites to have reached soft peak state. Otherwise, the meringue will be very soft and soupy.
- While the stand mixer is running, pour the heated sugar syrup down the sides of the bowl into the egg white
- Continue beating on high speed until the meringue forms a stiff peak.
How can I tell when my meringue is at stiff peaks?
Here are some signs that your Italian meringue has reached stiff peaks:
- When you take the whisk out of the meringue, the peaks that form do not droop, but hold their shape
- You can turn the bowl upside down without the meringue fall out
- The meringue will “clump” more around the whisk rather than the outside of the bowl
Once you’ve reached stiff peaks it’s time to stop. Overbeating the meringue can lead to excess air in the batter and cracked shells
Macaronage
This step is probably the trickiest for beginners, as it can take a few repeated attempts to understand when your batter has been folded enough.
The purpose of the macaronage stage is to remove the right amount of air from the batter so that it reaches the correct consistency to produce a perfect macaron. By perfect macaron, we’re talking about fairly full shells, feet, and a smooth top.
- Start by folding the meringue into the almond paste in thirds, making sure that the paste and meringue are incorporated well each time
- Continue folding the batter and squashing out the air. You do not need to be gentle at this point because you are actively trying to remove air
- Periodically check the consistency of the batter and be careful not to overmix
Tips for knowing when you’re done with macaronage
The number 1 question I had when first making macarons was “How do I know when to stop folding the batter?” You’ll develop the sense over time, but here are tips to help you check the consistency:
- The batter should flow with the consistency of lava e.g. flowing smoothly but slowly
- When you spoon out batter with your spatula, it should fall off in steady, slow stream. I like to do the “figure 8” test where you should be able to draw a figure 8 with the stream of batter. If it’s falling off in clumps, then you need to keep going. If it’s going too quickly for you to draw a figure 8, then you might have overmixed the batter

Piping and resting macarons
For piping, I like to use a large pastry bag with the tip cut off to create an 1/2 inch-wide opening. You can pipe on to either parchment paper or silicone mats. I actually find that parchment paper gives me fuller shells, but silicone mats are more convenient so I tend to use those.
When making macarons, I flip the tray upside down so that the bottom is facing up. This helps air flow more evenly over the macarons, since it’s not blocked by the edges of the tray.
After piping, I bang the macarons against the counter to remove excess air. I also use toothpick to gently pop any air bubbles under the surface. You can identify air bubbles by a slight bump and translucence in the surface of the macaron shell.
Finally, it’s important to let the macarons rest for 20 min to 1 hour until a skin forms. This helps prevent cracking in the oven.
How can you tell when a skin has formed on macarons?
Here are some signs that skins have formed on your macaron shells and they are ready for baking:
- They look matte rather than glossy. Rather than the glossy sheen of fresh batter, they should look more dull and matte
- You can gently touch them with your finger without batter sticking. Once the macarons have formed skins, you should be able to lightly touch them without any batter sticking to your fingers
The timing varies depending on how dry your baking environment is. Sometimes, I find it helps to set up a fan if it’s a particularly humid day.
Baking macarons
Macarons are very temperature sensitive, so I like to use an oven thermometer to make sure I’m in the correct temperature range. I also let my oven run through a few cycles of heating and cooling, as I find this stabilizes the temperature range.
Once the macarons are done baking, let them cool completely before removing from the tray.
How can you tell when macarons are done baking?
I like to do the wiggle test to see if my macarons are done baking. I gently hold the macarons shell between two fingers and wiggle back and forth. If it wiggles, then the shells need more bake time.
How can oven temperature and bake time impact macarons?
- A too high oven temperature can lead to cracked shells
- A too low oven temperature can lead to no feet forming
- A too long bake time can lead to dry, crispy, brown shells
- A too short bake time can lead to thin, translucent shells that sink in slightly in the middle

What are helpful tools for making Italian macarons?
The right tools can help you be more precise and set you up for macaron success!
- Baking scale – Macarons are very finicky so you want to be precise and bake in grams rather than cups / tablespoons. I strongly recommend using a food scale to measure out your ingredients. I have this food scale which has worked well for many years.
- Food/oven thermometer – You’ll need a food thermometer for making the sugar syrup and an oven thermometer to check the temperature of your oven before baking. I like to use the ThermaPro probe thermometer because it can cover both of my bases
- Silicone baking mats – Silicone mats are not required, but they are helpful and convenient. I like to get ones with macaron stencils to help with piping
- Stand or hand mixer – Having an electronic mixer will help a lot with whisking the meringue. Personally I’ve never made a meringue manually!

Italian macaron shells
Equipment
- food processor (optional)
- Stand or hand mixer
- Food thermometer
- Food scale
- Pastry bags
- Parchment paper or silicone baking mats
- Baking sheets
Ingredients
- 200 g almond flour
- 200 g powdered sugar
- 50 g water
- 175 g granulated sugar
- 150 g egg whites (about 5)
Instructions
Pre-baking prep
- Wipe down all of your equipment and utensils with vinegar or lemon juice to remove traces of oil and water. Measure out all of your ingredients before starting
- Prep your baking trays. Flip them upside down and line with parchment paper or silicone baking mats. If you're using parchment paper, you can dab a little bit of macaron batter at the corner of each sheet to secure the paper and keep it from slipping
Make the almond paste & Italian meringue
- Combine the almond flour and powdered sugar in a food processor and grind until fine. Sift through a sieve into a medium bowl
- Combine water and granulated sugar in a saucepan and stir over medium heat until the sugar dissolves
- Heat the sugar syrup to 244°F over medium-high heat
- While the sugar syrup is heating, place half the egg whites (75g) into the bowl of stand mixer fitted with a whisk attachment. Beat on medium speed until soft peaks form
- Once the sugar syrup hits 244°F and the egg whites are at soft peaks, trickle the hot sugar syrup down the side of the bowl while the mixer is running at medium-high speed. Continue beating until the meringue has cooled down and stiff peaks form. This takes about 10 minutes
- Create an almond paste by combining the almond flour and powdered sugar with the remaining half of the egg whites (75g)
Macaronage
- Once your meringue has reached stiff peaks, combine it with the almond paste. Mix in one third of the meringue each time, making sure to mix thoroughly so that there are no chunks of almond paste
- Using a "J" motion, fold the batter to squeeze out air until it reaches a lava-like consistency. You don't have to be gentle here, but make sure to check the consistency periodically so you don't overmix. Once the batter falls smoothly off the spatula in ribbons and can be used to draw a figure 8 shape, the batter is ready. Stop mixing once it hits this point
Pipe and rest macarons
- Fill a large pastry bag with the batter. Snip off the tip of the bag to create a 1/2 inch opening
- Pipe into rounds that are 1 inch in diameter, leaving 2 inches in between. They will spread a little to create shells that are ultimately around 1.5 inches in diameter
- Bang the pans against the counter a few times to knock out any air bubbles. Use a toothpick to gently pop any remaining bubbles that you see trapped below the surface of the shells
- Let the shells rest for 20 minutes to 1 hour until a skin forms and you can gently touch the top of the shells without batter sticking to your finger
Bake the macarons
- While the macarons rest, preheat the oven to 325°F. I use an oven thermometer to double check the temperature and will let the oven run through a few cycles of heating and cooling down to stabilize
- Bake for 11 – 14 minutes. I gently wiggle the tops of the macarons to see if they're done baking. If they are wiggly, then I will keep them in for another minute then check again
- Remove from the oven and let cool completely before removing from the tray. Once the macarons are cooled, they will easily peel off. If they are sticking, they need to cool for longer
Notes
- This method makes about 100 macaron shells that are about 1.5 inches in diameter. You can easily easily half the recipe if needed
- If you do not have a food processor, you can skip the step where you grind into a fine powder. In this case, I recommend sifting and weighing the almond flour first. Any pieces that are too big to pass through the sieve, remove and replace with finer pieces.


Heyy,
I never leave reviews but I wanted to thank you for this amazing recipe. I’ve been baking macarons for a while now usually using the French method or sometimes the Swiss one and they always turned out good but, I’ve never tried the Italian method since I didn’t have a thermometer and I just have to say that these are definitely the best macarons I’ve ever made so thank you so much for the recipe. Btw I love your content on TikTok
In pastry school I was taught that if you don’t have a thermometer you can numb your fingers in ice water, quickly dip your fingertip into the sugar syrup and then back into the ice water to cool the sugar down. Then you can see if you’re able to roll a “soft ball” before adding to your egg whites.
Inwasntaught to have cupnor do of cool water and drop a droplet into it. If a soft ball forms, done. Sure beats burning your finger