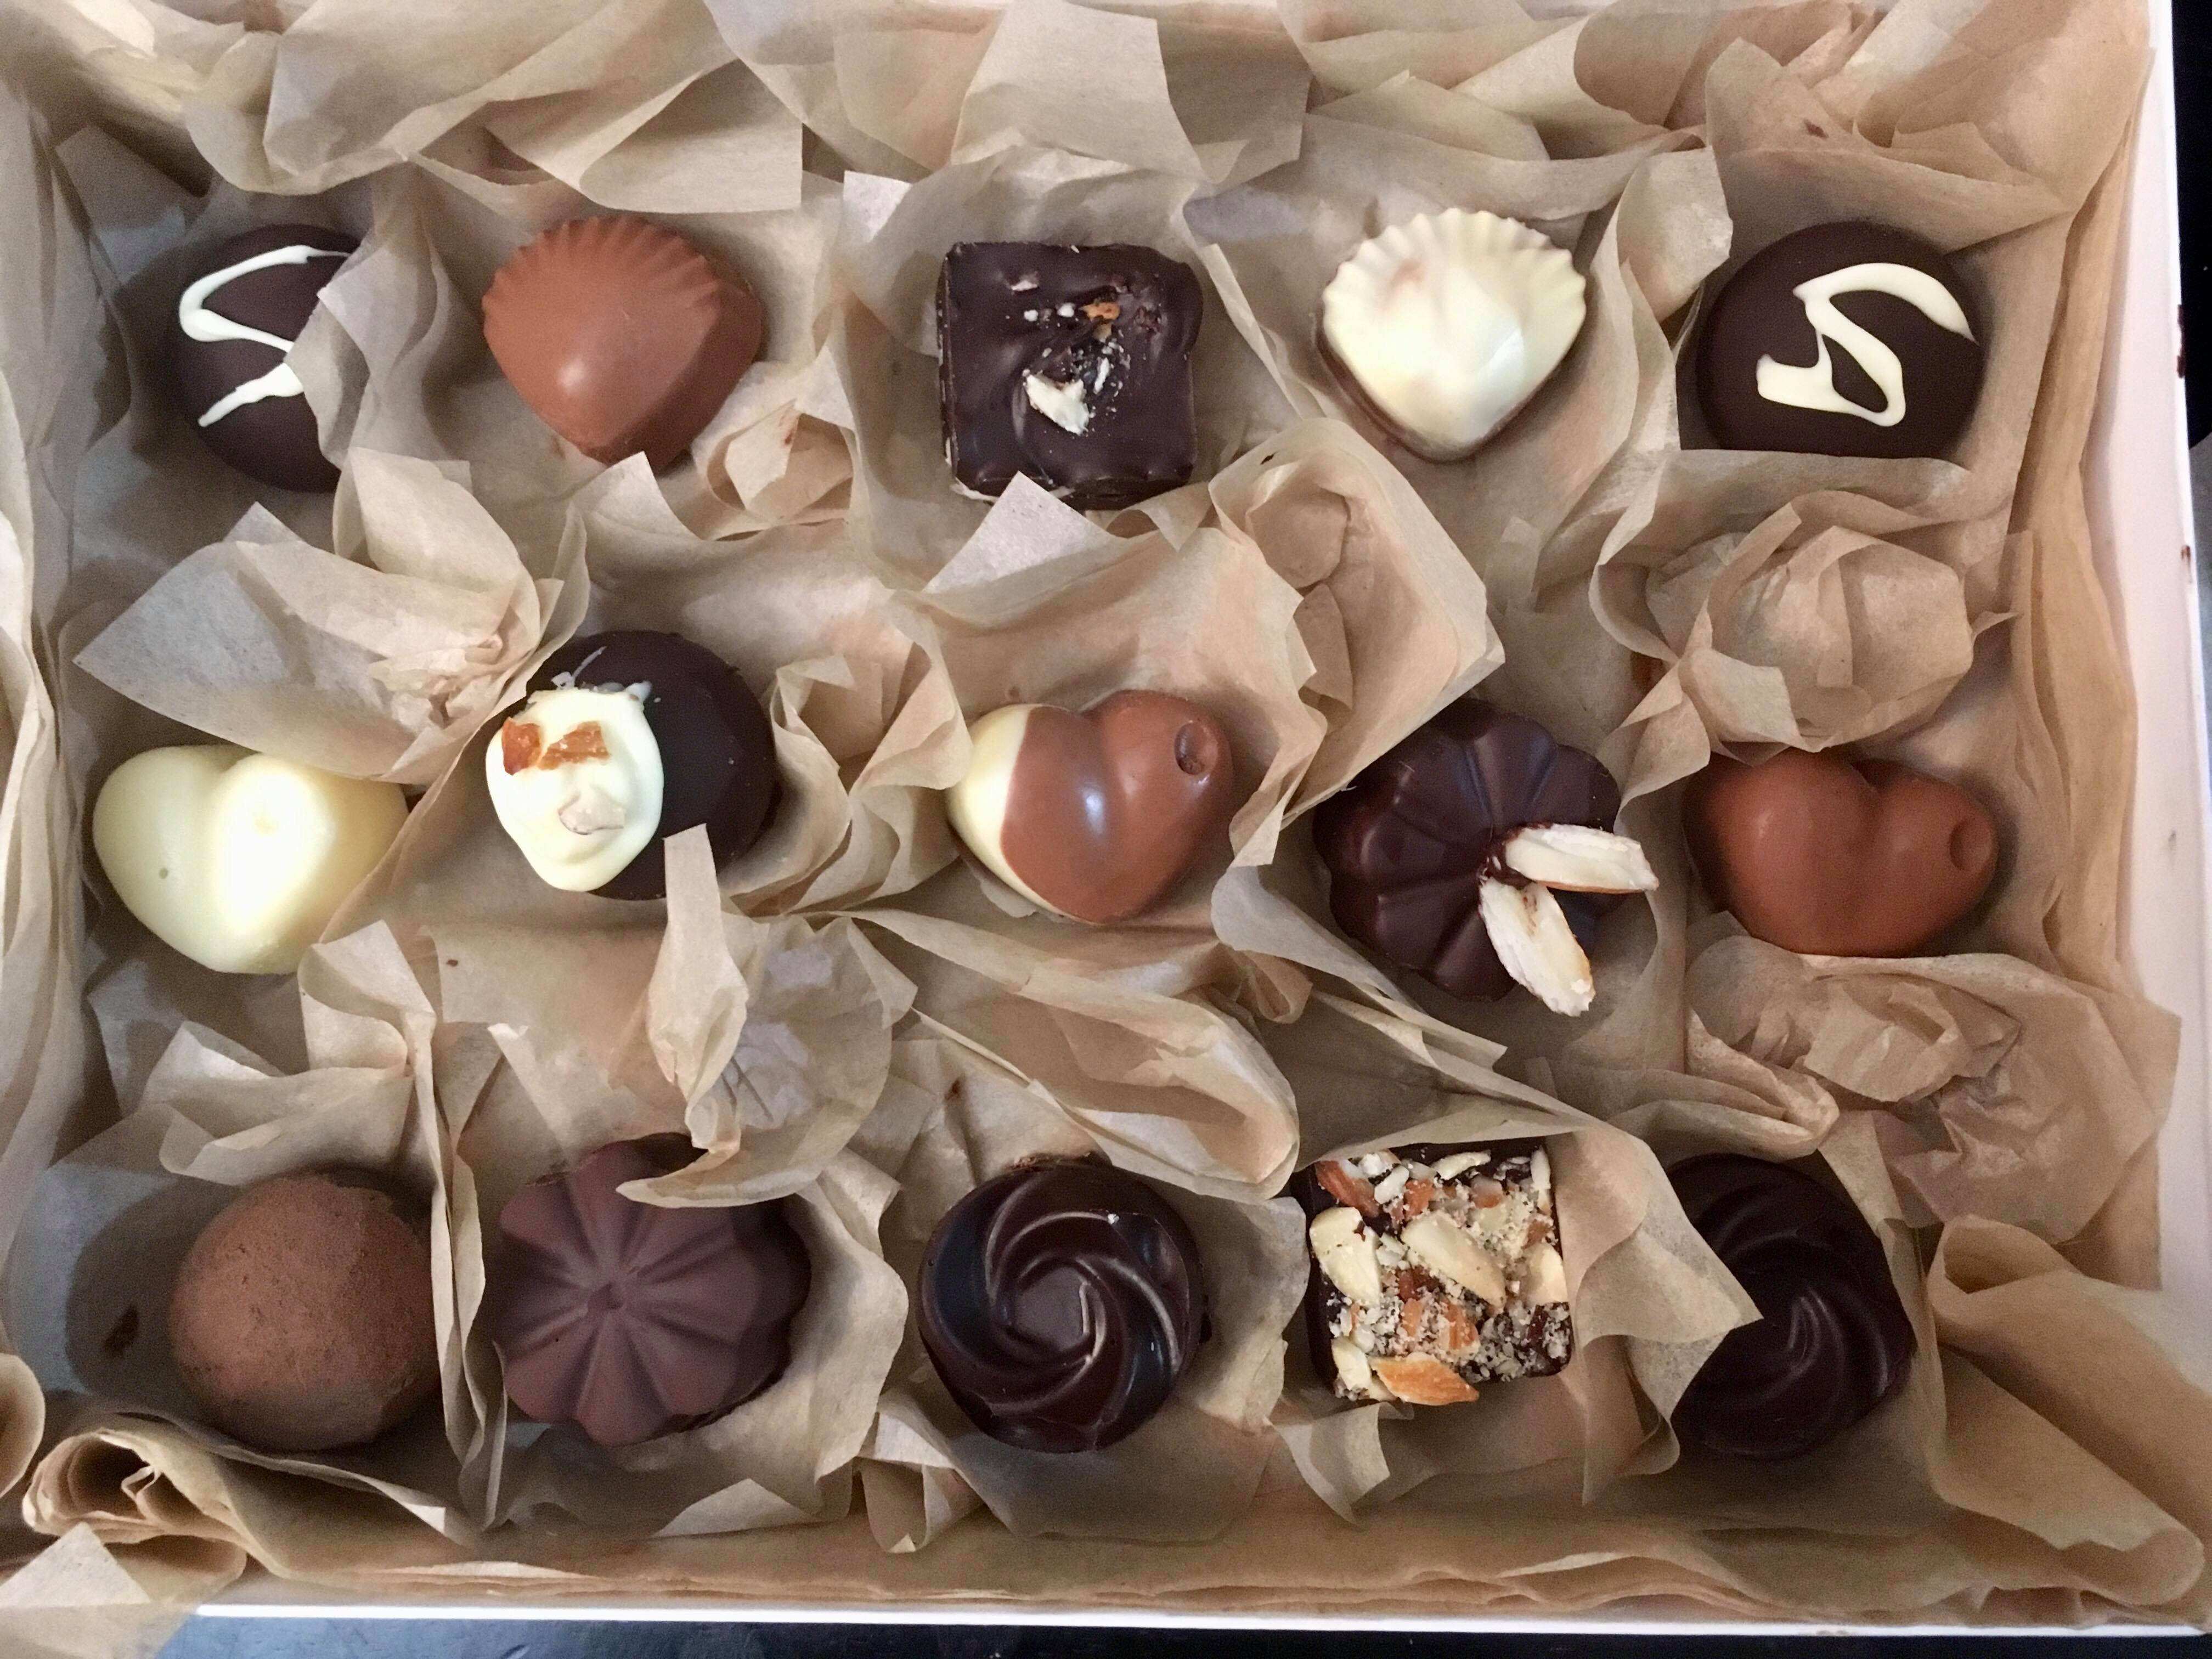
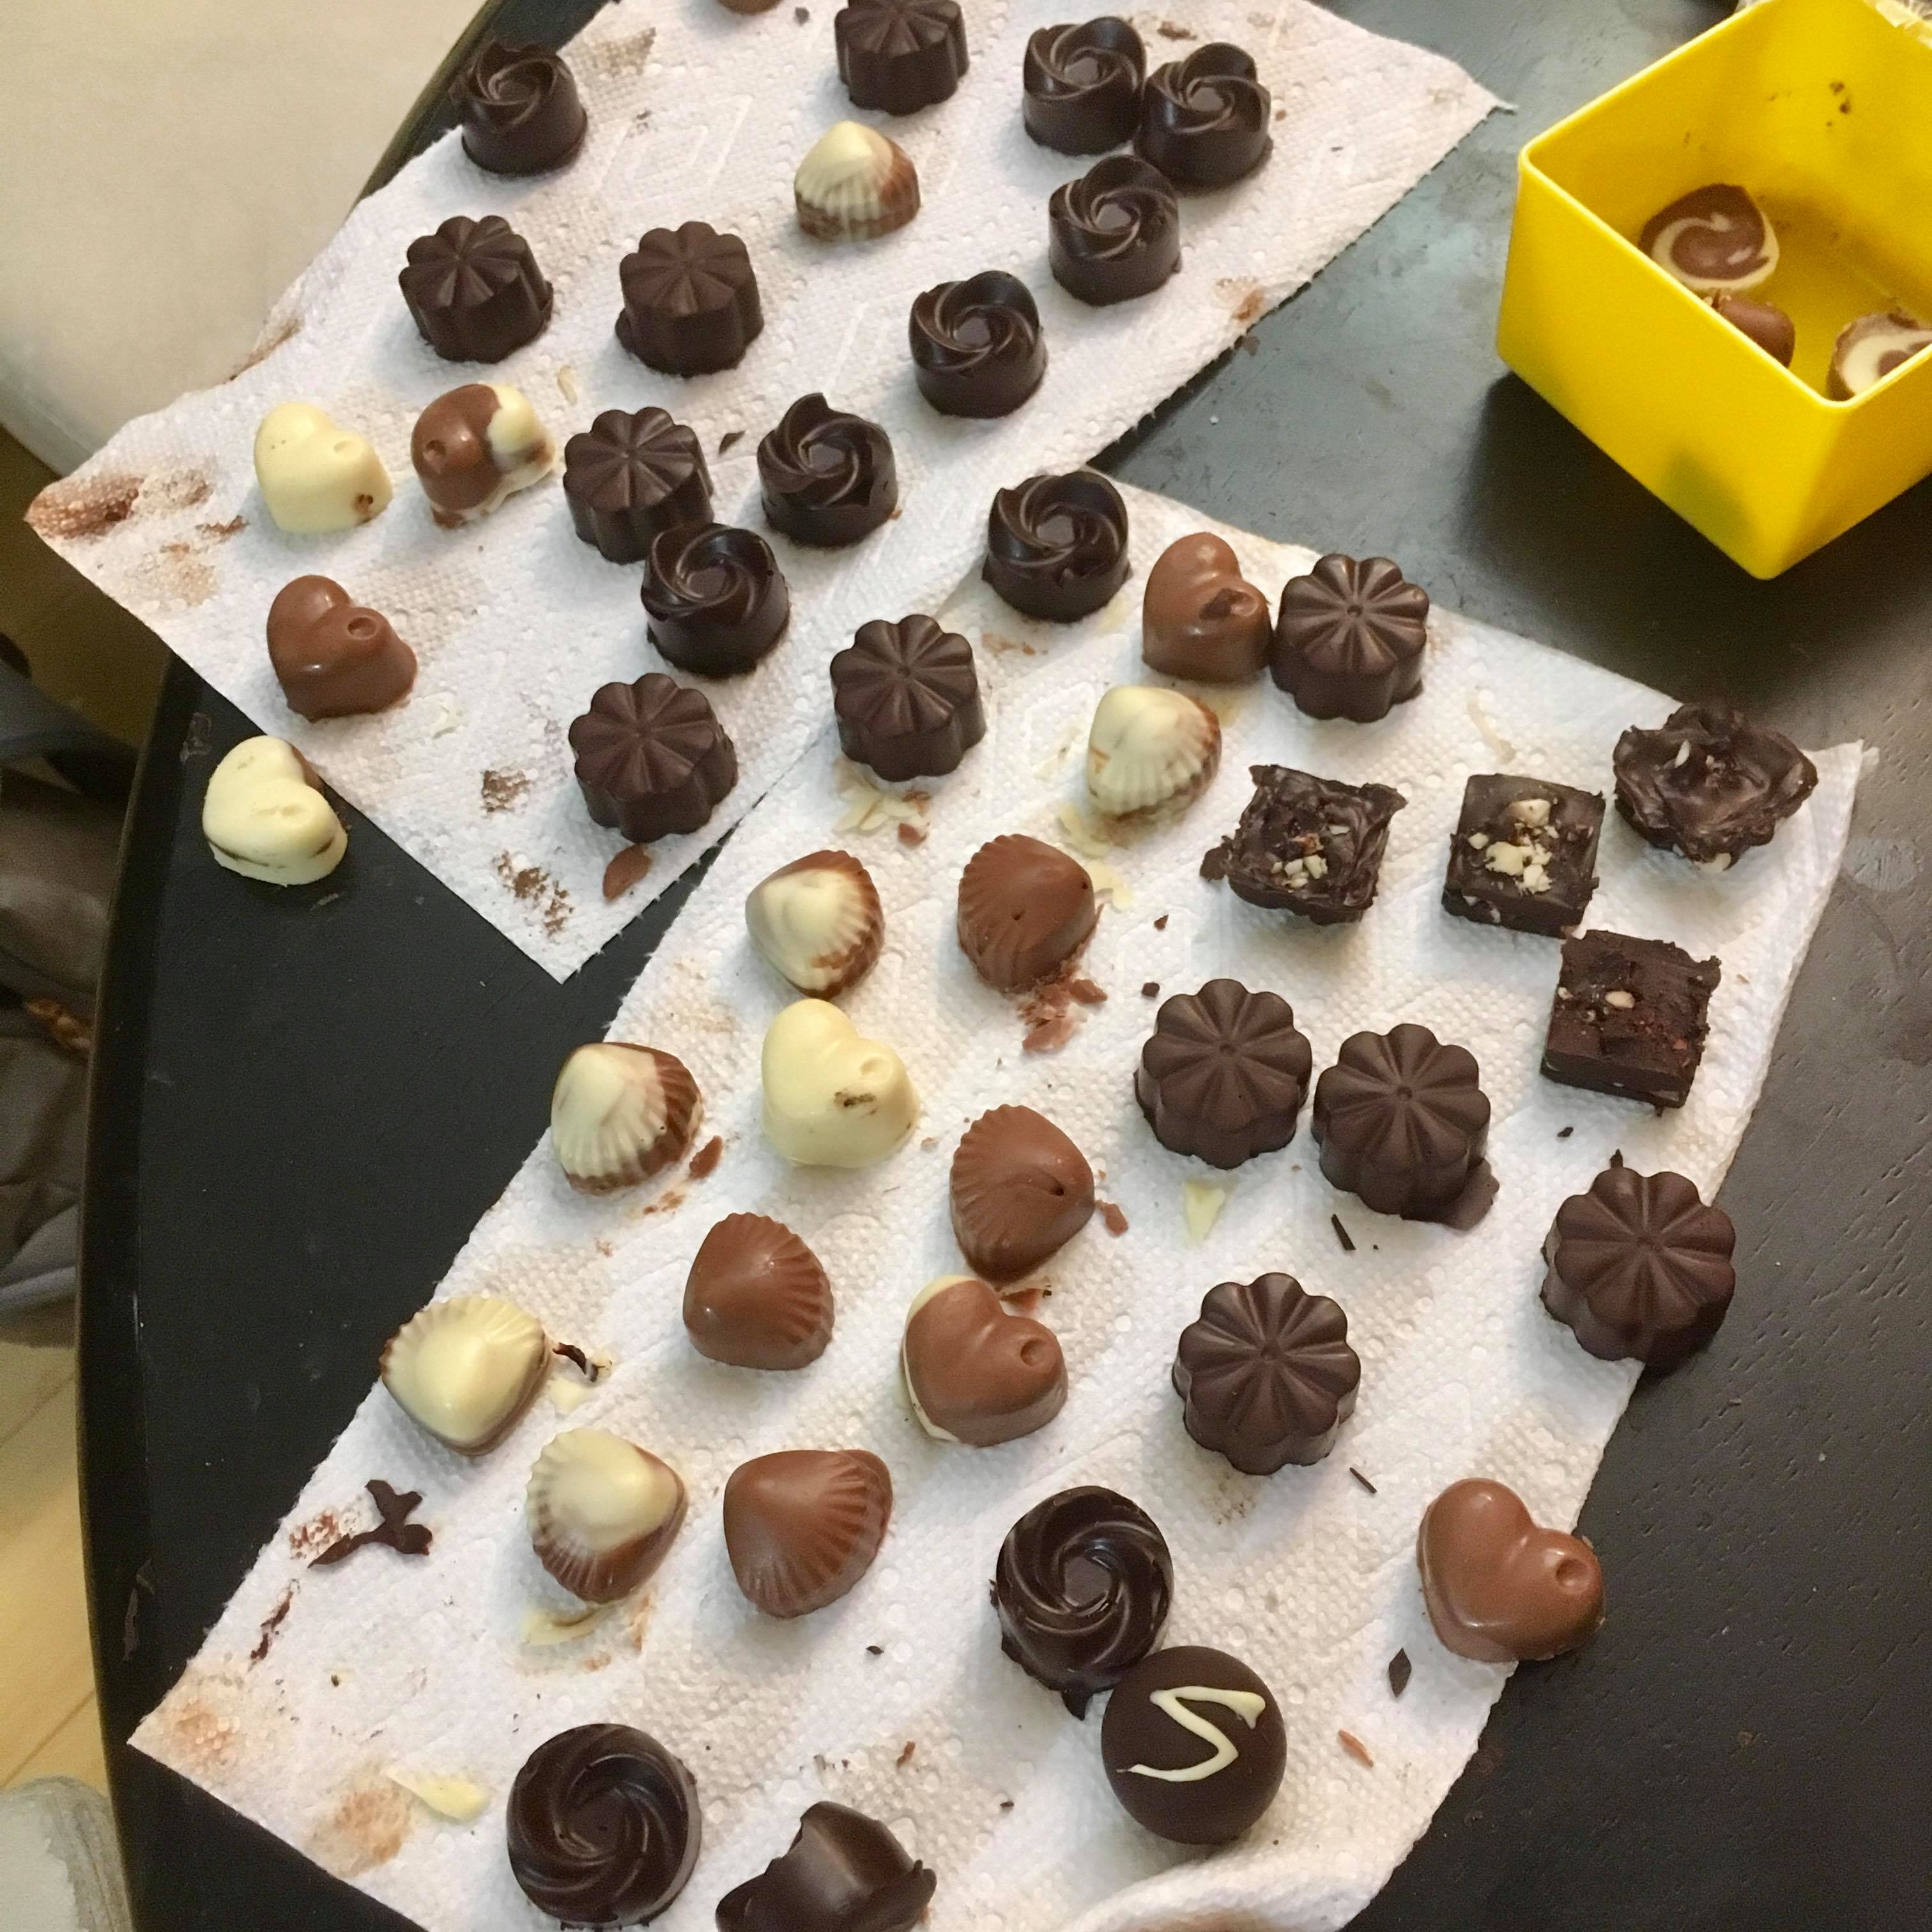
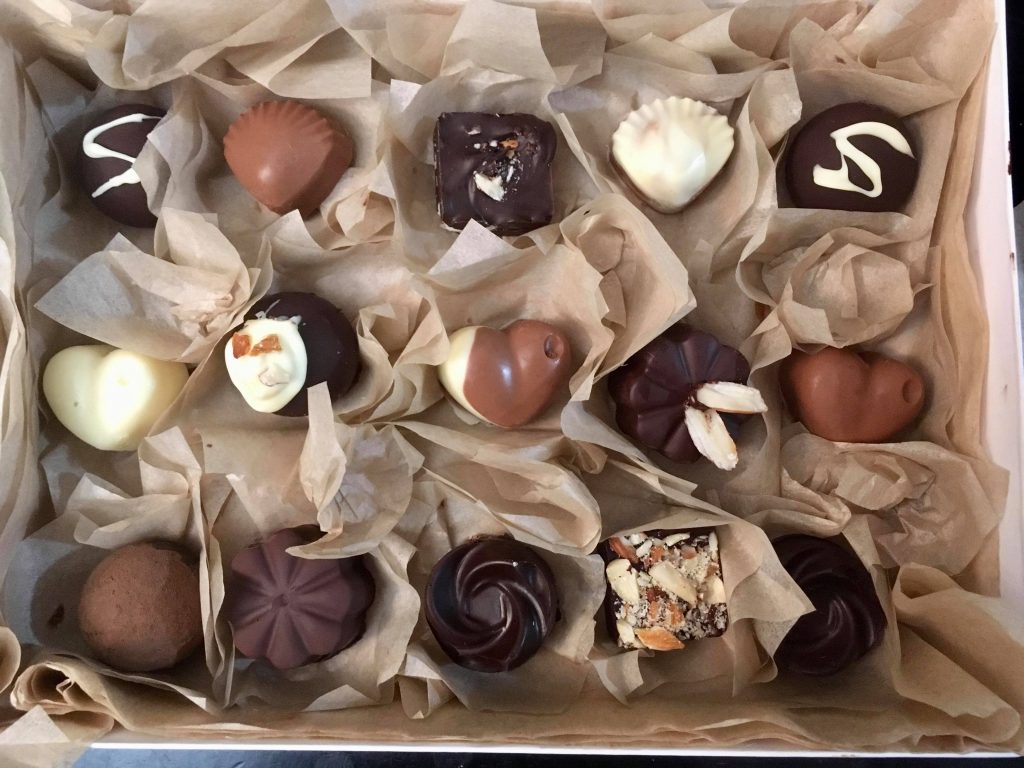
There’s something so cute and sweet about handmade Valentine’s Day chocolates. There’s also something a little intimidating about working with chocolate – you want your chocolates to turn out perfectly shaped and glossy with a variety of interesting flavors. With Valentine’s day less than two weeks away, I wanted to share my steps to make beautiful chocolates. I temper my chocolates to give them a beautiful sheen and to improve the flavor, and it’s easy to do even if you’re a complete beginner.
If you have a special someone in mind, these are the perfect thoughtful and impressive gift. And if you’re a single Pringle, these are the perfect excuse to eat a whole bunch of chocolate.
So first of all, what is tempering and why do you need to it? Tempering is heating your chocolate to melt it and then cooling to a certain temperature before handling. It’s necessary for the fat crystals in chocolate to form, giving it a shiny appearance and clean snap. If chocolate is not properly tempered, it will turn out dull and brittle.

Materials
- High quality chocolate – I used dark, white, and milk chocolate chips from Callebaut. The quality of your base chocolate will definitely affect how your chocolate turns out. Callebaut was a good price to quality ratio and can also be purchased off Amazon.
- Silicon molds – I bought a set of molds that could make spheres, squares, sea shells, hearts, and roses. You can find these sets for a reasonable price off Amazon, such as this set.
- Thermometer – You’ll need a thermometer to measure the temperature of your chocolate. I used one similar to this.
- Piping or zip lock bags – Plastic bags will help you neatly fill your molds with melted chocolate.
- Fillings and extras – I filled my chocolate with raspberry jam and used almonds as decoration.
Instructions
- Create a double boiler by filling a large pot with water and heating on a stove. Place a stove-safe glass or metal bowl in the water. You’ll use the double boiler to melt your chocolate since you should never use the microwave to melt your chocolate if you want to preserve your chocolate’s structure.
- Melt the chocolate over medium heat until you reach 120 degrees Fahrenheit for dark chocolate and 105 degrees Fahrenheit for milk or white chocolate. Stir gently while melting. I usually start with a cup of chocolate chips.
- Add unmelted chocolate chips to bring down the temperature of your chocolate to 88-90 degrees Fahrenheit for dark chocolate and 84-86 degrees Fahrenheit for milk or white chocolate. Stir to incorporate the unmelted chips.
- Quickly transfer the chocolate to a piping bag and pipe into your molds.
- Gently tap your molds against the table to release any air bubbles.
- Set for 30 minutes – 1 hour in the fridge and gently release the chocolates from the molds.

Variations
For each of these variations, complete steps 1-3 above to prepare your chocolate.
Filled Chocolates
Filled chocolates are simple to make and look so fancy. My favorite combination is dark chocolate and raspberry jam.
- Pipe a small amount of chocolate into your mold. Squeeze the mold so that the chocolate creates a thin coat along the outside.
- Set for 30 minutes in the fridge.
- Pipe in a filling of your choice. I like to use raspberry jam or another flavor of chocolate.
- Pipe a little more chocolate on top of the filling to seal and set for 30 minutes – 1 hour in the fridge.
Marbled Chocolates
I love making marbled milk and white chocolate hearts and sea shells – it looks so refined!
- Fill half the mold with one flavor of chocolate and half the mold with another flavor of chocolate.
- Take a toothpick or fork and gently swirl the two flavors of chocolate together.
Sea Salt Almond Chocolates
I love adding sea salt and almond to dark chocolate for a rich and enhanced flavor.
- Crush your almonds by placing in a zip lock bag and smashing with a rolling pin.
- Sprinkle crushed almonds and sea salt into the bottom of the mold – remember the bottom of the mold is the top of the chocolate!
- Fill the remainder of the mold with chocolate.
Double dark chocolate
Adding cocoa powder gives your chocolate a different finish and texture and is so simple.
- After setting your chocolate, roll gently in cocoa powder
Boxing the Chocolates
I purchased a large jewelry box from Amazon along with tissue paper and a red ribbon to give my chocolates a beautiful home!
I hope everyone has a Valentine’s Day filled with love – whether for your significant other, your family, your hamster, or most importantly – yourself 🙂


What pretty chocolates Hali, and they sound delicious too! They would make such a lovely gift, especially this time of year. Thank you for sharing, and for being a part of the Hearth and Soul Link Party. Hope your week is going well.
April, thanks for hosting the link party and for dropping by! 🙂