I’m not a last minute person. I never pull all nighters, never study the day of an exam, never work out or diet the week before the beach. If it’s not done by the last minute, I’d rather not do it at all! For my around the world trip to China, Japan, and Russia, my flights were all booked well in advance, my hotels were ready to go…. and my Russian visa was nowhere to be found.
Granted, I’d procrastinated. It’s just really freaking difficult to get a Russian visa. Some reasons why the process sucks?
- The consulate application fee alone is $198… never mind all the processing and mailing fees that get tacked on
- In-person applications appointments are only available Mon-Fri until 4pm…
- And these applications are only accepted in 5 cities across the United States
- Plus to pay the fee you need a money order, so get ready to visit your bank or post office as well
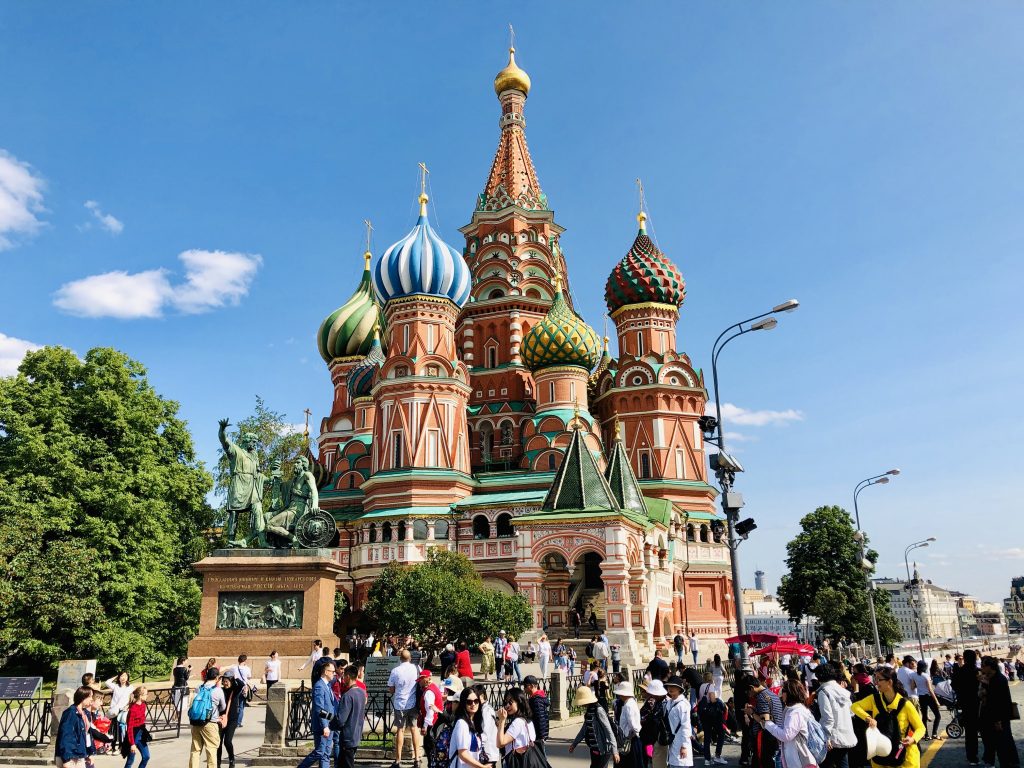
It’s like the classy, refined, beautiful girl in your biochem class – it’s not easy, and it’s not cheap. But it’s also 100% worth it. Moscow was easily one of my favorite places to visit, with it’s history and gorgeous views and balmy early summer weather. Good things in life are worth working hard for 🙂
So after receiving my visa on my door step exactly 8 hours before my flight departed, I’m here to tell you EXACTLY how you can get your Russian visa in the cheapest, least painful way possible.

How to get your Russian tourist visa in the least painless way possible
-
Understand visa processing timing
This is the most critical step if you want to avoid the panic and stress that I experienced. Average visa processing is 10 business days from the moment your visa reaches the consulate (doesn’t include shipping time), and expedited is 3 business days. It is up to the discretion of the consulate to expedite the visa. Additionally, Russian and US holidays will slow down consulate processing time. I got hit by Russian Labor Day in May, which delayed my visa processing by 6 days. For peace of mind, send in your application at least 30 days before you depart. Seriously, don’t gamble, you will be sad.
-
Have a valid passport
You must have an original, signed passport with at least 2 blank “Visa” pages side by side that expires at least 6 months after your visa expiration date. If you don’t have this, go renew your passport before continuing.
-
Do not use an external agency, work directly with Invisa Logistics Services (ILS), an official agency partnered with the Russian consulate
External agencies promise that they can get you your visa faster and with less hassle (for a fee), but there’s not much they can do that ILS cannot already do. ILS is definitely your cheapest option, and they won’t charge you extra for an expedited visa. The process on their website is fairly straightforward, and their call center and email is responsive to requests. They also have in-person centers if you have the time to go in person.
-
Choose which Invisa office to use
There are 4 Invisa offices – New York, Washington DC, San Francisco, and Houston. I would recommend choosing an office that is close to you, but note that the San Francisco office does not have a consulate in the city, so they will end up shipping your application to Washington DC, and it will cost an additional $45. Even though I live in San Francisco, I one-day shipped my application directly to New York so that Invisa could more easily get my application to a consulate.
-
Choose whether to apply for a single entry, double entry, or 3-year visa
No matter which visa type you choose, they all cost the same. As long as your passport will not expire, I’d recommend going for the 3-year, multiple entry visa. However, processing time for the 3-year visa is longer, and it cannot be expedited.
-
Get an official visa support document
To apply for a visa, you need an official support document from a Russian tourist agency. These are relatively cheap and simple to receive. I used ivisa online which I would recommend – it cost about $21 and I received the pdf copy of the letter in my inbox within minutes. If you don’t know what hotel you are staying at, you can just put any hotel from the drop down list. The one important things is to make sure the dates of entry and exit on your invite letter are the same as on your official visa application.
-
Prepare your official visa application
Fill out the Russian visa application HERE. Be sure to save your application number and password so you can make changes. It’s an extensive form, and here are some helpful tips:
- For country, put “United States”
- You must put down which Invisa center you are applying to
- For employment history, put at least one previous employer down
- For travel history, do your best to remember the countries you have traveled to and the dates, but don’t stress about being perfect
- If you are a US citizen, you do not need proof of insurance
- If you are applying for a 3-year visa: “please indicate the full three year period as the length of stay in the Russian Federation when filling out the visa application(ex. Date of Entry 25/10/2016 until Date of Departure 24/10/2019-minus one day )”
-
Get a 2×2 passport photo taken
Go to your local Walgreens or CVS and get a set of passport photos taken, which will run you $10. This will need to be fixed on to your application.
-
Prepare materials to ship to Invisa
Invisa will provide additional services at a cost, which include correcting application mistakes ($30) and texting you when your visa is on it’s way ($3). Additionally, there’s an $85 shipping fee.
Here’s what you’ll need to ship your application to Invisa:- Customer agreement form – you can find it here
- Your visa application with photo attached
- Your official visa support document
- Your passport
- A money order or cashier’s check for the exact amount needed; you can get this from your bank or local post office
-
Ship off your application and pray
I’d recommend doing one-day shipping and getting a tracking number (about $25). This way you’ll know exactly when your application makes it to Invisa for processing.
If you reach a moment of panic, you can reach out the Invisa with their contact information found here. I found them to be relatively responsive, though the call center required patience.
I ended up getting an expedited single entry visa that was shipped via overnight FedEx from New York to San Francisco. This overnight shipping cost me an additional $40, but it made sure that I received my visa in time for my flight. I was able to communicate with the Invisa staff to expedite and ship my visa quickly, though they will be very firm if they do not think your visa can be processed in time. The moral of this story? Don’t procrastinate.

