The peak months for Zion are April through October, when temperatures are nice and toasty and wading through the Narrows in your gym shorts won’t give you hypothermia. However, that doesn’t mean winter hiking in Zion isn’t a wonderful experience. As someone looking for a more affordable vacation that was easily accessible from the west coast, I decided it’d be a perfect idea to go at the end of December and take advantage of fewer crowds and cheaper accommodation. And yes, I was slightly worried that I’d slip on a chunk of ice and topple off the mountain, but there are actually a number of gorgeous and completely doable winter hikes in Zion.
Other great hiking reads:
- How to prepare for your first backpacking trip
- Hiking 10 Lakes Trail in Yosemite National Park
- Hiking the Camino de Santiago in Spain
Trails for winter hiking in Zion National Park
Observation Point
Distance: 8 miles
Time: 4-5 hours
Elevation gain: 2100 ft
Trailhead: Shuttle stop 7
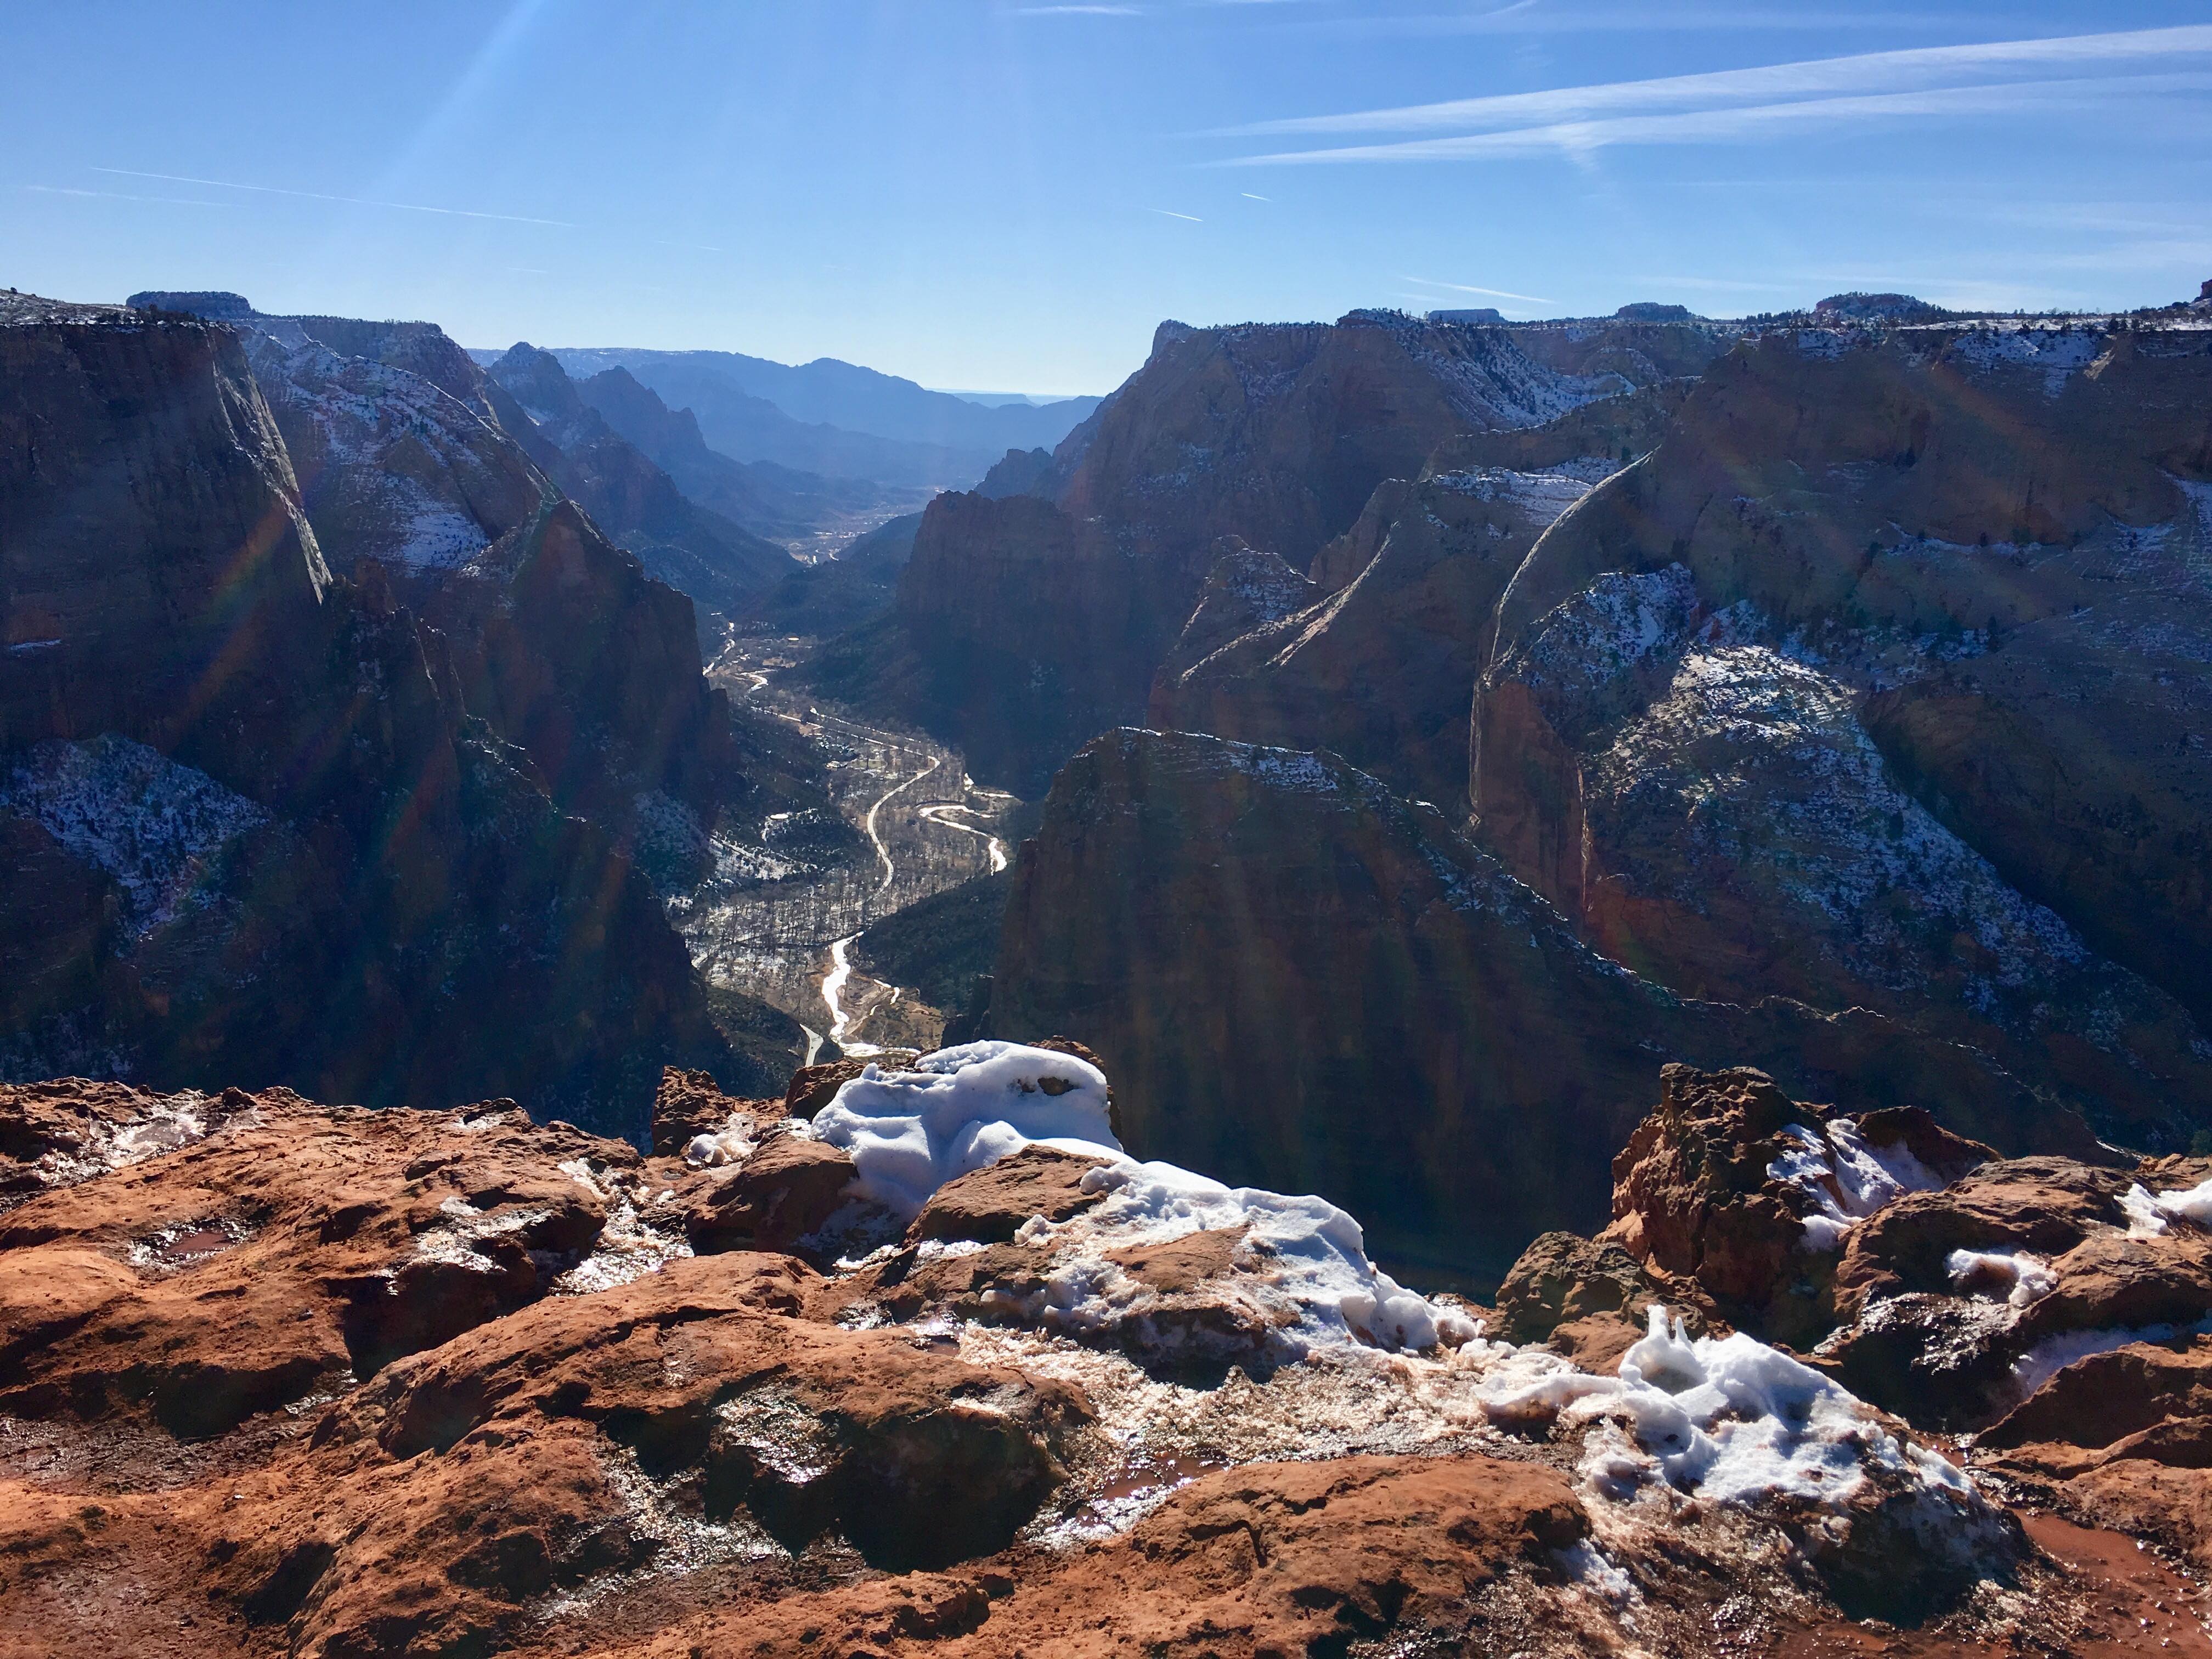
Observation Point is a absolutely beautiful day hike that will give you stunning views of the canyons and is a safer alternative to the infamous Angel’s Landing. It’ll also get your heart rate going as you are almost continuously hauling yourself up, up, up with only a few stretches of no elevation gain. The hike takes you up a series of switchbacks, through the canyon floor, and up the side of the mountain. There is great variety in landscape, and the views are gorgeous in the winter, with the red sandstone canyons gently dusted in a layer of snow. The trail definitely can get slippery in winter months, so I recommend bringing yaktrax to strap on to your hiking boots. I went without and ended up falling an embarrassing number of times and at one point simply gave up and slid down the switchback on my butt.
Canyon Overlook
Distance: 1 mile
Time: 30 minutes
Elevation gain: 70 ft
Trailhead: Outside of the main canyon, accessible by car
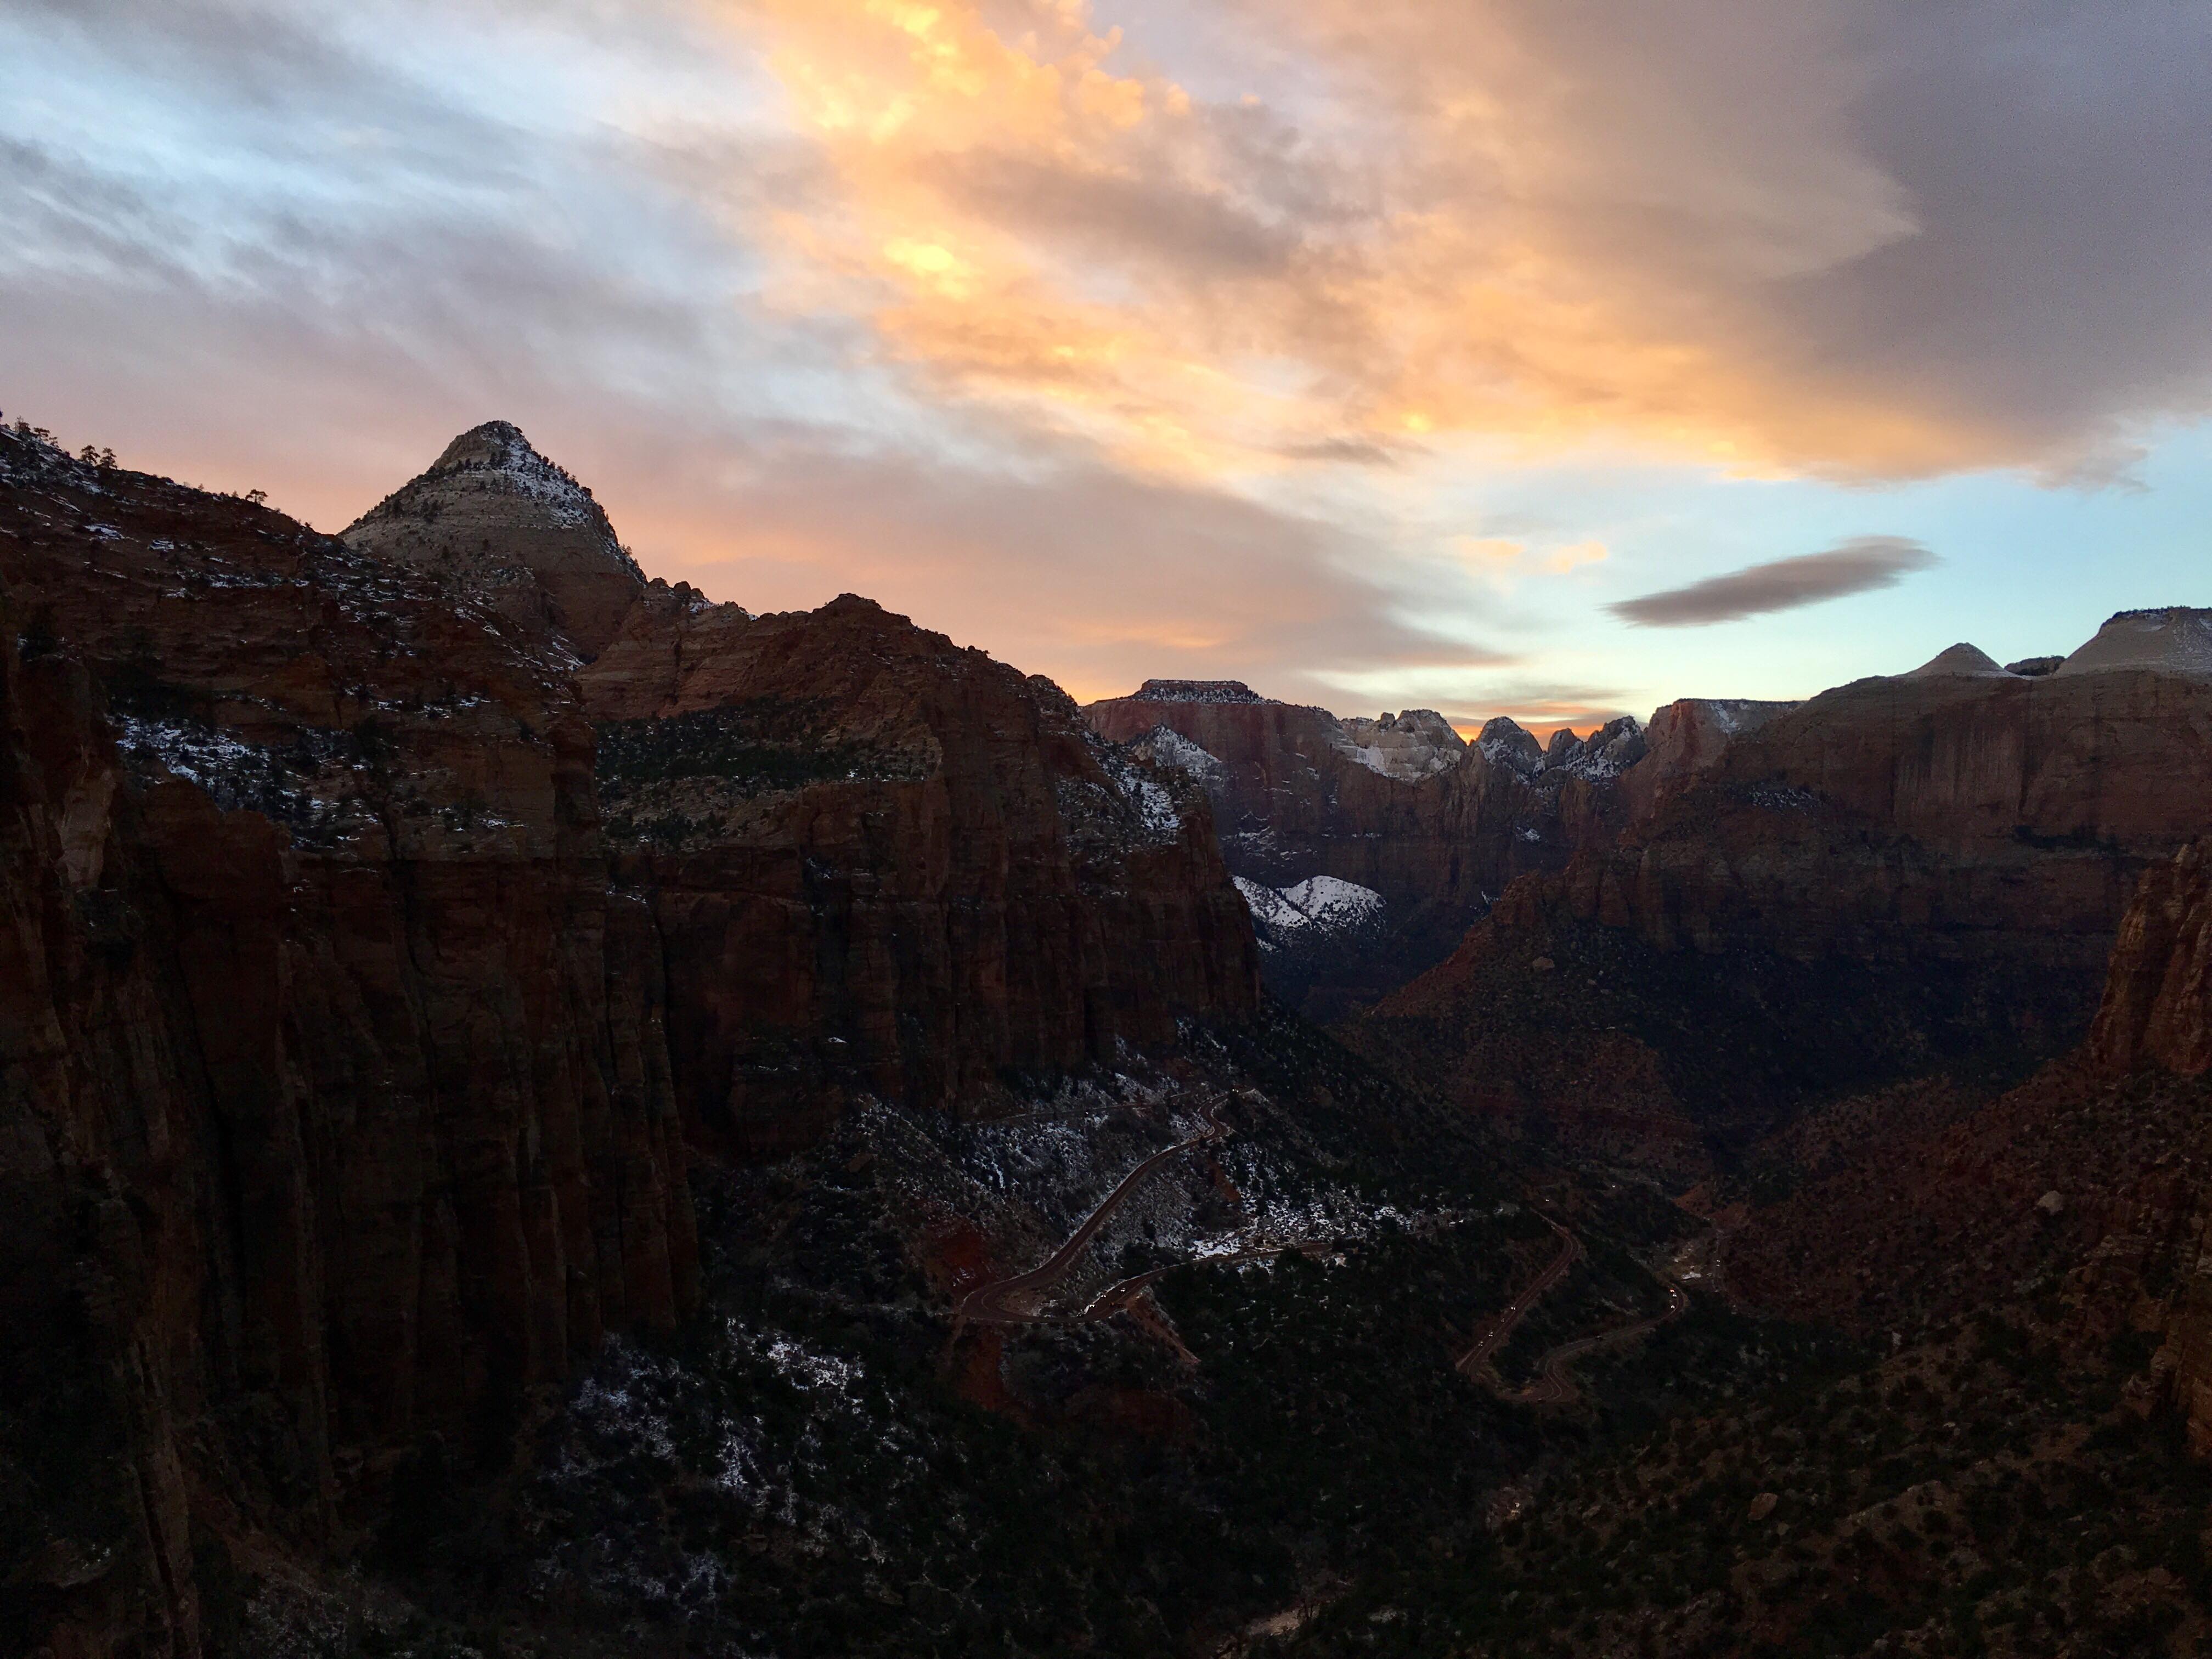
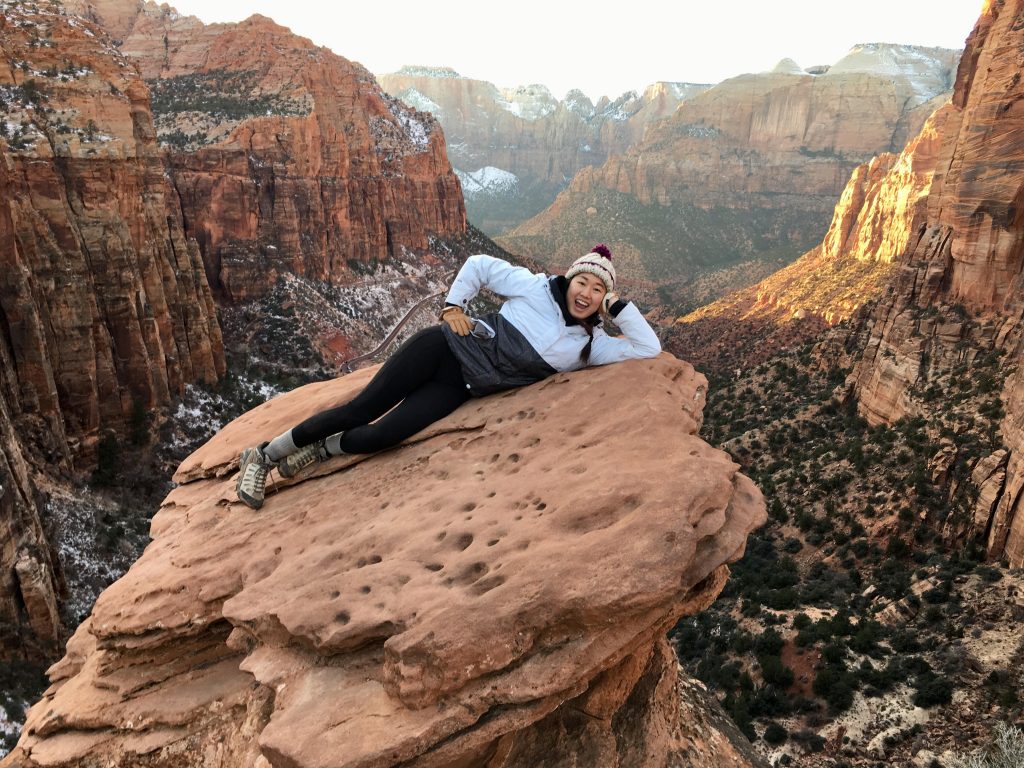
Canyon Overlook was probably my favorite hike of the entire trip. It’s a short climb up, and you are immediately rewarded with beautiful views of towering red sandstone cliffs. There were no icy patches when we went, and though there are 1-2 dropoffs, most places are protected by railings so even my height-sensitive self was able to leap around without fear. The top of this hike is a wide area with numerous rock formations that you can clamber over to gain a view of the canyon. And for all you photo-conscious travelers, you can get some amazing photos from this vantage point and can easily bring up all your fancy camera equipment. I would recommend going during sunset to see the rocks bathed in a golden light, and you will have more than enough time to climb down before dark.
Weeping Rock
Distance: .5 mile
Time: 20 minutes
Elevation gain: 60 ft
Trailhead: Shuttle stop 7
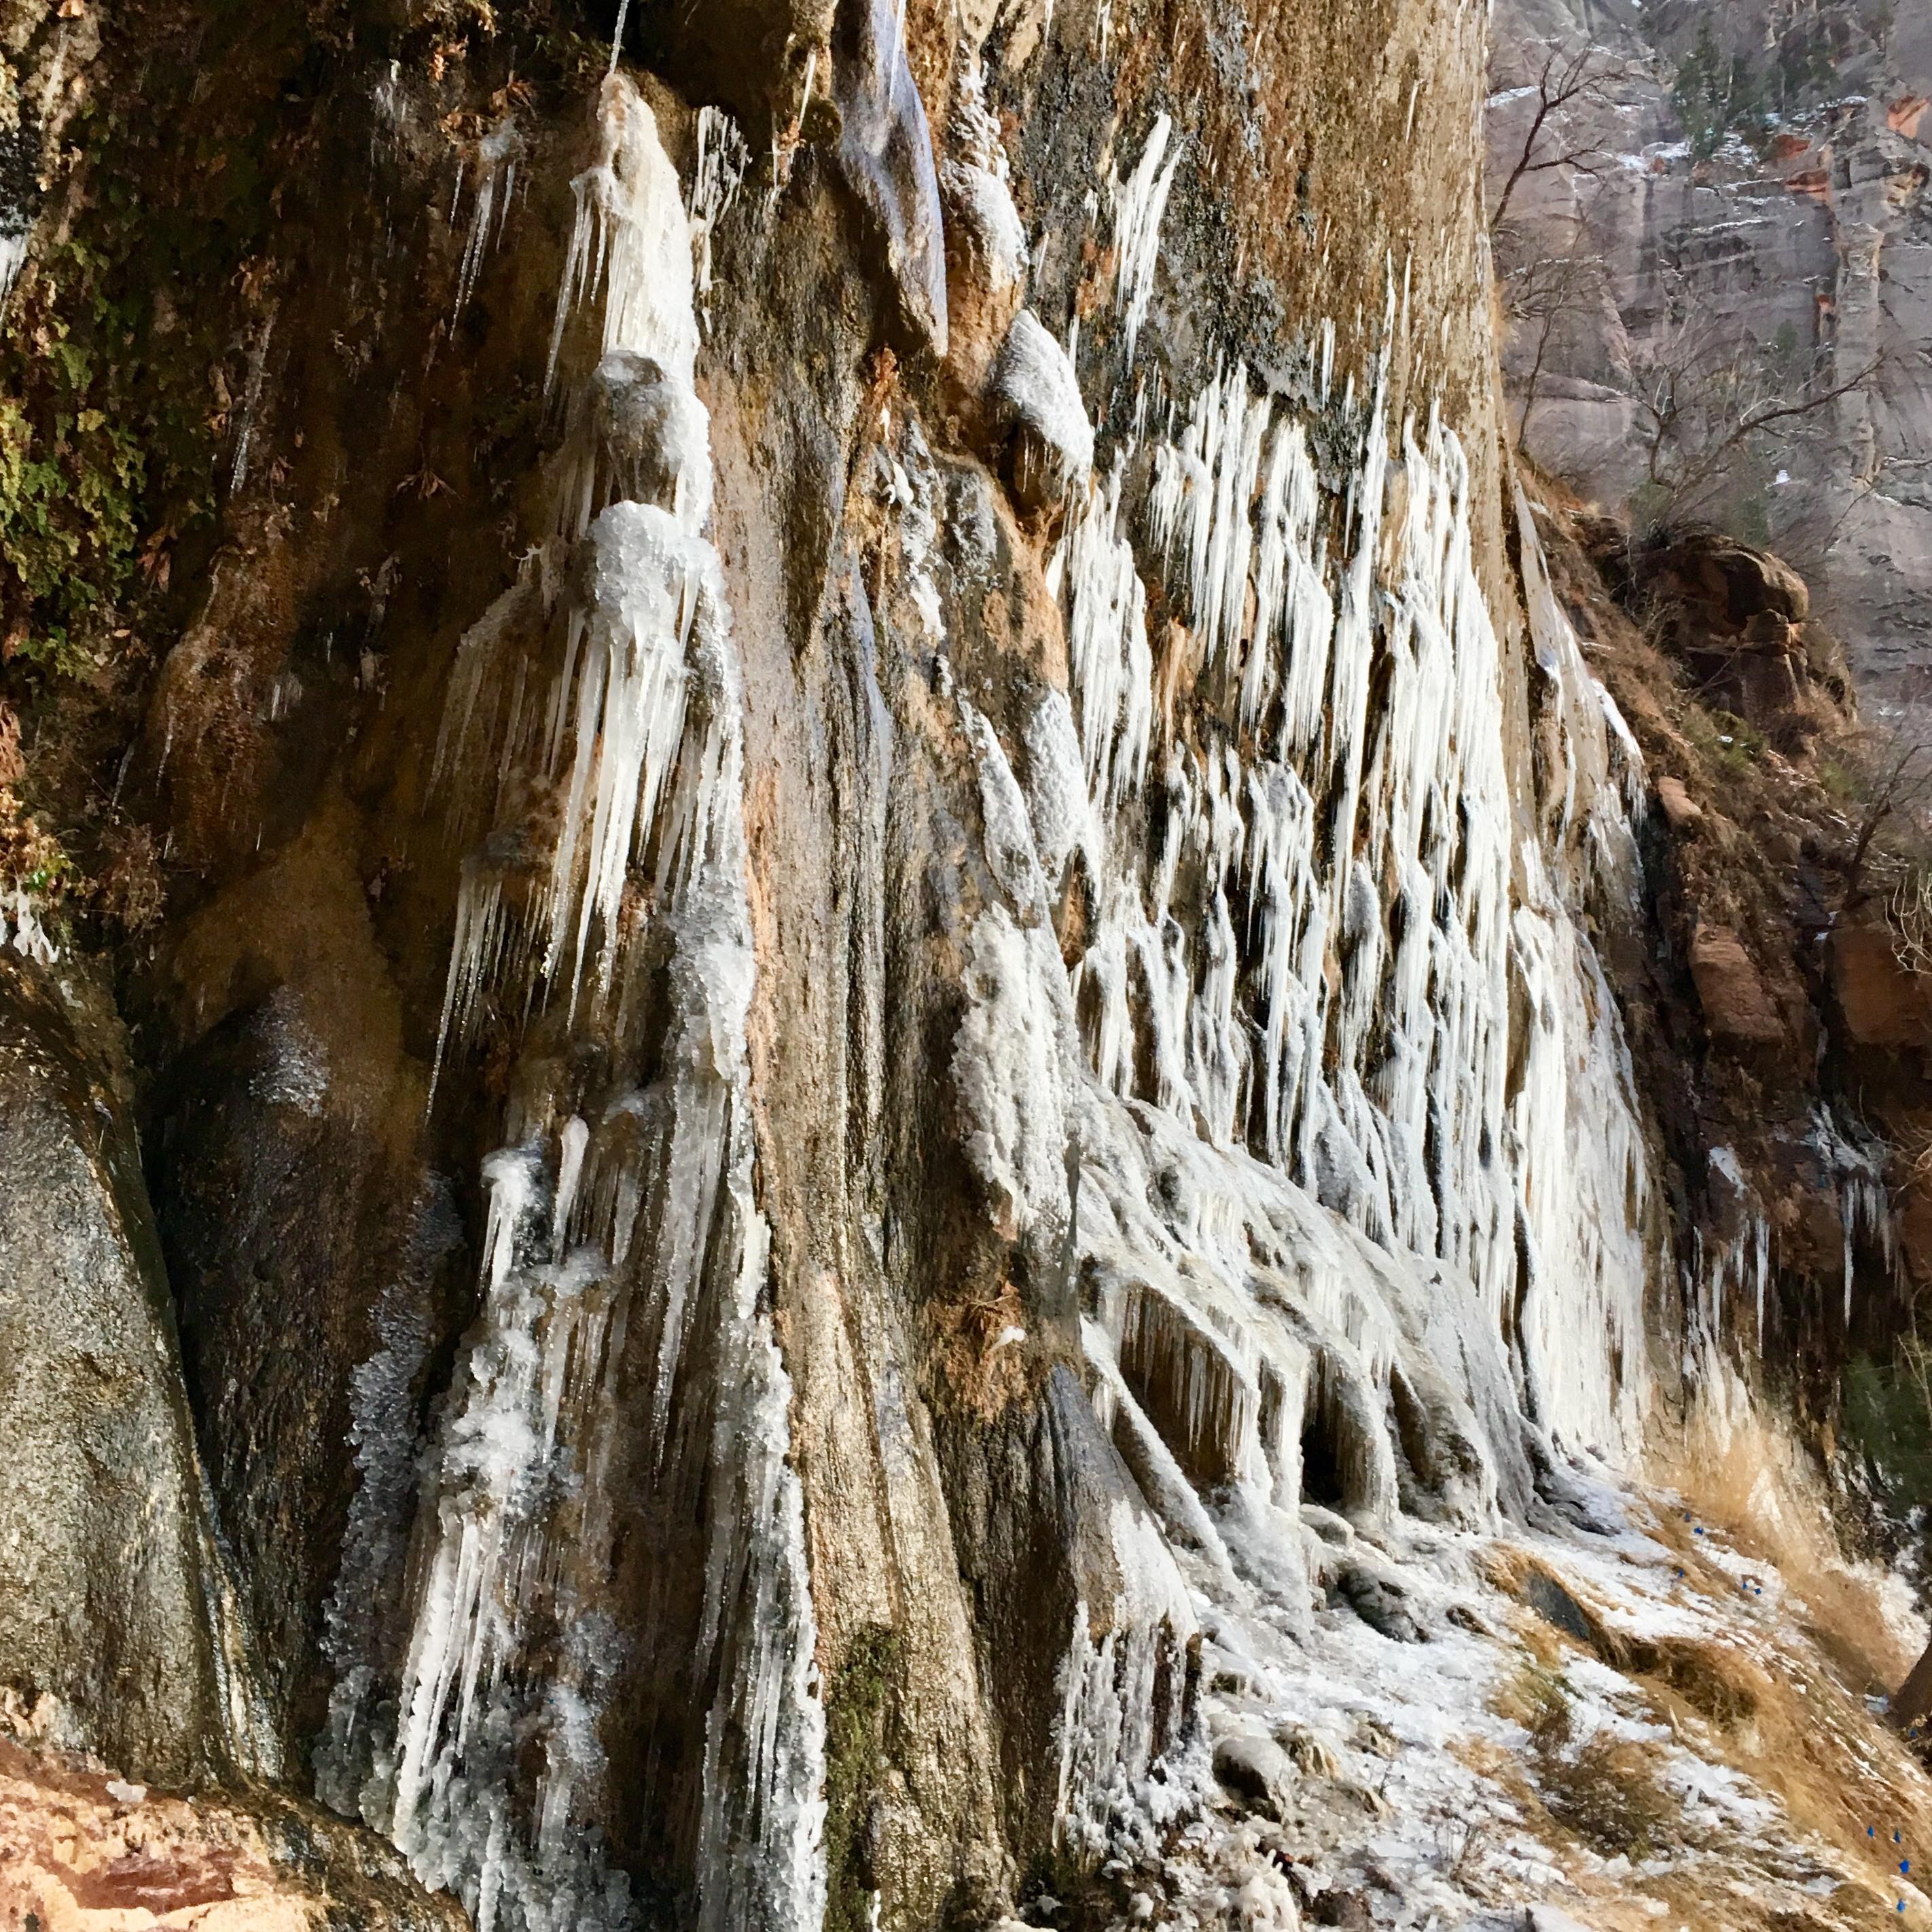
We came here after completing Observation Point as it is just a short walk from the same trailhead. Water flows from Weeping Rock down the path, so there was a majorly icy path on the steep part of the trail. After a nimble little dance across this patch, we were rewarded with the site of the rock encrusted in layers of jeweled icicles. There is a slight danger of falling icicles, so use caution and make sure not to walk directly below these icy daggers.
Emerald Pools
Distance: 3 miles
Time: 1.5 hours
Elevation gain: 350 ft
Trailhead: Shuttle stop 5
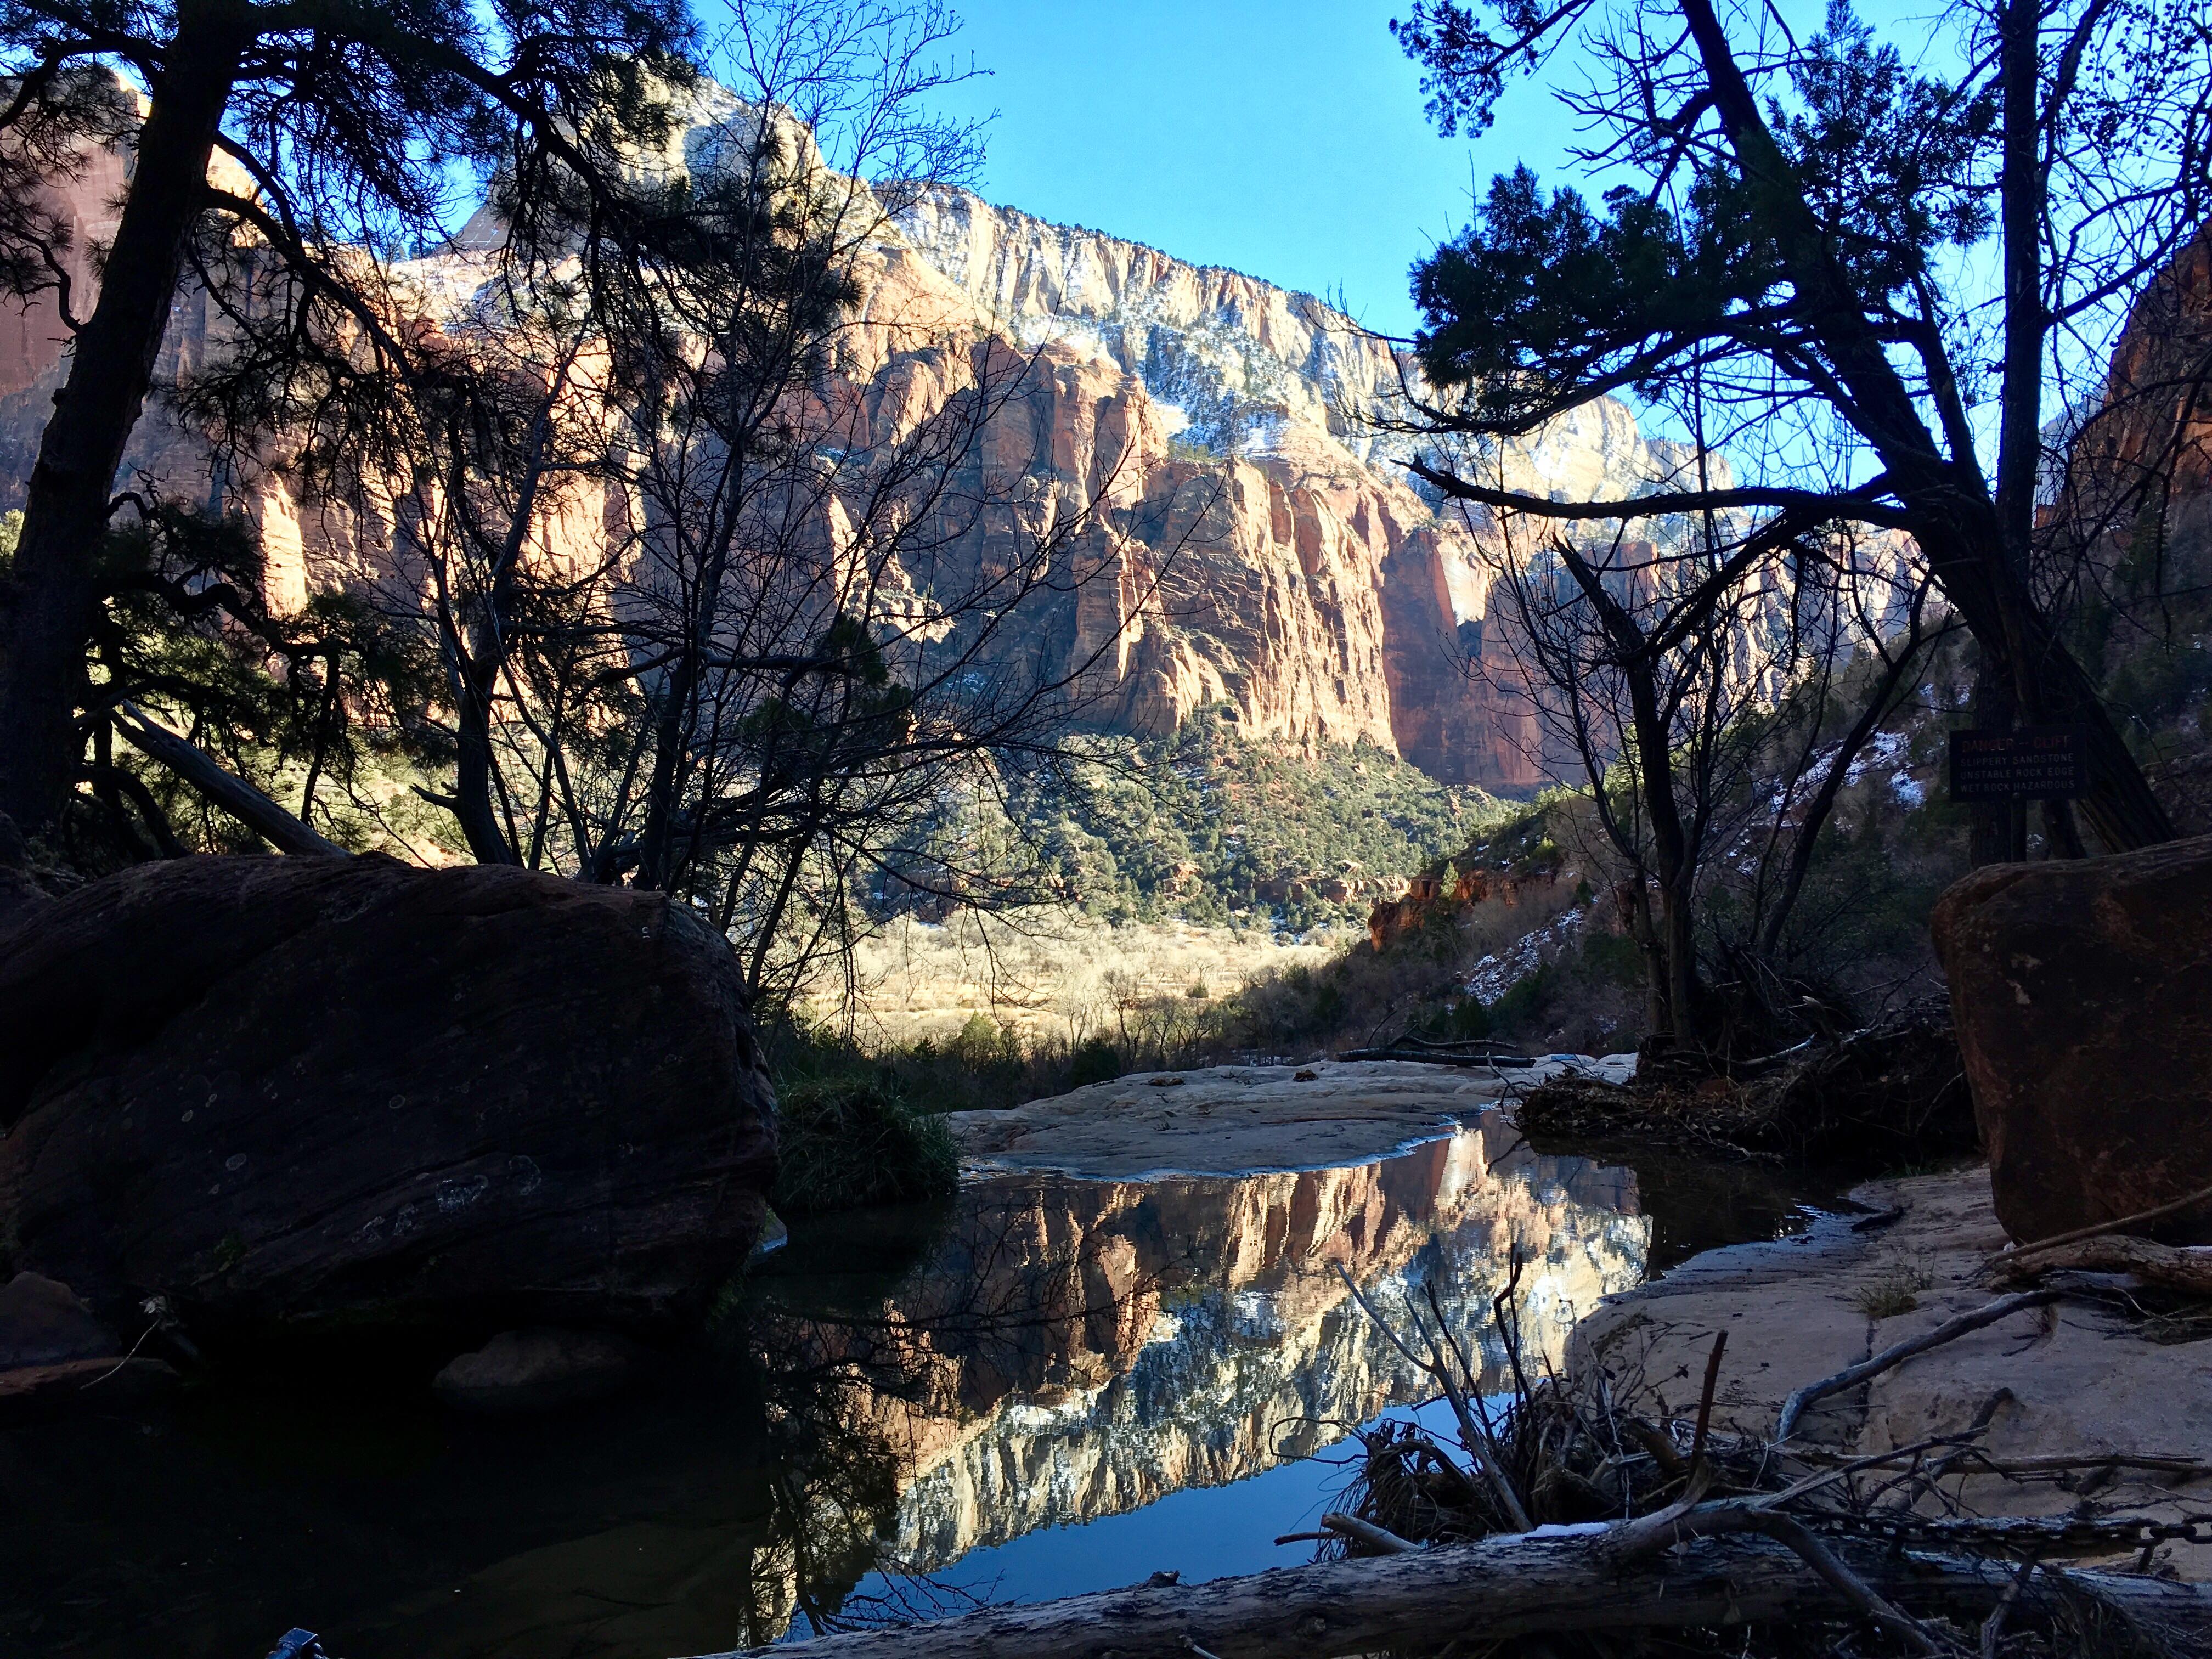
This hike provides a pleasant traipse through sandstone formations as you hike from the lower to upper pools. I imagine it can be quite hot during the summer, but winter temperatures were perfect and the stairs had us quickly shedding our layers. There was one giant icy patch down to the lower pools and could only be crossed by desperately clinging to the railing and summoning up my very poor ice skating skills. The gentle trickle of the pools coupled with the cracking tumbling of icicles and shimmering landscape created a true winter wonderland.
Gear for winter hiking
It’s important to be prepared for cold and icy conditions – you are, after all, in the middle of a desert during the middle of the winter. You want to be warm without overheating and have the ability to remove and add layers easily. You want to minimize how much you sweat because when you stop hiking, the sweat will instantly chill you which is absolutely not fun.
Top
- Thermal underlayer – Uniqlo Heattech ultra warm t-shirt
- Sweat wicking shirt – Nike Pro Hyperwarm training hoodie
- Light insulating layer – Uniqlo Ultralight down vest
- Windproof and insulating outer layer – Ski jacket bought off a random vendor on Amazon
Bottom
- Thermal underlayer – Uniqlo Heattech ultra warm leggings
- Leggings – Your average gym leggings
- Windproof and waterproof shell – REI Co-op Rainer full-zip rain pants
Miscellaneous
- Wool hat
- Gloves
- Smartwool socks (2 pairs in case one got wet)
- Oboz hiking boots
- Yaktrax – I didn’t bring them, but I sure wish I did!
Go to Zion in the winter! Hike and revel in the cold and towering red cliffs dusted with snow. And of course, be careful and stay warm, friends 🙂

Did you manage to do Hell’s Landing? We wanted to but a landslide destroyed part of the hike 🙁 Great pictures btw!
We decided against it because of the icy conditions on Observation Point… just means we have to come back and do it again next time!
Excellent photos–thank you for sharing!
How beautiful! Great tips for hiking in the winter too. Thanks for linking up to Take Me Away in January! Our next link party is this Friday. Hope you will stop by!
Shelley
Thanks for stopping by, Shelley! Looking forward to the next link party 🙂
This is so beautiful and what an adventure! Stopping by from the Take Me Away party.
Thanks for dropping by! It really was a great trip with some breathtaking views 🙂
Wow! great photos.
Thank you!!