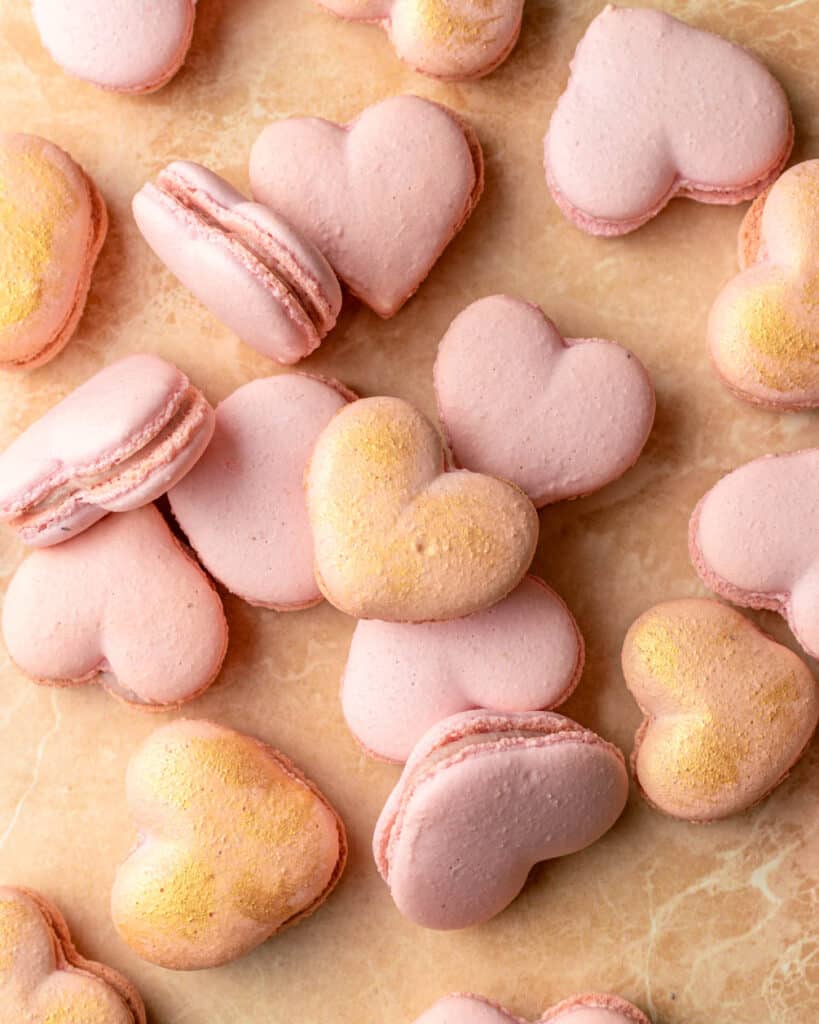
These cute heart shaped macarons are made using the Italian meringue method and filled with a sweet and fruity ruby chocolate ganache. They’re the perfect treat to spread some love this Valentine’s Day!
I think there’s nothing more romantic than homemade treats for Valentine’s Day, and these heart shaped macarons are next level! Ruby chocolate ganache helps give the filling a natural mauve color and fruity taste that’s perfect for Valentine’s Day.
These macarons are made using the Italian meringue method, which is my preferred way to make macarons due to the increased stability of the meringue. I find that I consistently produce well-formed, fluffy macaron shells using the Italian method compared to the Swiss or French method.
Why use the Italian method for macarons?
I’ve made macarons many, many times using all 3 methods – French, Swiss, and Italian. The Italian method is my preferred way because it produces a very stable meringue that leads to consistent results.
To learn more about the differences and pros and cons, you can check out my guide here!
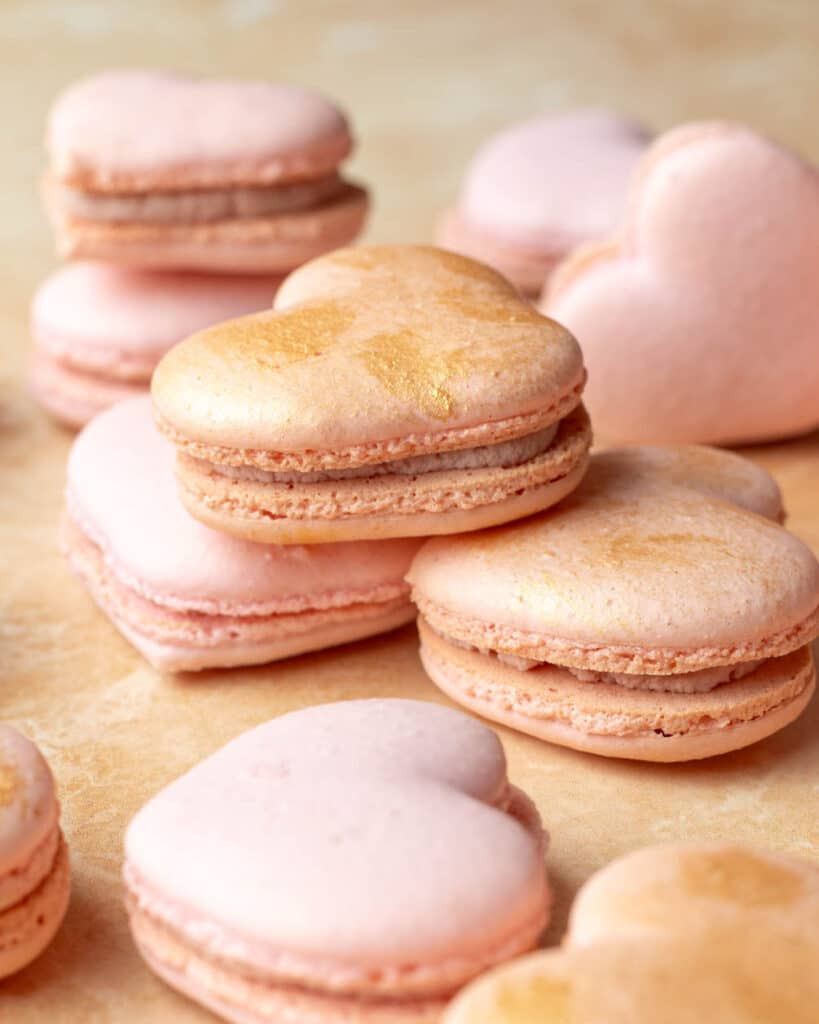
Tips for making heart shaped macarons
If you’re a beginner to make macarons, I recommend you check out my complete guide to making Italian macaron shells. To make heart shaped shells, we’ll want to add some food coloring into the meringue and pipe into a heart shape.
When should I add in food coloring when making macarons?
I like to add gel food coloring when the meringue has reached a medium peak. This way, there is plenty of time for the coloring to incorporate into the meringue without overbeating.
It’s very important to use gel coloring rather than liquid coloring so you don’t interfere with the meringue.
I also dye the meringue darker than I want the final shells to be, as the color will fade once you mix in the almond paste and bake in the oven.
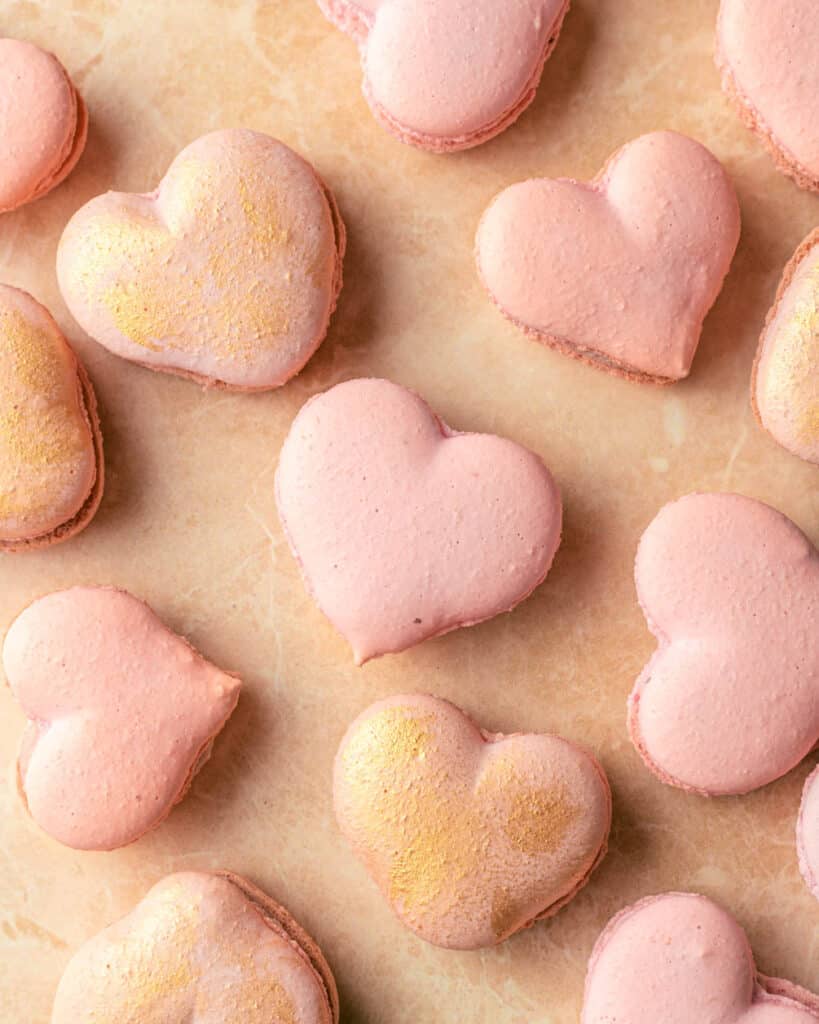
How can you pipe heart shaped macarons?
If you’d like, you can find a template on the Internet, print it out, and trace the heart shapes onto parchment paper. You can even buy silicone mats with heart shaped templates.
However, I prefer free-hand piping. First, I pipe a small circle and gently pull in diagonal motion while releasing pressure to create one half of the heart plus the tip of the heart. I then fill in the other circle to complete the shape.
If the piping comes out a little wonky, you can use a toothpick to gently even out the shape immediately after piping.
Why is this macaron recipe only in grams?
I strongly recommend using a food scale to weight out ingredients when making macarons. I can’t be confident that a recipe using cups or tbsps will consistently produce quality results for all bakers, so I am only providing this recipe in weight measurements.
How to make ruby chocolate ganache
These macarons are filled with a delicious ruby chocolate ganache filling that is super easy to make. I use a 1-1 ratio of chopped ruby chocolate and heavy cream. Here are some tips for making the ganache:
- Chop the chocolate very finely so that it melts smoothly into the hot cream
- Heat up the cream on the stove rather than in the microwave so that it is evenly heated through out
- Do not heat the cream past simmering, as it will be too hot
- After pouring in the cream, let is sit for 30 seconds so that the chocolate begins to melt. Then, stir starting from the center moving outwards to combine the cream and chocolate
- Let the ganache set completely in the fridge before piping, otherwise it will be very runny and difficult, and you will be sad
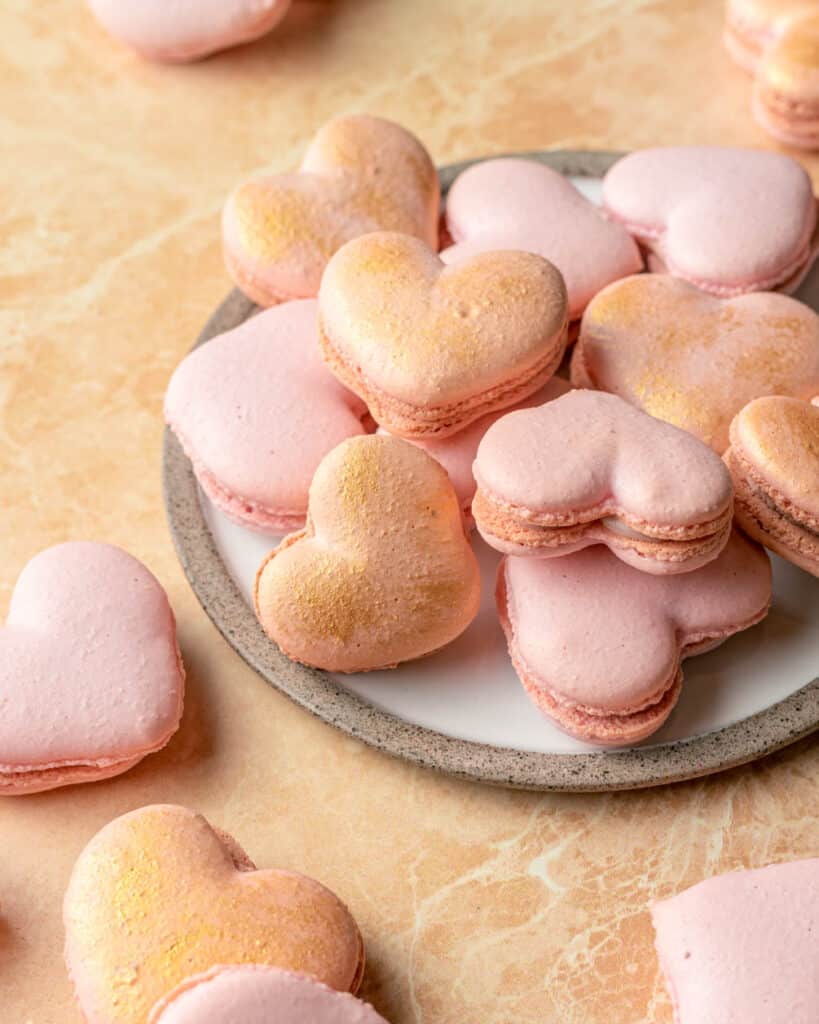
Other Valentine’s Day recipes:
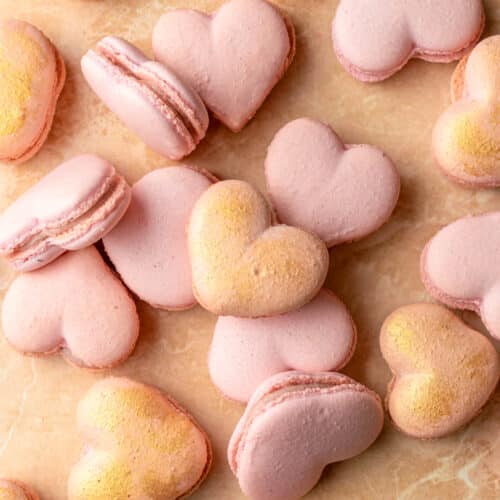
Ruby chocolate heart shaped Italian macarons
Equipment
- food processor (optional)
- Stand or hand mixer
- Food thermometer
- Food scale
- Pastry bags
- Parchment paper or silicone baking mats
- Baking sheets
Ingredients
Italian macaron shells
- 135 g almond flour
- 135 g powdered sugar
- 33 g water
- 117 g granulated sugar
- 100 g egg whites (about 3)
- Red or pink gel food dye
Ruby chocolate ganache
- 150 g ruby chocolate, finely chopped
- 150 g heavy whipping cream
Instructions
Pre-baking prep
- Wipe down all of your equipment and utensils with vinegar or lemon juice to remove traces of oil and water. Measure out all of your ingredients before starting
- Prep your baking trays. Flip them upside down and line with parchment paper or silicone baking mats. If you're using parchment paper, you can dab a little bit of macaron batter at the corner of each sheet to secure the paper and keep it from slipping
Make the almond paste & Italian meringue
- Combine the almond flour and powdered sugar in a food processor and grind until fine. Sift through a sieve into a medium bowl
- Combine water and granulated sugar in a saucepan and stir over medium heat until the sugar dissolves
- Heat the sugar syrup to 244°F over medium-high heat
- While the sugar syrup is heating, place half the egg whites (75g) into the bowl of stand mixer fitted with a whisk attachment. Beat on medium speed until soft peaks form
- Once the sugar syrup hits 244°F and the egg whites are at soft peaks, trickle the hot sugar syrup down the side of the bowl while the mixer is running at medium-high speed
- Continue beating on medium-high speed. Once the meringue reaches medium peaks (i.e., starting to clump but still soft and droopy), add a few drops of gel food dye. Continue beating until stiff peaks form. This should take about 10 minutes in total to reach stiff peaks
- Create an almond paste by combining the almond flour and powdered sugar with the remaining half of the egg whites (75g)
Macaronage
- Once your meringue has reached stiff peaks, combine it with the almond paste. Mix in one third of the meringue each time, making sure to mix thoroughly so that there are no chunks of almond paste
- Using a "J" motion, fold the batter to squeeze out air until it reaches a lava-like consistency. You don't have to be gentle here, but make sure to check the consistency periodically so you don't overmix. Once the batter falls smoothly off the spatula in ribbons and can be used to draw a figure 8 shape, the batter is ready. Stop mixing once it hits this point
Pipe and rest macarons
- Fill a large pastry bag with the batter. Snip off the tip of the bag to create a 1/2 inch opening
- Pipe into heart shapes. Start by piping a small circle, about 1/2 inch in diameter. While reducing pressure on the piping bag, move diagonally to create a tapered point. Complete the heart shape by piping another small circle adjacent to the first one and filling in any gaps
- Bang the pans against the counter a few times to knock out any air bubbles. Use a toothpick to gently pop any remaining bubbles that you see trapped below the surface of the shells
- Let the shells rest for 20 minutes to 1 hour until a skin forms and you can gently touch the top of the shells without batter sticking to your finger
Make the ruby chocolate ganache
- While the macarons are resting, make the ganache. Place the finally chopped ruby chocolate in a mixing bowl. In a small saucepan, heating the cream over medium heat until it reaches a simmer
- Pour the hot cream evenly over the chopped ruby chocolate. Let sit for 30 seconds – 1 minute to let the chocolate melt
- Starting from the center and moving outwards, stir to combine the chocolate and cream until a smooth ganache forms
- Cover and let cool completely until the ganache is set and no longer runny
Bake the macarons
- While the macarons are resting, preheat the oven to 325°F. I use an oven thermometer to double check the temperature and will let the oven run through a few cycles of heating and cooling down to stabilize
- Bake for 11 – 14 minutes. I gently wiggle the tops of the macarons to see if they're done baking. If they are wiggly, then I will keep them in for another minute then check again
- Remove from the oven and let cool completely before removing from the tray. Once the macarons are cooled, they will easily peel off. If they are sticking, they need to cool for longer
Fill the macarons
- Pair up the macaron shells based on size and shape to ensure as even a match as possible
- Once the ganache is set, transfer to a piping bag. Pipe the ganache onto one macaron shell, then sandwich with the second shell
- You can further choose to decorate the shells with a ganache drizzle or edible paint. I like to use a little bit of edible gold paint to give the shells a beautiful shine!

