
I just finished week 2 of French pastry school, and the focus was on tart shells. Here are some tips and learnings from the week!
I’ve also included my go-to, beginner friendly pâte sucrée recipe at the bottom of this post.
Tart crust ingredients
Basic tart crusts use just a few common ingredients.
- Flour – For a basic tart recipe, all purpose flour works well
- Butter – Butter typically is added cold to the dough
- Salt – Salt adds flavor and helps the tart dough brown
- Sugar – Sugar adds flavor, and either granulated sugar or powdered sugar is commonly used depending on the type of tart crust
- Egg – Egg helps bind the ingredients together. Sometimes you may see water or milk added with the egg for additional binding and moisture.
Of course, different chefs will experiment with different ingredients depending on the final texture and flavor they are trying to achieve.
Types of tart crust
In French pastry, there are 3 common types of tart pastry. They all use similar ingredients, but combined in different ratios to achieve certain textures and flavors.
Pate brisee (shortcrust pastry)
- typically 2 – 1 ratio of flour to butter
- not much sugar
- texture is short and crumbly
- good for savory tarts, or for very sweet and juicy fillings
Example pate brisee recipe:
- 250g flour
- 125g butter
- 5g salt
- 5g sugar
- 70g egg
Pate sucree (sweet shortcrust pastry)
- typically has more sugar than butter
- easier to handle than pate sablee
- good for sweet tarts
Example pate sucree recipe
- 250g flour
- 100g butter
- 5g salt
- 110g sugar
- 50g egg
Pate sablee
- typically has more butter than sugar
- good for sweet tarts
- texture is richer and more buttery than pate sucree
- some recipes will add in almond flour
Example pate sablee recipe
- 250g flour
- 110g butter
- 5g salt
- 90g powdered sugar
- 50g egg
How to make the best tart crust dough
What are signs of well-made tart crust?
A well-made tart crust should be tender and delicate. It should be easy to work with and should not shrink too much in the oven. To achieve this, we will focus on not developing the gluten while still making sure all ingredients are fully combined and the dough is smooth.
Tart crust techniques
Sablage (crumbling)
Sablage is when you cut together the cold butter and flour first until small butter chunks are evenly distributed among the dough. You then add the sugar and salt, and add the egg last.
By adding the liquid ingredient last, you prevent gluten development so that the final result is tender and crumbly.
To make sure everything is well-incorporated, you smear the ingredients across the countertop with your palm using the fraisage method. This combines the ingredients without developing gluten.
Cremage (creaming)
Cremage is when you cream together the butter and sugar first until well combined, then add your egg, and finally the salt and flour. When creaming the butter and sugar, you don’t want to add too much air, like you would when making a cake for example.
Can you make tart crust dough by hand?
Yes! In pastry school we only ever made tart dough by hand. Many recipes will recommend using a food processor, since the blades help combine the butter and flour without kneading the dough and developing gluten. You can mimic this by doing the following:
- Use a bench scraper or pastry cutter to cut the butter and flour together until the butter is in very small pieces. They should be pea-sized or smaller.
- Gently rub the butter and flour in a gentle back and forth motion between the palm of your hands. This helps distribute the butter more evenly and break down the butter even more
- Add the liquid in a well in the middle
- Use the bench scraper to cut everything together and combine into a loose dough
- Smear the dough across the countertop with the palm of your hand to break down any remaining butter chunks until you have a homogenous dough
Do you have to rest tart crust dough?
Yes, you should rest tart crust dough for at least 30 minutes in the fridge. Resting helps chill the butter and also allows the gluten to relax. Both of these things are important for rolling out a smooth tart shell.
How to line a tart tin
Rolling out the dough
To line a tart shell, roll out the dough in a circle that is the diameter of your tart tin plus a extra inches for the height of the tin.
The most important part of this step is to make sure that the dough does not stick to the countertop. Every few rolls, you want to lift it up and move it around the countertop, lightly dusting with flour as needed.
If the dough starts becoming too soft, place it back in the fridge or freezer to firm up.
Lining the tin
When lining the tin, you want the dough to be flush against the tin so you don’t get any bumps and so the dough does not melt down the side of the tin during baking.
To transfer the dough from the countertop to the tin, I like to roll it up on my rolling pin, then unroll onto the top of the tin.
Then, use your fingers to gently press the dough into the tin, being sure to press down firmly against the edges.
Trim off any excess dough using the back of a paring knife. Cut diagonally so that the dough lightly latches onto the edge of the tin.
How to bake a tart shell
There are different baking techniques depending on the filling of the tart. The goal is to have a crispy, well-baked shell that is even and beautiful. Before baking, it’s important to freeze the tart for 15 minutes or so to help the dough retain its shape in the oven.
Docking
Docking is when you poke holes in the bottom of the tart before baking. This helps prevent the bottom from bubbling up in the oven.
Blind baking
Blind baking is when you pre-bake the tart crust before adding the filling. It is especially helpful for very wet fillings to avoid a soggy tart bottom.
When blind baking, it’s helpful to weigh down the tart shell so that the bottom and sides remain smooth. Here’s an overview of blind baking:
- Line the tart shell with an oven-safe material, such as aluminum foil, parchment paper, or heat-resistant plastic wrap.
- Fill the shell with oven-safe weights. You can use pie weights, beans, rice, or granulated sugar
- Place in the oven and bake either partway or fully through depending on your recipe.
My personal favorite combination is aluminum foil and granulated sugar. The foil tightly hugs the tart shell, and the granulated sugar gets into every corner. This helps me get a more even bake.
Tart crust troubleshooting
Tart crust is too crumbly and won’t come together
Your dough may be too dry. First, try pushing the dough across the countertop with the palm of your hands to see if this helps combine the ingredients. If it continues to be too dry, you can add a little more liquid.
Tart crust is too tough and hard
A tough, hard crust is likely due to too much gluten development. When making the dough, try not to knead it or roll it out too many times.
Tart crust is shrinking too much
A shrinking tart crust is likely due to too much gluten development. This makes the dough more elastic, so it wants to contract. When making the dough, try not to knead it or roll it out too many times.
Tart crust is melting
The dough is too warm. If using the sablage method, make sure to cut in cold butter and always be sure to rest in the fridge before using.
Tart shell is uneven or looks messy
An uneven or messy tart shell can be fixed using a microplane. The microplane can help smooth down edges and any lumps.
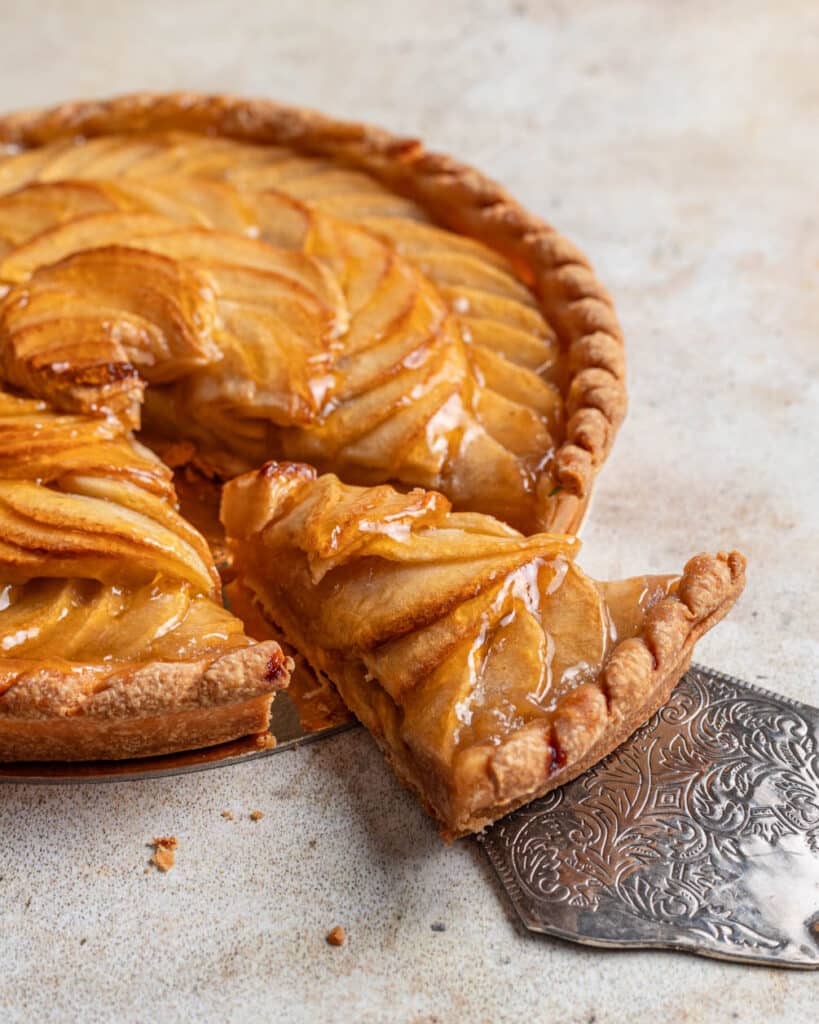
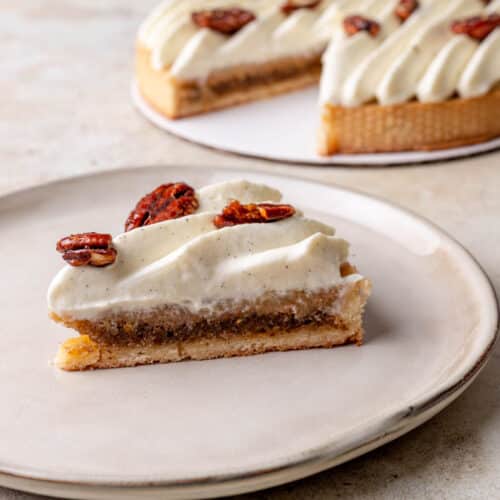
Tart recipes to try
Now that you’ve learned all about tart dough, here are some recipes to put your knowledge into action:
Easy Pâte Sucrée (Sweet Tart Crust)
Equipment
- Food processor (Please see recipe for how to make by hand)
- Bench scraper, if making by hand
Ingredients
- 208g (1 2/3 cups) All purpose flour
- 125g (1 cup) Powdered sugar
- 84g (6 tbsp) Unsalted butter, cold
- 1 Medium egg (50g)
Instructions
Using a food processor
- Add the flour and powdered sugar to the food processor. Mix on medium speed for a few seconds until combined
- Cut the cold butter into tablespoon size pieces and add to the food processor. Pulse until the butter has broken into very small pieces, and the mixture has a sandy texture.
- Add the egg. Mix on medium speed until the dough comes together into a smooth ball
- Flatten the dough into a disk and cover with plastic wrap. Rest for a minimum of 2 hours in the fridge before using
Make by hand
- Mix together the flour and powdered sugar, and place in a mound on your clean countertop
- Cut the cold butter into small cubes, about 1 – 2cm wide. Place the butter in the middle of the dry ingredients
- Use a bench scraper to repeatedly cut the butter into the dough until the butter is pea-sized or smaller. Gently rub the butter and flour in a gentle back and forth motion between the palm of your hands. This helps distribute the butter more evenly and break down the butter even more
- For a well in the middle of the ingredients, and add the egg in the center of the well. Use your bench scraper to cut the egg into the dry ingredients
- Keep cutting with your bench scraper until the egg is combined with the dry ingredients. Smear the dough across the counter with the palm of your hand to fully incorporate everything. Keep smearing and gathering the mixture until a smooth dough forms. Avoid kneading, as this toughens the gluten
- Flatten the dough into a disk and cover with plastic wrap. Rest for a minimum of 2 hours in the fridge before using
Notes
- The dough needs to be rested before using so that the gluten relaxes. Otherwise, the tart shells may shrink while baking.
- Tart dough freezes very well. Make sure to wrap and store in an airtight bag so it does not get freezer burn.