
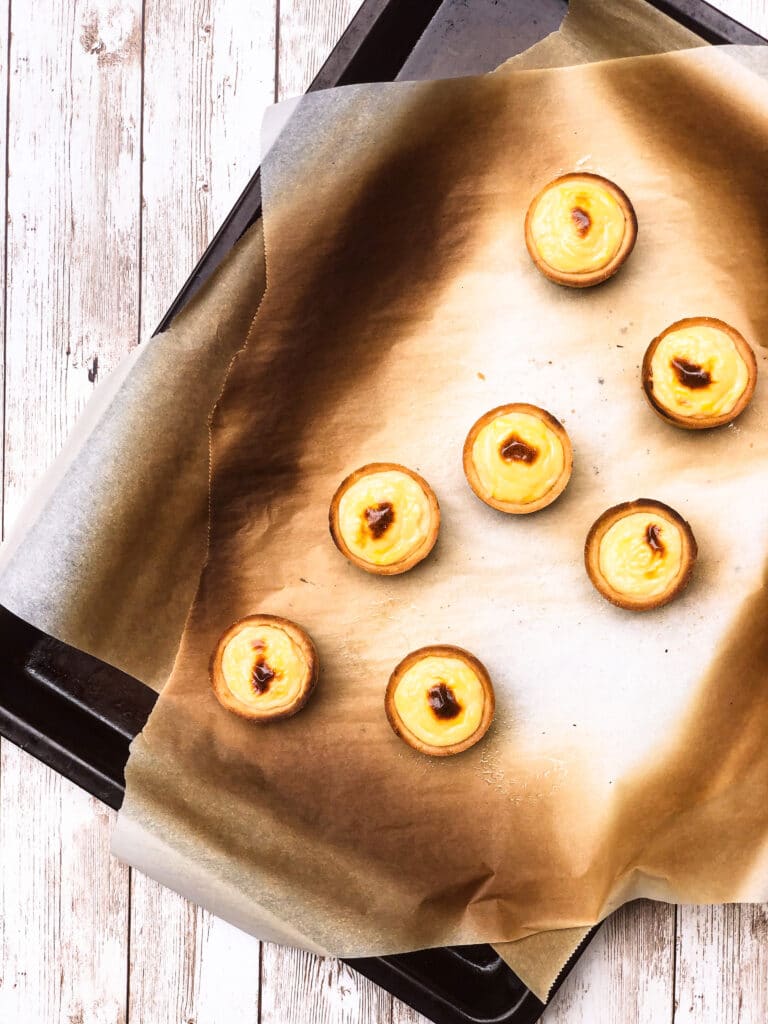
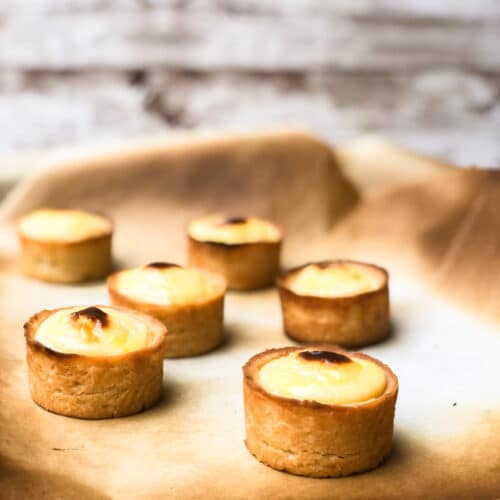
Learn how to make Hokkaido baked cheese tarts that taste as delicious as the original from Japan. A creamy baked cheese center oozes out of perfect flaky shortcrust.
Click here to jump to recipeOne of the most memorable desserts I had in Japan was baked cheese tarts. Japanese baked cheese tarts are similar to cheesecake, but have a very distinct texture. Rich and creamy yet light and not too sweet, these tarts are absolutely addicting to eat. I’ve heard that the secret to these delicious tarts is the Hokkaido milk that goes inside. Granted, it is hard to get Hokkaido milk in the United States, so I decided to develop my own baked cheese tart recipe that I could make at home.
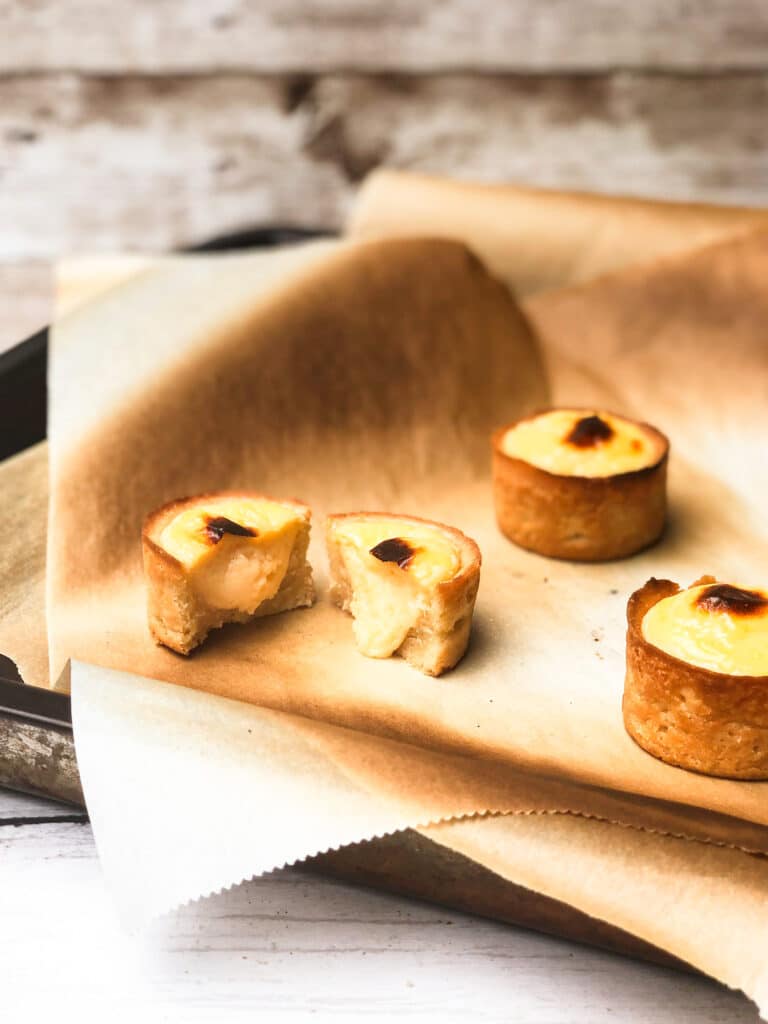
I was lucky enough to try baked cheese tarts from two different companies when I was in Japan. One was Bake Cheese Tart, which is known for their miniature tarts. The other was Pablo Cheese Tart, which is known for a super gooey lava cheese tart. The lava cheese tart oozes creamy filling when it comes out of the oven, and firms up into a more traditional cheesecake texture as it cools.
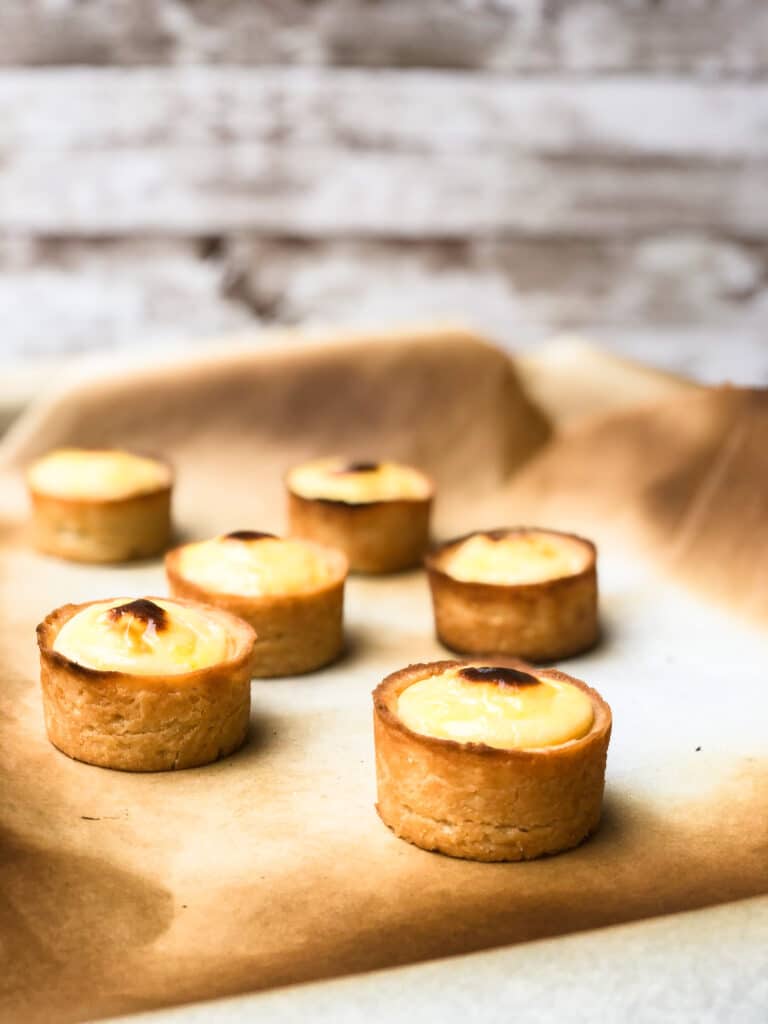
Because I love both of these delicious tarts, my Japanese baked cheese tart recipe is inspired by both. They are miniature sized with a flaky short crust and have a Pablo-style gooey lava filling. I did some taste tests on both the crust and the filling, and am satisfied with how similar they are to the Japanese originals.
How to make a perfect cheese tart – ingredients and process
We’ll begin by making Pâté Sucrée, which sounds super intimidating but is really just a simple shortbread-like sweet pastry crust. The ingredients are quite simple, just using flour, sugar, butter, salt, lemon zest, and egg yolks. Make sure the butter is at room temperature so its evenly incorporated in with the other ingredients. After pressing the pastry into our tart molds, we’ll chill for at least an hour before baking.
As the pastry chills, we’ll make our delicious cheese filling. The filling uses a trio of cheeses: cream cheese, mascarpone, and cheddar. Cream cheese adds tanginess, mascarpone adds that elevated richness, and cheddar adds gooeyness. We’ll add butter and milk for richness, sugar for sweetness, and vanilla extract and lemon juice for flavoring. An egg and corn starch will provide structure and help our mixture thicken into a custard.
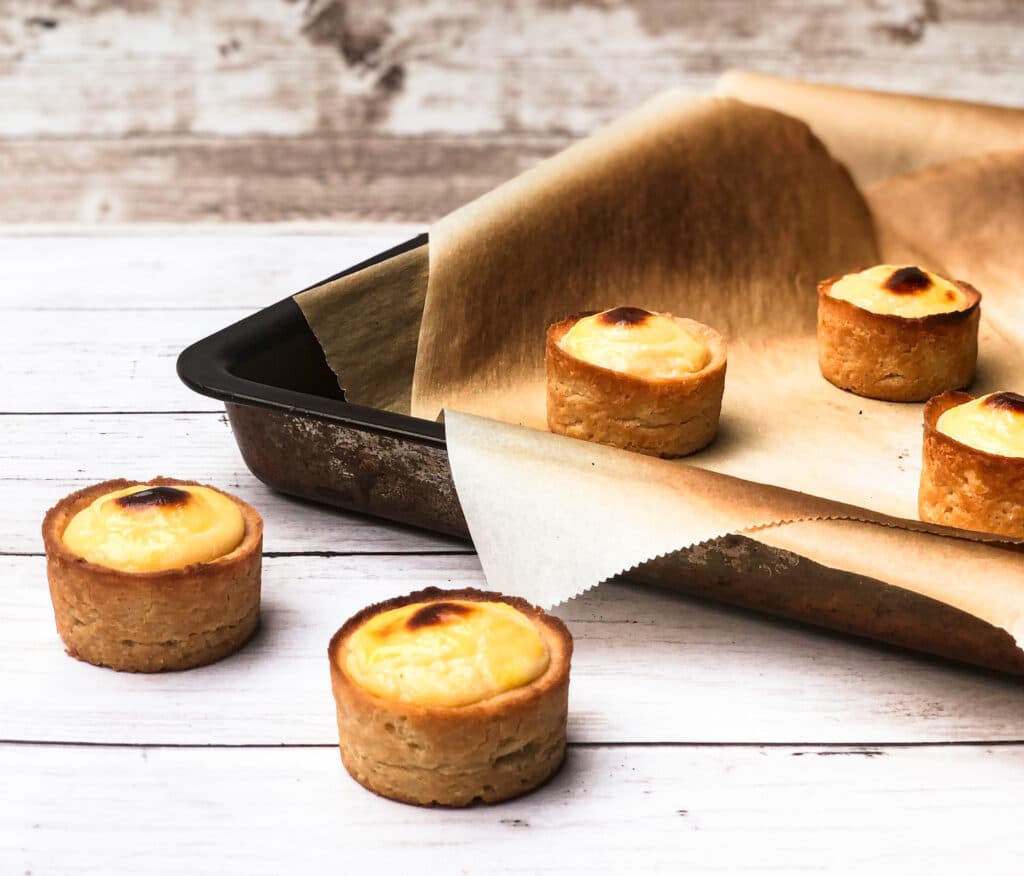
We’ll then bake our tarts and let the shells cool, which will allow our cheese mixture to cool as well. We’ll then pipe the cheese mixture into the shells and broil for a few minutes to get that beautiful charred cheese.
Tips and tricks
- Give your crust sufficient time to chill. This helps the gluten relax, which prevents the crusts from shrinking when they bake.
- Cook your cheese filling in a double boiler to prevent burning. To make your own double boiler, simply put a heat-proof glass bowl over a pot of water on medium heat.
- Make sure your tart shells are cooled before filling, otherwise the filling will melt.
- Fill the tarts so they dome slightly in the middle. This will prevent the tart edges from catching in the oven.
- Keep an eye on your tarts during the final broil. Your tarts will begin to brown in just a few minutes, so be careful not to burn them.
These tarts are an absolute treat and I hope they will transport you straight to beautiful Hokkaido. If you make this recipe, let me know! You can comment below or tag #halicopteraway on Instagram so I can see your beautiful creations.
Other fun pastry recipes:
Japanese baked cheese tarts
Equipment
- 1 medium mixing bowl
- 1 medium pot
- 1 baking sheet
- 2 in. mini tart tin mold (muffin tin will work in a pinch, see recipe notes)
- Hand or stand mixer
- Parchment paper or aluminum foil
Ingredients
For the tart crust
- 1/2 cup (113g) unsalted butter, room temperature
- 1/4 cup (50g) granulated sugar
- 1/2 tsp kosher or sea salt
- 1 cup all purpose flour
- zest of 1 medium lemon
- 1 egg yolk
For the cheese filling
- 3.5 oz (100g) cream cheese
- 3.5 oz (100g) mascarpone cheese
- 1/4 cup (30g) Cheddar cheese, shredded or grated
- 2 tbsp (30g) unsalted butter
- 1/3 cup (80g) milk
- 1/4 cup (30g) powdered sugar
- 1 tbsp corn starch
- 1 tbsp lemon juice
- 1/2 tsp vanilla extract
- 1 egg, beaten
For egg wash
- 1 egg, beaten
Instructions
Make the tart crusts
- Using a hand mixer or a stand mixer fitted with a paddle attachment, cream together the butter, sugar, and salt on medium until light and fluffy. Add flour and lemon zest and beat on low speed until the flour is well-incorporated. Add egg yolk and beat on low speed until the dough comes together. Be sure to scrape down the sides of the bowl as needed.
- Press the dough into your tart molds, creating a crust about 1/4 in. thick. Make sure the dough it is evenly distributed to avoid uneven thickness. Chill in the freezer for at least one hour.
Make the cheese filling
- Sift together powdered sugar and corn starch in a small bowl and set aside.
- In a double boiler, add the cream cheese, mascarpone, cheddar cheese, milk and butter. You can make a double boiler by placing a heat-proof glass bowl over a pot of water on medium heat. Cook until the cheeses melt, stirring frequently.
- Add sugar and corn starch to the cheese mix, stirring frequently until incorporated. Add in egg, vanilla extract and lemon juice, stirring as you add.
- Continue cooking for 15 – 20 minutes on medium heat until the mixture has thickened into a custard-like consistency. It will continue to thicken as it cools. Remove from heat and cover with plastic wrap. Make sure the plastic wrap touches the top of the filling to prevent a film from forming. Set aside and let cool to room temperature.
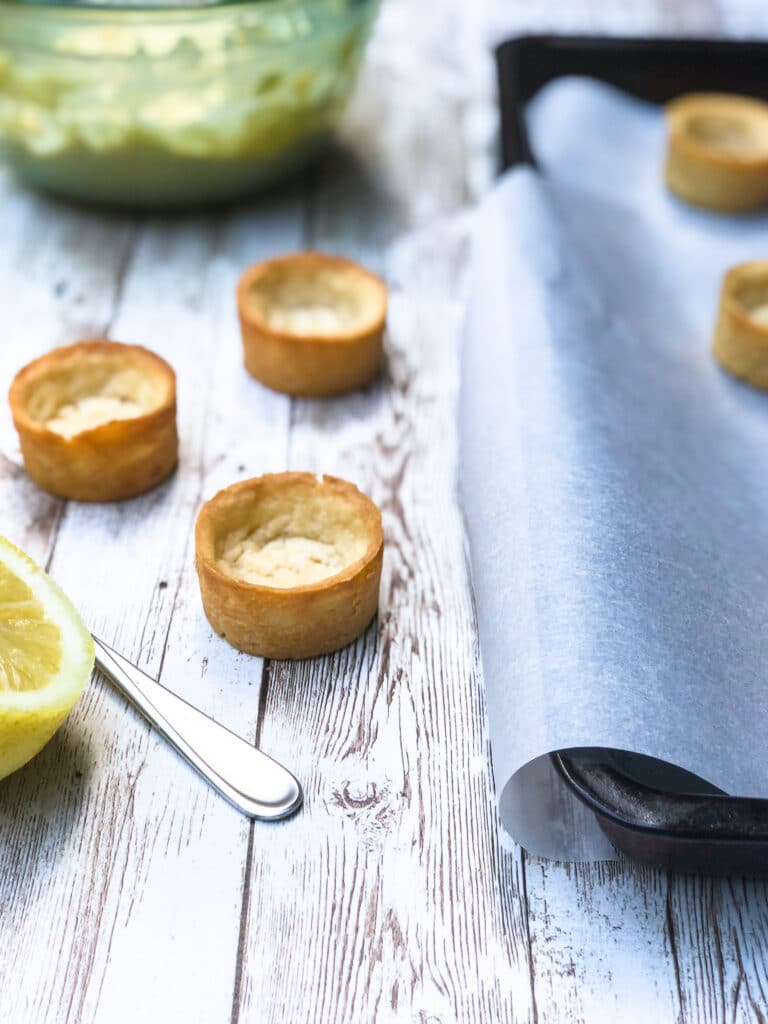
Bake the tart shells
- After making the filling, preheat the oven to 350°F. Remove the tart shells from the freezer and bake on the middle rack for 15 minutes, until the pastry is golden brown. Remove and let cool to room temperature. Remove from the tart molds before filling.
Fill the tart shells
- Once both the tart shells and filling are cooled ,use a piping bag or spoon, to fill the tart shells. Make sure the center of the filling domes slightly higher than the edge of the crust.
- Dab the tops of the tarts with egg wash. Set your oven to a high broil and place your tarts on the 3rd rack, so that there is about 8 inches between the rack and the broiler. Broil for 2-5 minutes until the top of the cheese is bubbling and charred. If your crust is browning too quickly, tent with aluminum foil and leave an opening for the filling.
- Remove and let cool. If you enjoy a gooey lava center, serve immediately. Otherwise, chill until the center is firm.
Notes
- These tarts are easiest to make if you have a tart mold with a removable bottom. In a pinch, a muffin tin will work, however, the tart shells could be difficult to get out. If using a muffin tin, chill the crust for 10 minutes before attempting to remove. Use a sharp, thin knife to separate the crust from the sides of the tin.
- I use whole milk and full fat cream cheese to get a really rich flavor. Other types of milk or cream cheese will likely work, but the filling might not taste as creamy.
- I use mascarpone because it has an “elevated” flavor compared to cream cheese that makes this more similar to the original Japanese cheese tart. The filling will likely still turn out if you replace the mascarpone with cream cheese.
Hi Hali,
I tried this recipe and it turned out great! The cheese center was really bouncy after refrigeration, which I love.
I tried this recipe twice, once with fluted tart tins which was not as successful since the pate sucree is really delicate so the crust would break off during tin removal and I had to lower the temperature as the crust browned quickly during broil. The second time was more successful with a muffin tin and an aluminum cover during blind bake. All depends on oven temperature and general weather conditions since it was really hot the days I baked!
Hi Jeannie,
I’m glad to hear that the tarts turned out well for you! Thanks for the tip on the fluted tart tins – I’ve only tried these with smooth-sided tins and agree that the crust can be quite delicate during removal, especially during a warm day.