Whether you’re a veteran or a new bread baker, we’ve all had that moment when you just want to quickly proof your bread dough. Here’s some tips and tricks to help your dough rise without sacrificing the quality of your bake!
It’s been so cold and rainy in San Francisco, and my apartment is at a constant chilly 60 degrees. It’s not the best temperatures for humans to be happy and warm, and it’s definitely not the best temperature for yeast. If you’ve ever baked bread, you know that the most time-consuming part is simply waiting for your dough to properly rise and proof. If you’re impatient, your bread will come out dense and crumbly instead of airy and fluffy. But is there a way to speed up proofing time?
I ran a little test by baking a delicious and hearty oatmeal cinnamon loaf on a soggy SF day. The recipe is from Bread Baking for Beginners, which has some helpful tips and recipes for the novice bread baker. I happened to choose a recipe that needs 3 hours of rise time and 1.5 hours of proof time for a total of 4.5 hours of patience. Because I had to catch a train that day, I wanted to see if I could cut the proofing time without sacrificing the quality of the bread.
Of course, if you have the time, I would strongly recommend waiting for your dough to rise. A slow, steady rise helps both gluten and flavor develop. You can check out my tips and tricks for perfect enriched bread for some bread baking best practices.
Bread recipes you can try your proofing hacks on:
So what actually makes dough rise?
Air bubbles are created when the yeast turns the sugar in the dough into carbon dioxide. This causes gas to trapped in the dough, creating a fluffy loaf of bread. In order for your bread to rise faster, you need to create an ideal environment for your yeast to work hard at consuming the sugar. Yeast like two things: warmth and moisture. Therefore if you can create a toasty, humid environment, your yeast will be more active, and your bread will rise more quickly.
What could be causing your dough to rise slowly?
- Your kitchen is cold. Cold temperatures make it harder for yeast to be active. Yeast are usually happiest around 80F.
- The water you used in your bread dough is too cold. Water that you mix into your dough should be comfortably lukewarm (around 68F – 80F) to help stimulate your yeast. Cold water will slow down the growth.
- Your yeast is no longer active. This could be due to expired yeast. Or, it could be because the water you added is too hot, which will boil the yeast. Unfortunately, it’s quite hard to salvage this one, so make sure your yeast is active before you add it to your bread dough.
What are some ways to speed up proofing time?
Create a perfect environment for yeast in your oven
Your oven can be an ideal environment because it is warm and closed off. I used this method for the first rise of my dough, since I did not need to preheat my oven during this time. This method helped cut my first rise time from 3 hours to 1.5 hours.
- Preheat oven to lowest temperature setting (mine is 175 F)
- Open oven door for 2 min to make sure it’s not too hot
- Dampen a kitchen towel and place over your bread dough. This will help create humidity.
- Place your dough in the oven, making sure to use an oven-safe bowl.
- Periodically check on your dough. Reheat your oven and redampen your towel as necessary.
Mimic a proofing drawer using your microwave
Like your oven, your microwave can heat up quickly and retain heat and moisture. I used this method for the final proof. I was able to proof and preheat the oven at the same time. This method helped cut my final proof time from 1.5 hours to about 45 minutes.
- Fill a glass with water and microwave on high for 2 minutes
- Place your bread dough in the microwave along with the glass of water
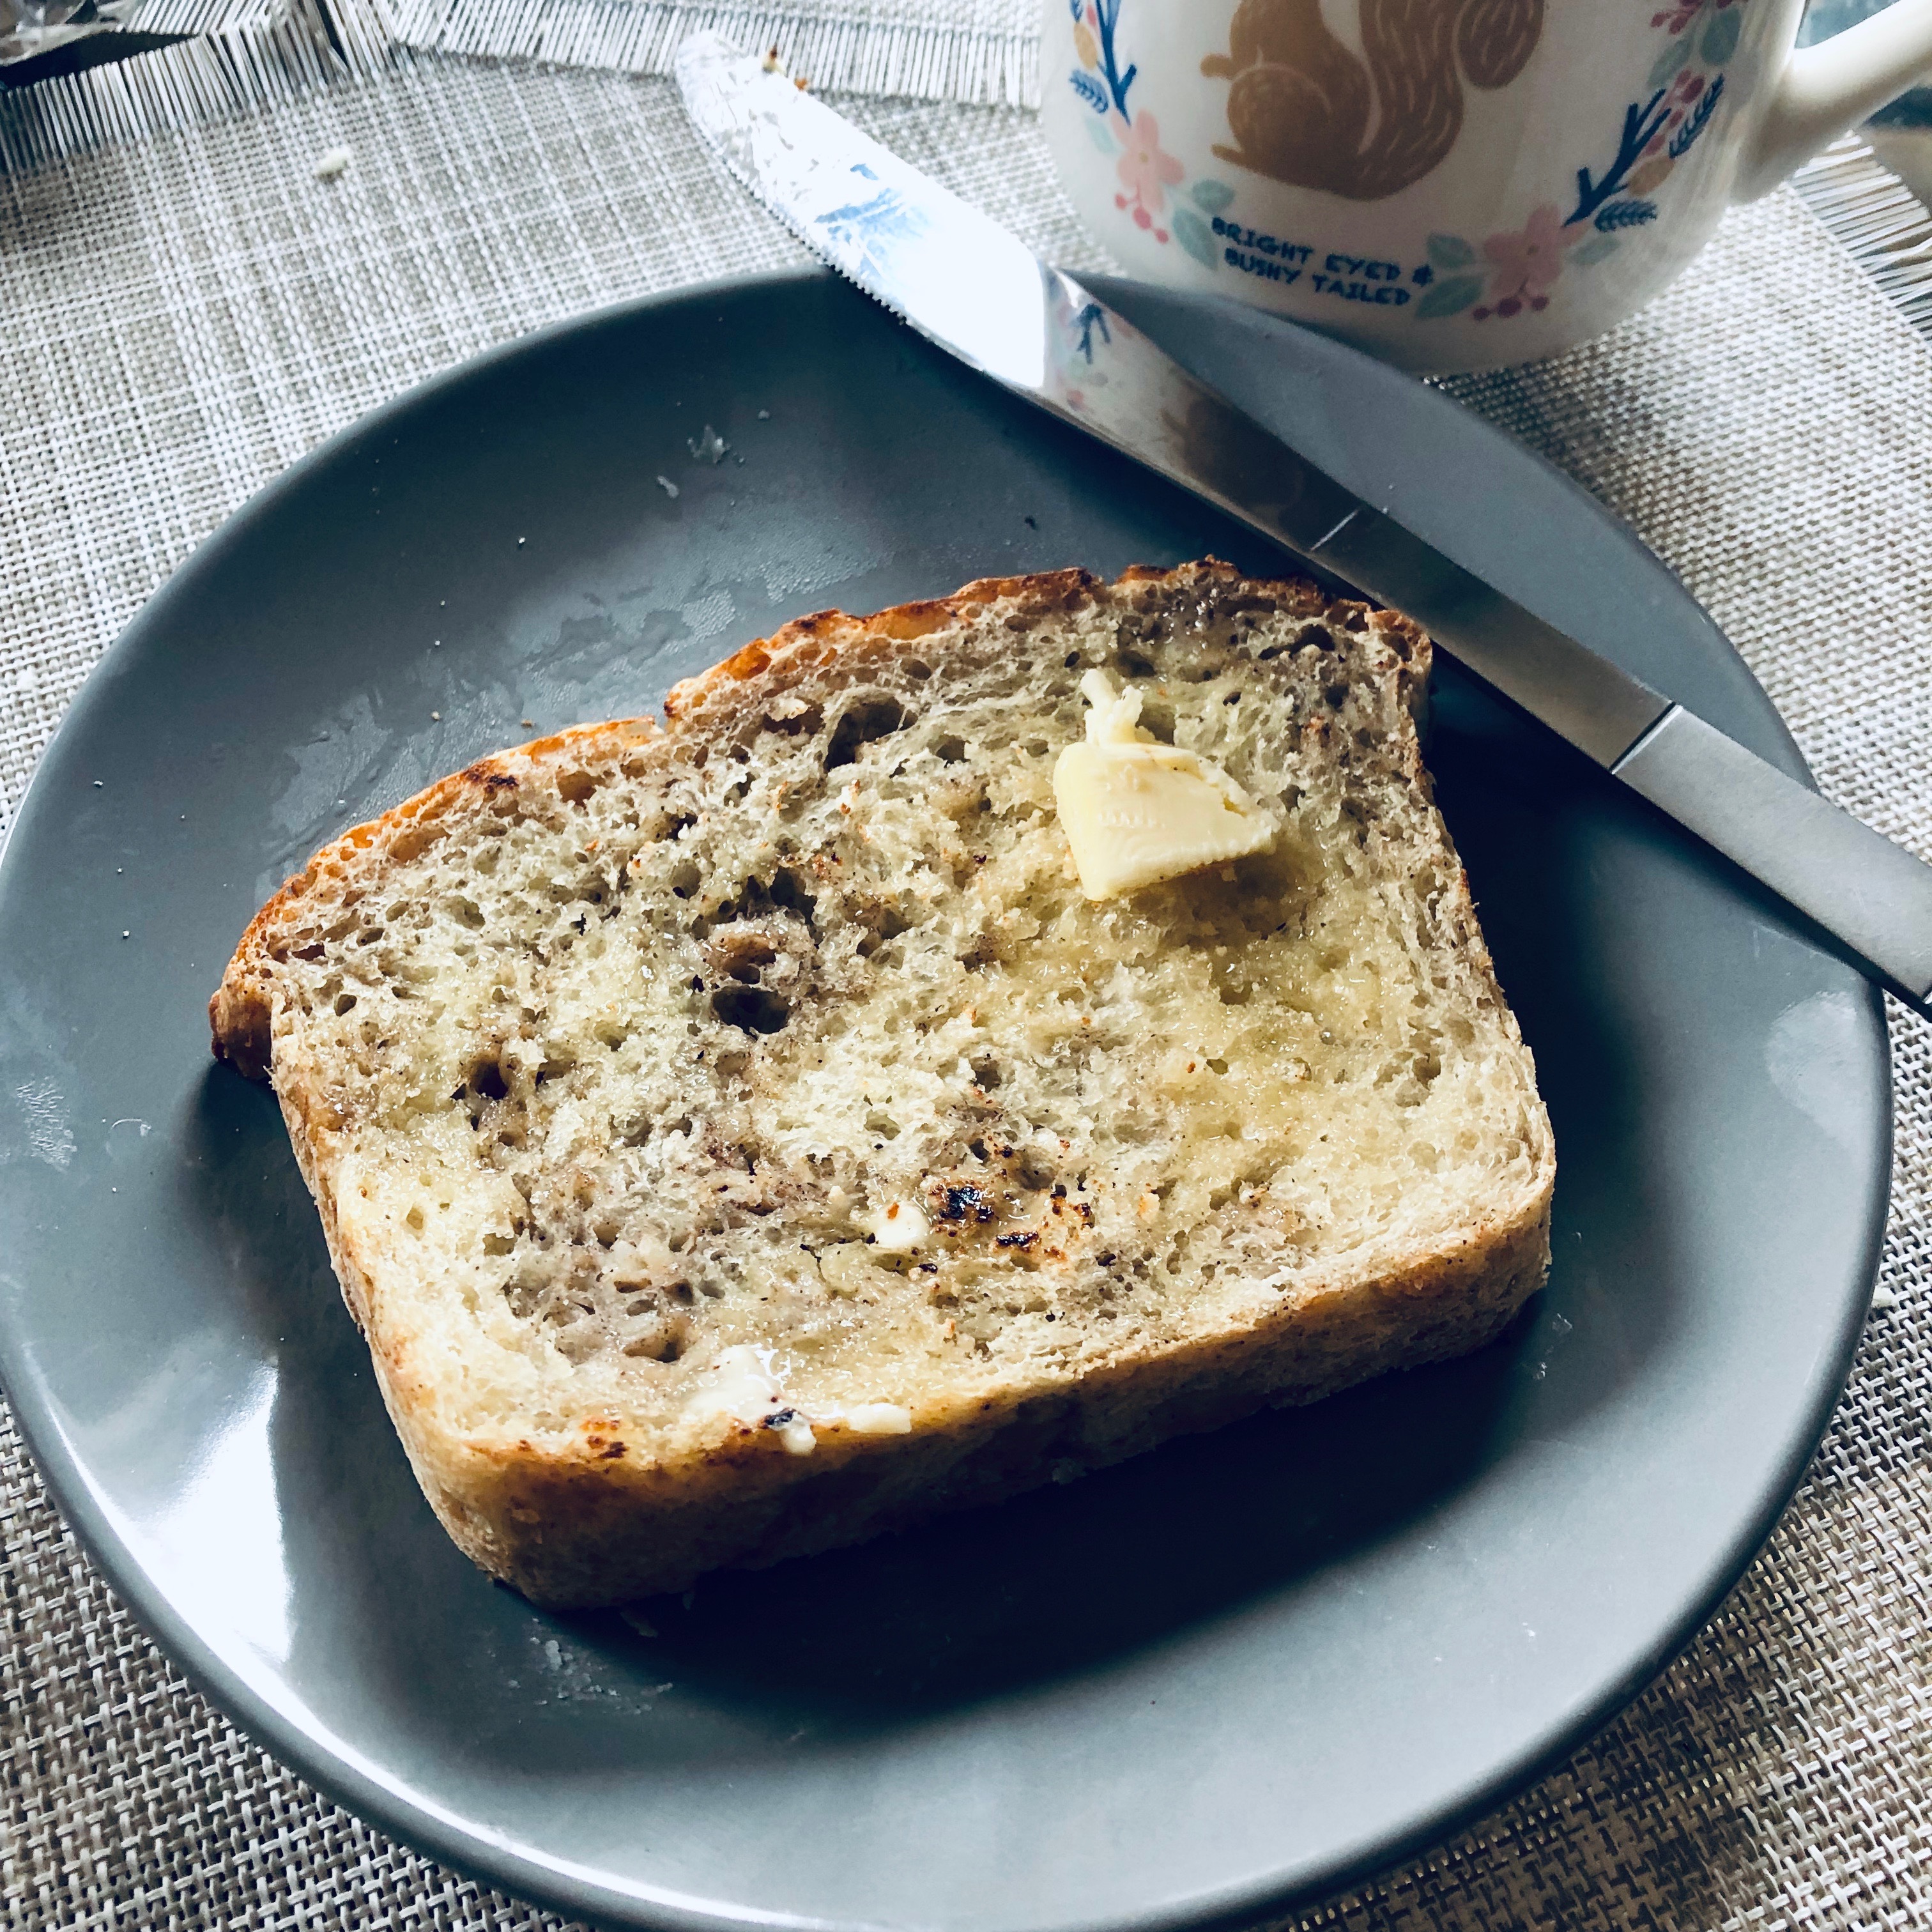
At the end of the day, I had a fragrant loaf of cinnamon oatmeal bread that was a beautiful golden brown color. No problems with it tasting overly yeasty from the sped-up proofing. It tasted delicious with a pat of butter and a warm cup of tea – there’s nothing like a fresh-baked loaf of bread to cheer you up on a gloomy day! 🙂
Sources:
https://www.thekitchn.com/the-science-behind-yeast-and-how-it-makes-bread-rise-226483
http://noknead.com/tips/a-warm-oven-helps-you-bread-dough-rise.php
https://www.thekitchn.com/proof-your-bread-dough-in-the-microwave-35685


Going to give this a try, thank you! Will be checking out your other recipes too!
Awesome! Glad the tips are helpful!
I’ve also had success setting my shaped dough in the pan on a warm heating pad for the second rise. I usually cover it with a damp towel to add moisture.
great idea!!
I run really, really hot water into a large bowl, put it into a large plastic bag, put a tray or cookie rack across the top, put my bread on that, and twist tie the bag closed. It makes a nice little moist, proofing cave. Learned this many, many years ago at a grist mill during Covered Bridge festival from a lady there, baking to sell stuff during festival. Works great.
super interesting! I’ll have to give that one a try next time my kitchen is cold.
I have had excellent results with the method which uses hot water.The bread comes out fluffy and moist.You can also use it for doughnuts.