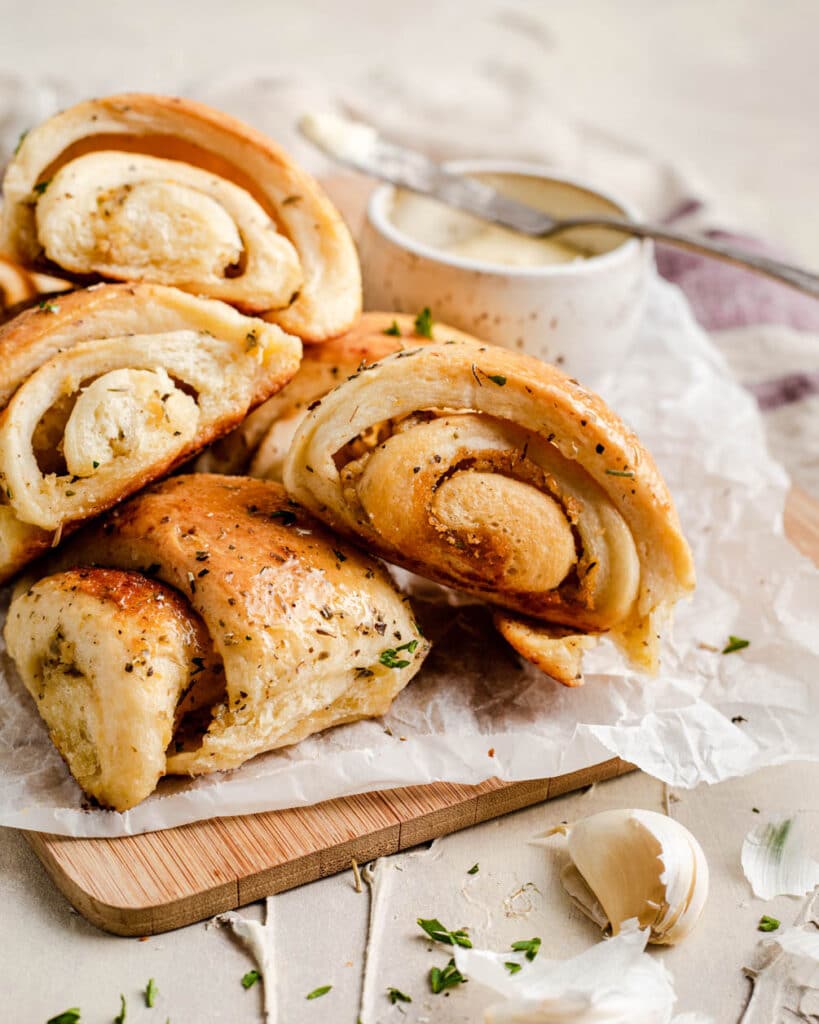
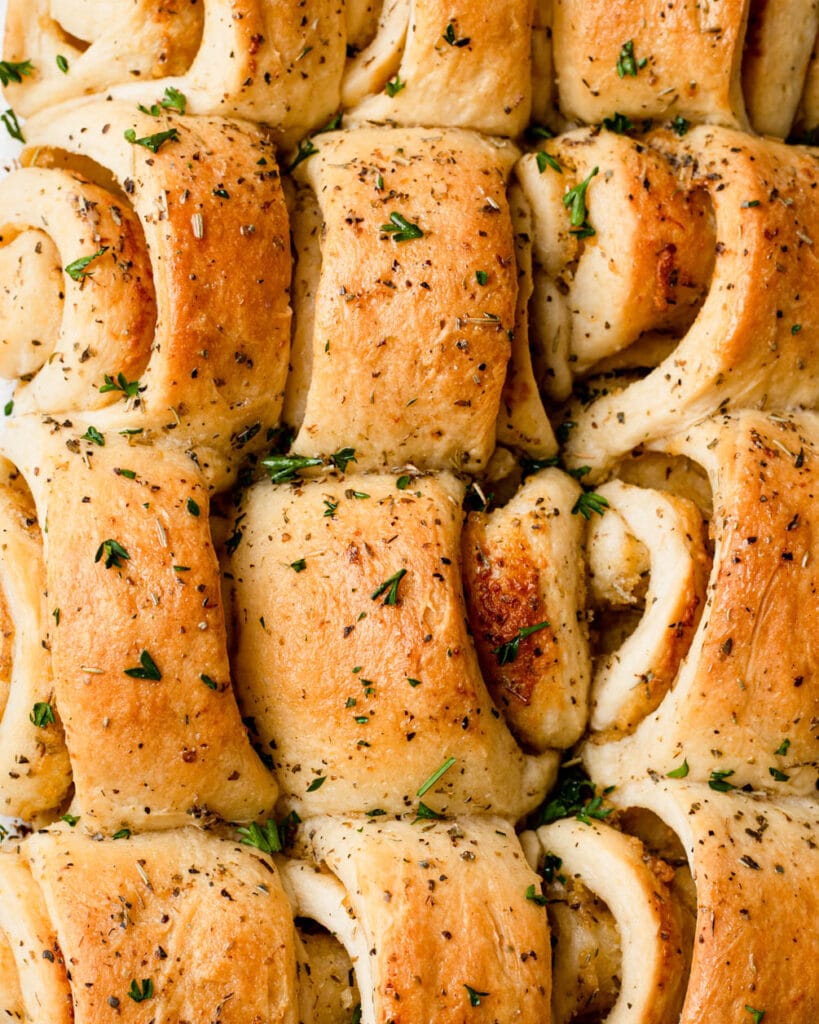
These soft garlic bread rolls are filled with a creamy roasted garlic herb spread for the ultimate, flavor-packed savory dinner roll. They’re rolled Parker-house style to create perfect buttery layers.
The key to a perfect garlic roll is plenty of garlic-y, buttery flavor – and these rolls definitely deliver. Super soft, fluffy bread is layered with a roasted garlic spread mixed with Italian herbs.
And while you’re average garlic rolls have 3 cloves of garlic – these aren’t just any rolls. They’re filled with 3 entire heads of garlic, drizzled with olive oil and slow roasted in your oven. You can bet that every bite is packed full of flavor. Dip these rolls in marinara sauce or serve them as a side to pasta dinner. No matter how you enjoy them, I promise that they’ll take any meal to the next level.
Tips for making fluffy rolls
Making yeasted bread can be intimidating, but I promise it’s easier and more satisfying than you think! If you’re a novice bread maker, I recommend you read my complete guide to making bread. Here are some general tips to follow:
- Make sure that your milk is warm, but not hot. If it’s too hot, it’ll kill your yeast
- Make sure your butter is at room temperature so that it incorporates easily into the dough. This is especially important if you’re kneading by hand
- Place your dough somewhere warm to rise. This is especially important as the weather gets colder. You can check out my guide to speeding up proofing times if your kitchen is especially chilly.
- Don’t add extra flour. The dough may be a little sticky, but that’s what creates a soft and fluffy texture.
Can I make these rolls by hand?
Yes, you can make these rolls by hand. The dough will be a little sticky, so if you’re having trouble kneading, cover the dough and let it rest for 20 minutes then come back. This helps the flour absorb some of the moisture and helps with gluten development, so the dough will be easier to handle.
How to roast garlic
Roasting garlic is super simple and adds a luxurious creamy flavor to these rolls. First, chop off the head of the garlic. Then, drizzle with olive oil and wrap with aluminum foil. Roast for about 45 min to an hour and you’re done!
Once the garlic has cooled down, you can squeeze out the garlic and mix with butter and herbs to create the spread.
How to shape Parker House style rolls
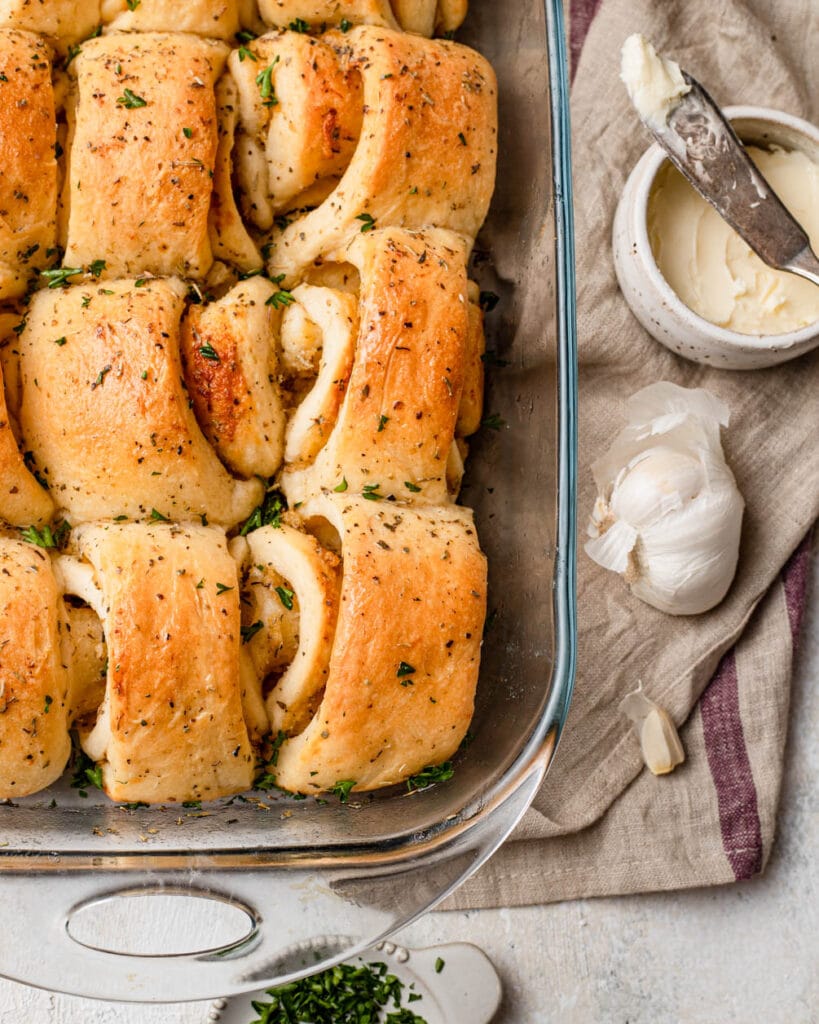
I thought it’d be fun to make Parker House style rolls as a fun and easy shaping technique. We’ll divide the dough into two even pieces and roll each piece into a rectangle. Then, we’ll spread on the garlic paste and divide each rectangle into 6 pieces. Roll up each piece, and place them in the pan so that the swirled side faces to the sides.
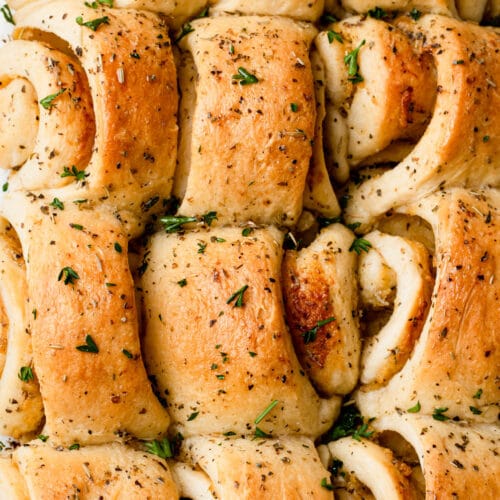
These rolls are soft and buttery and absolutely packed with flavor. I hope you love them as much as I do!
Other bread roll recipes to try
If you make this recipe, please let me know! I always love to see what my readers are baking. You can comment below or tag me on Instagram @halicopteraway.
Super soft roasted garlic and herbs bread rolls
Equipment
- Mixing bowl
- Aluminum foil
- 9 x 13 inch baking pan
Ingredients
Garlic spread
- 3 heads garlic
- 3 tbsp olive oil
- 2 tbsp unsalted butter, room temperature
- 1/4 tsp salt
Dough
- 3/4 cup (180g) milk, lukewarm
- 1 tbsp granulated sugar
- 2 tsp instant or active dry yeast
- 3 tbsp (45g) unsalted butter, room temperature
- 1 egg
- 2 1/2 cups (300g) all purpose flour
- 1 tsp salt
Topping
- 3 tbsp (45g) unsalted butter, melted
- 2 cloves garlic, minced
- 1 tsp Italian seasoning
- 1/8 tsp salt
Garnish (optional)
- chopped parsley
Instructions
Make the garlic spread
- Preheat oven to 400°F
- Cut off the tops of the garlic bulbs so that the cloves appear. Drizzle the tops of each clove with olive oil and wrap with aluminum foil. Place in the oven and bake for 45 minutes to 1 hour until soft. Remove from oven and cool.
- Squeeze the roasted garlic into a small mixing bowl. Add softened butter and salt. Mix until smooth and well-incorporated. Set aside.
Make the dough
- Mix together the milk, sugar, and yeast. Let it sit for 5 – 10 minutes until the yeast is frothy. If you don't see any activity, the yeast may be dead. Throw it out and try again.
- In the bowl of a stand mixer fitted with a dough hook, add the yeast and milk mixture, egg, all purpose flour, and salt. Mix on low speed until incorporated. While the stand mixer is running, add pieces of softened butter until fully incorporated. Mix on medium-low speed for another 15 minutes until dough passes the window pane test. If it does not pass the window pane test, keep kneading and check again.
- Shape the dough into a ball and placed into a lightly greased bowl. Cover with plastic wrap and let proof for 45 – 60 minutes until doubled in size.
- Grease a 9 x 13 in. baking pan. Lightly flour a work surface and turn the dough onto the surface. Knead a couple of times to squeeze out the air bubbles. Divide the dough into 2 equal pieces.
- Take one piece and roll out into an 8 by 12 inch rectangle. Spread half the garlic spread across the surface of the dough, all the way to the edges. Divide the rectangle into 6 equal strips, each strip being about 2 inches wide. Roll up each strip and place it with the coiled side facing sideways in the baking pan. Repeat with the second half of the dough and remaining garlic spread.
- Cover the baking pan with plastic wrap and let proof for another 45 minutes. When you press your finger into the dough, the indent should come back halfway. If it comes back all the way, it needs more time. Towards the end of the proof, preheat your oven to 350°F.
- Mix together the melted butter, minced garlic, Italian seasoning, and salt. Brush half the mix on top of the proofed rolls. Place in the middle rack of the oven and bake for 20 minutes until golden brown.
- Remove from the oven and brush with the remaining butter mix. You may need to microwave the mix for a few seconds if it's solidified while the rolls were baking. Sprinkle with parsley and serve. Best enjoyed while warm!

Can you make these ahead of time and refrigerate before the last proof? Just trying to simplify Christmas dinner.
Hi Tara,
If you would like to make ahead, I would recommend refrigerating the dough for the first proof rather than the second proof, then bringing out to shape when you’re ready. I find that when I refrigerate for an extended time after shaping, there is a good chance that the rolls overproof. Hope this helps!
Best,
Hali