
Day 0 | Day 1 | Day 2 | Day 3 | Day 4 | Day 5 | Day 6
Sourdough, the most frustrating of breads. It’s so simple – just flour, water, and salt. But why then does my kitchen look like a sourdough massacre war zone after I bake a loaf of bread?
As anyone who’s delved into the world of sourdough knows, it can also be absurdly complicated with a secret language all of it’s own. Some fun sourdough terminology that gets thrown around:
- Autolyse – sounds like something you’d do at the car maintenance shop. Really has to do with letting flour and water rest for an extended period of time.
- Hydration – sounds like what you should be doing after a 5 mile run. Really has to do with the ratio of water to flour in your bread.
- Stretch & folds – sounds like a yoga move. Really has to do with passive gluten development in dough.
- Bulk ferment – sounds like making a vat of kimchi. Really has to do with letting your dough rise.
Anyways, you get the picture. I’ve now been baking sourdough long enough that I understand (and even enjoy) all the terminology. I (mostly) know how to troubleshoot a loaf, and am on familiar terms with my starter. But no matter how many loaves I baked, I was still struggling to bake the perfect loaf. And of course everyone has a different idea of perfect, but I’ve been hunting for a loaf that:
- Puffs up fat and round in the oven (a great “oven spring”)
- Has a pronounced ear
- Has an airy and even crumb
I’ve had loaves that have some components, but never one that had all 3. I’ve tried varying my autolyse times, my kneading techniques, my bulk ferment times, my shaping techniques. I’ve even tried kneading the sourdough with my feet. But no matter what, my loaves would just come out slightly off. They would have large air bubbles on top and no ear. Or, they would have a nice even crumb but be a bit flat.
And then I finally gave up and tried a no-knead sourdough recipe. Going back to the basics, as they say.
The process
I modified King Arthur Flour’s No Knead Sourdough Bread recipe. I’m listing out my exact methodology below:
Ingredients
- 115g starter at 100% hydration
- 200g lukewarm water
- 300g bread flour (King Arthur unbleached)
- 8g salt
Process
- At 9am, fed starter 100g all-purpose flour and 100g lukewarm water. Unfortunately I’m not sure how much starter was in the jar, but it was probably around a 1:2:2 ratio of starter to flour to water.
- By 12pm, starter had doubled in size. By 1pm, it looked like it was starting to fall, so I started mixing.
- Around 1pm, mixed all ingredients in a medium bowl until a shaggy dough forms.
- Let sit 45 minutes. At 1:45pm, performed first set of coil folds.
- Let sit 30 minutes. At 2:15pm, performed second set of coil folds
- Let sit 45 minutes. At 3:00pm, performed third set of coil folds
- Let sit 30 minutes. At 3:30pm, performed 4th set of coil folds
- Let sit 30 minutes. At 4:00pm, performed 5th set of coil folds.
- Let sit 30 minutes. At 4:30pm, performed 6th set of coil folds and stick in fridge to complete bulk ferment.
- At 10:00am the next day, removed from fridge. Divided in two with a bench scraper.
- Shaped into a rough ball using the envelope method and let each ball rest with the seam side up for a few minutes. Turned so seam side was on the table, and used hands to pull the dough across the surface of the table to develop tension and form into a boule.
- Placed boules in bowls covered with floured kitchen towels and placed back in the fridge.
- Preheated oven with empty Dutch Oven inside to 500F
- Once oven was preheated, scored first loaf and baked with lid on for 20 minutes. Reduced temperature to 450F and bake with lid off for 10 minutes. Repeated with second loaf.
- Waited 8 hours before slicing.
Total bulk ferment time: 3.5 hours at about 80F (my best guess) + ~17.5 hours at about 40F
I skipped proofing after shaping because my loaves seemed ready for the oven. I was worried that any more time would lead to overproofing. Which goes to show – when baking sourdough, follow your instinct not the exact recipe.
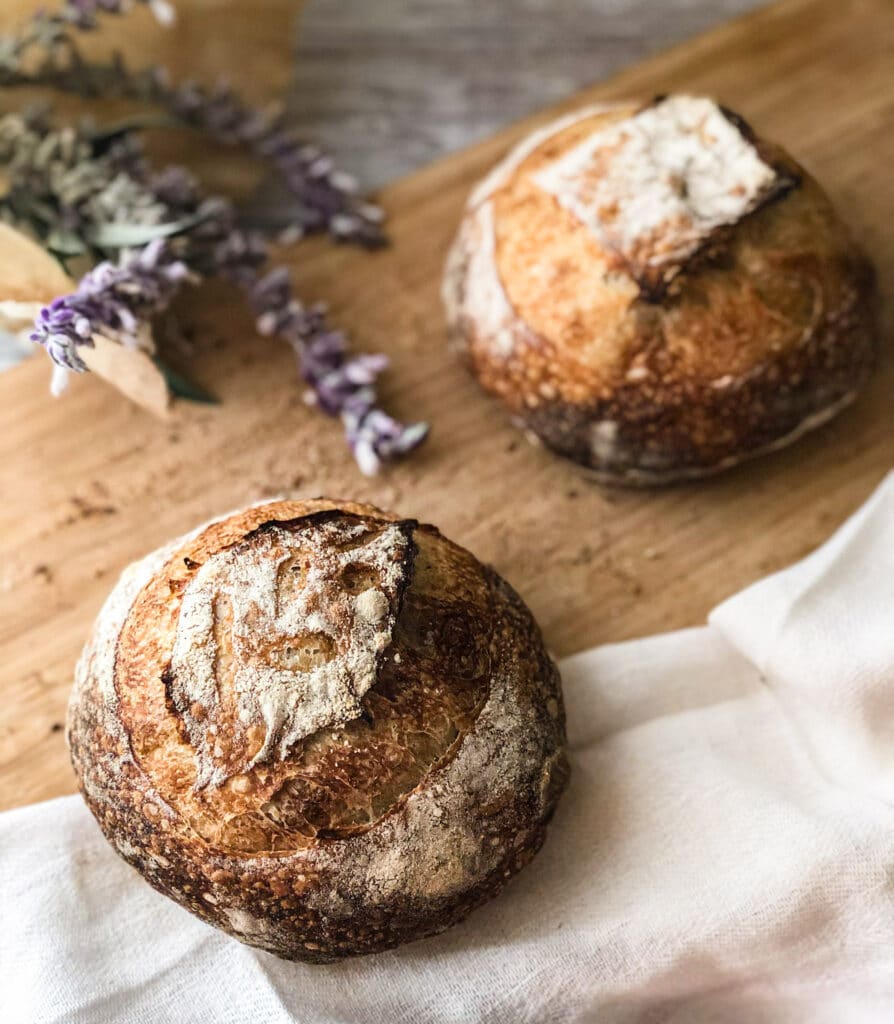
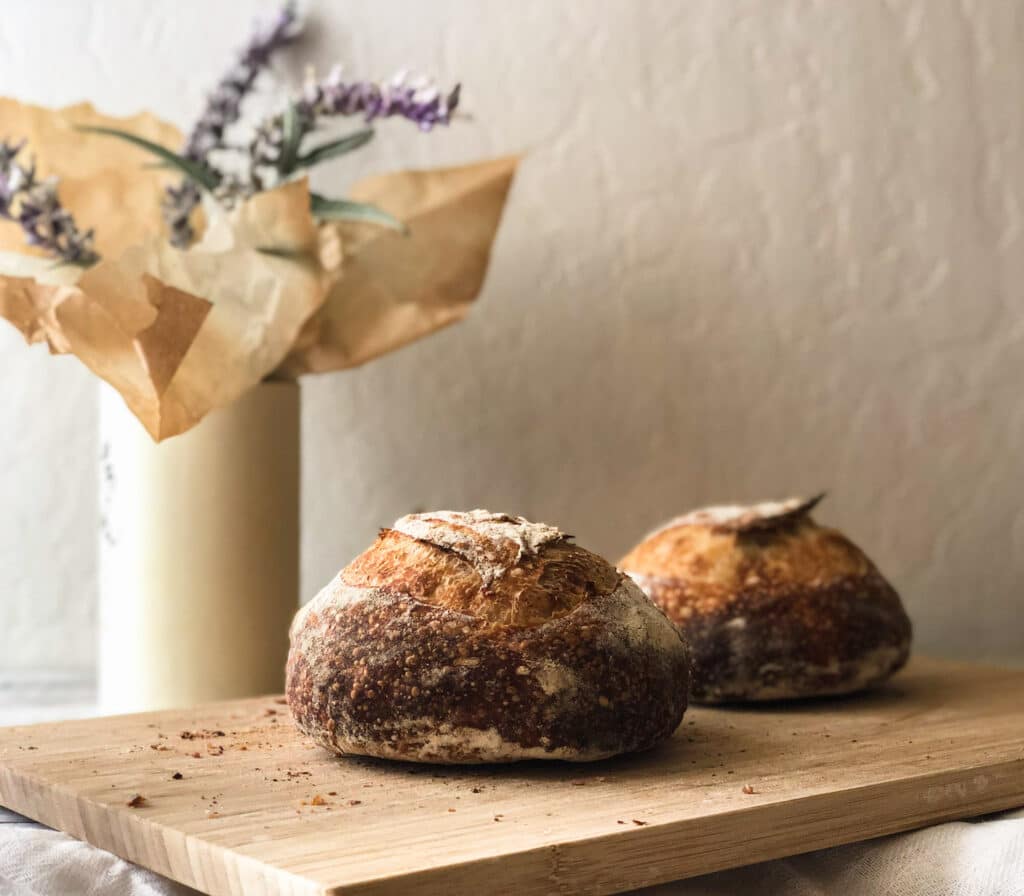
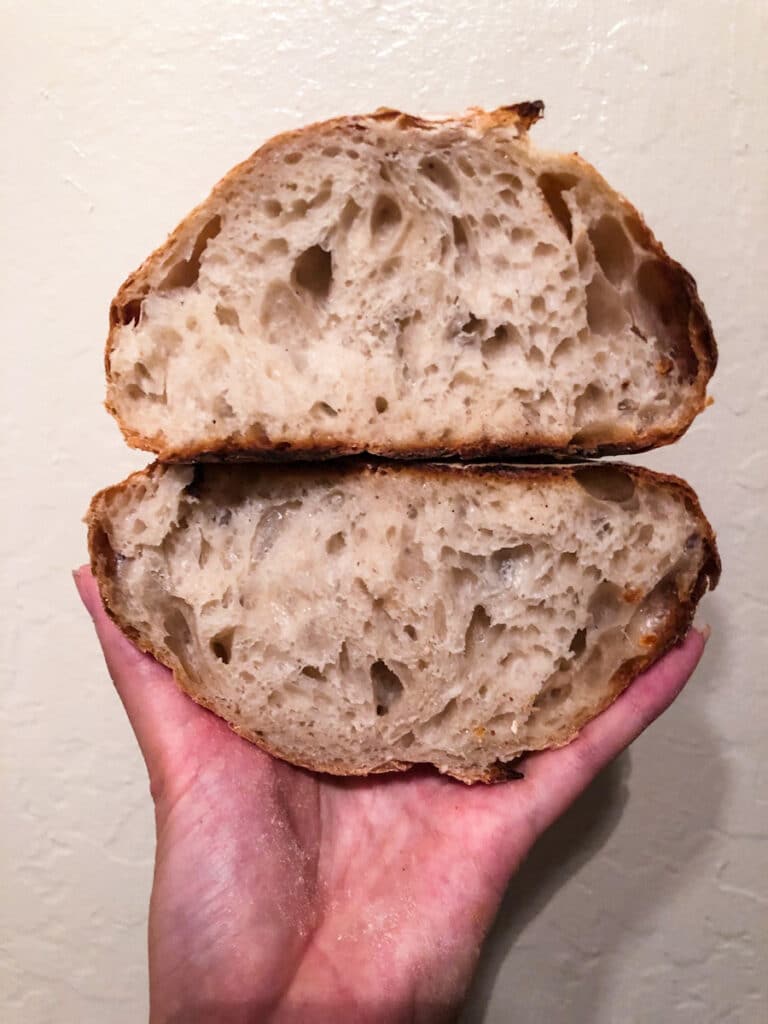
The results
I finally (finally!) managed to get a loaf with a small ear and an even, airy crumb. That was the first loaf that I baked. The second loaf that I baked had the huge holes on top, which makes me think that the even-ness of my crumb is a shaping issue and not a proofing issue. Or, the additional ~45 minutes cold proof in the fridge led to the uneven crumb, but I’m less sure about that hypothesis.
I was very happy with the results and was also pleased by how simple the whole process was. It was so much less painful than having to create a levain the night before, autolyse, and slap and fold.
There were a couple of things to note about this sourdough-making episode
- My starter was exceptionally active. I’m usually a bit lazy about feeding my starter, so it’s a little sluggish. This time, it doubled in size in less than 4 hours, which is simply incredible. When I’m not using my starter, I keep it in the fridge and I only feed it when I need to bake bread.
- It was pretty warm in the house, but not super hot. This probably helped with how active my starter was, and it also led to a shorter bulk ferment.
- As I was coil folding, I could tell that my dough was developing strength. When it finally came time to shape, my dough was a little sticky but easy to handle with a light dusting of flour. There were large air bubbles across the surface of the dough.
And on a semi-related note – we had ripe tomatoes from our home garden so this sourdough bread got turned into open-faced caprese sandwiches, complete with fresh mozzarella, ground pepper, flaky sea salt, balsamic vinegar, and olive oil. HEAVEN on a plate.
For next time
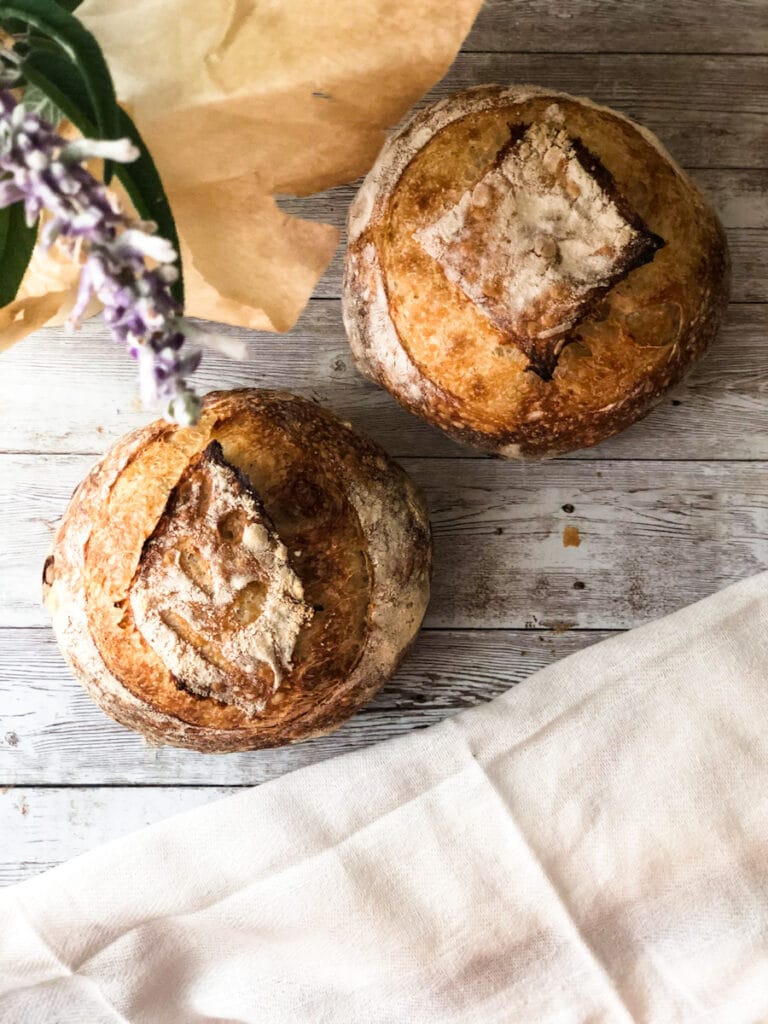
I want to score just a straight line at a 30 – 45 degree angle to see if I an get more of an ear. I scored a square and a leaf, which might have made it harder to get a very distinct ear.
The loaves were a little softer than I would have liked, so I’d bake for 5 minutes longer at 450F.
I want to try using diastatic malt powder, which is really supposed to help with oven spring.
Are you a sourdough baker? Let me know your sourdough stories, tips, and advice in the comments!
Pingback: Pumpkin sourdough bread | Halicopter Away