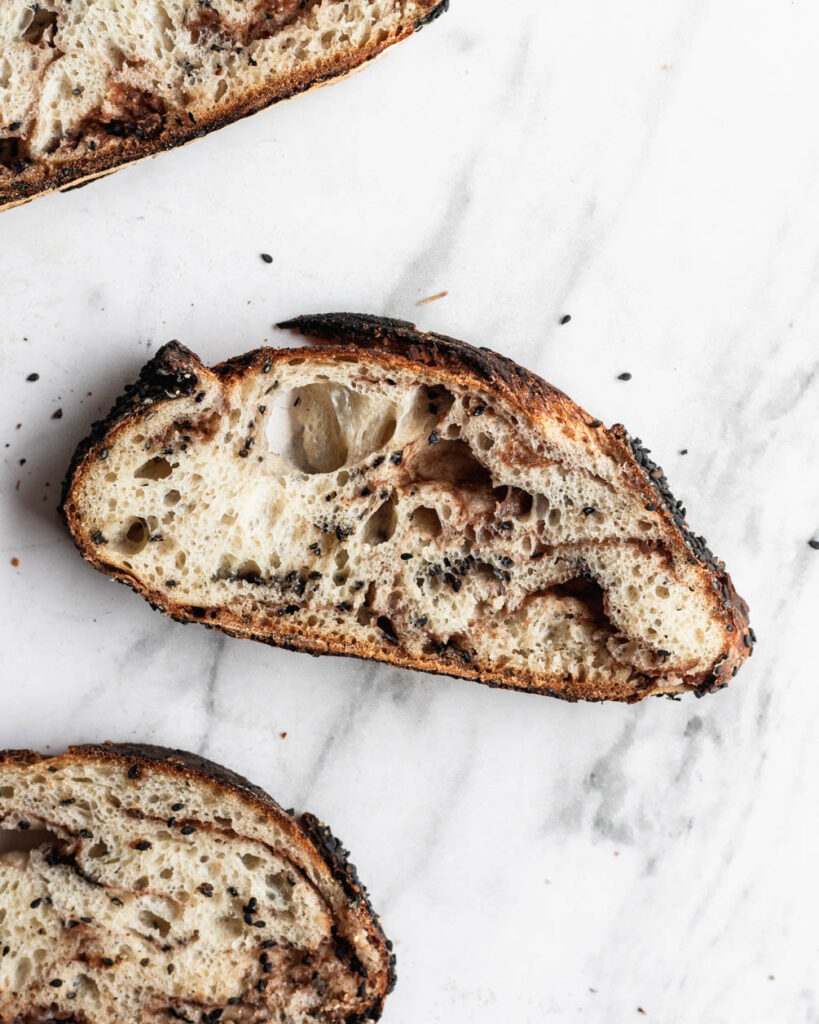
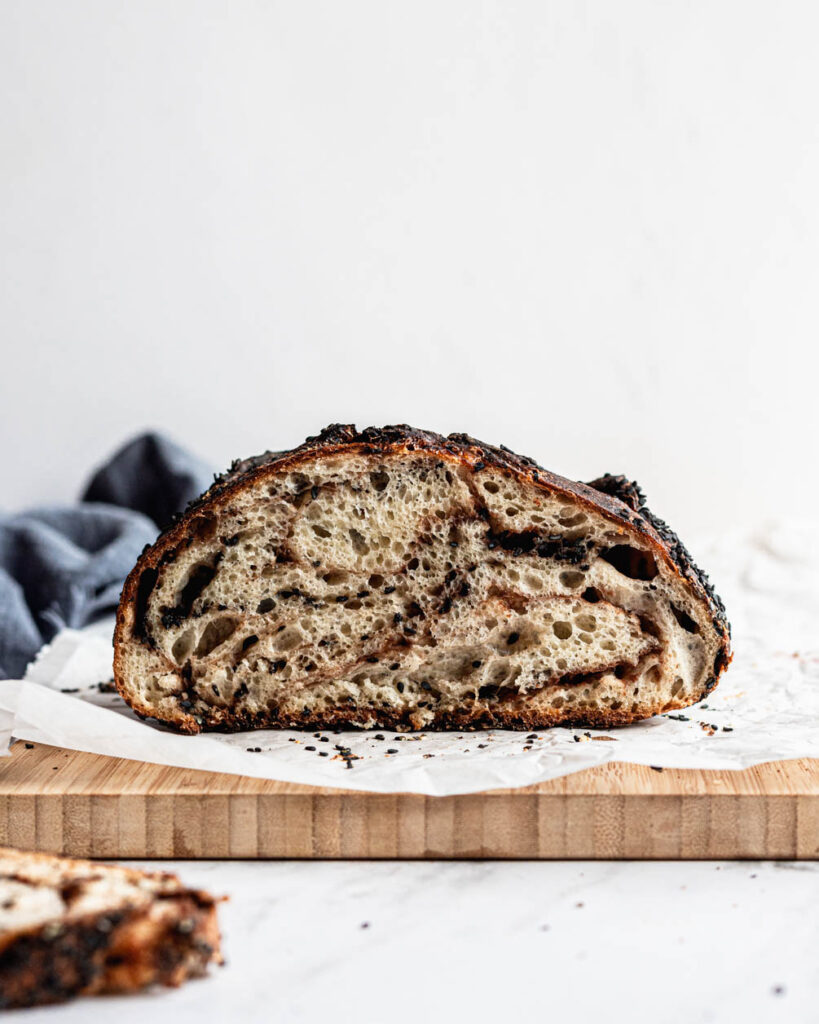
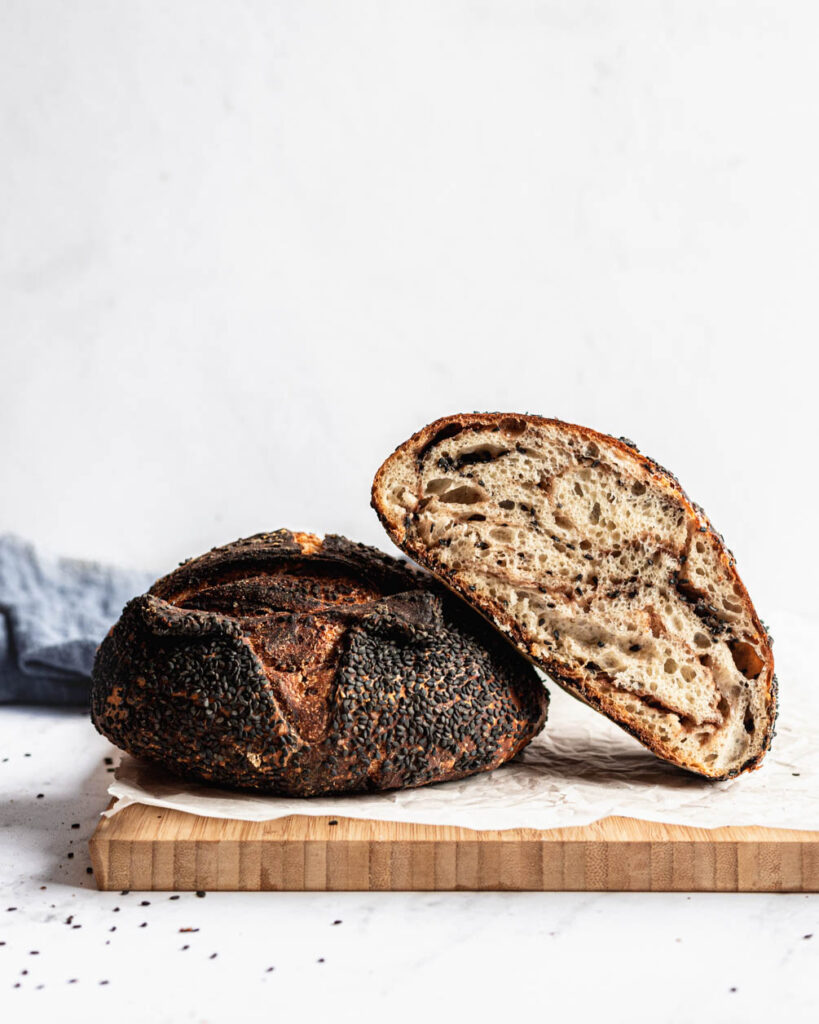
Swirls of sweet red bean paste are spread beautifully among this black sesame sourdough bread. The subtle sweetness from the red bean goes perfectly with the nutty fragrance from the black sesame.
This recipe combines two of my favorite breads in the world – red bean bread and sourdough. It’s a little bit of an east meets west combo, and the result is the stuff of bread lovers’ dreams.
Swirls of red bean and black sesame make this loaf delicious on its own or perfect with some butter and honey. We’ll use my favorite no-knead method to slowly develop the gluten to create a light and airy crumb.
What is red bean paste?
Red bean paste is a sweet ingredient often used in East Asian cooking. It’s soft and creamy – I grew up eating it in all sorts of desserts and it’s one of my favorite flavors. A western comparison would be peanut butter, which has a similar consistency. However, red bean paste is sweeter and more of a “dessert” item.
You can make your own red bean paste or use a store-bought version. I use the canned Companion brand that you can find at your local Ranch 99 or other Asian grocery store. If you don’t have an Asian grocery store near you and don’t want to make your own bean paste, you can try this brand from Amazon.

Helpful tips for this black sesame and red bean sourdough
Unlike baking with commercial yeast, sourdough is less predictable. Rise times will depend on the strength of your starter and the temperature and humidity of your kitchen. This sourdough is a bit higher hydration (75%), which means it has more water content. This water plus the stickiness from the red bean can make this loaf harder to handle and shape than your average loaf of white sourdough bread.
The recipe I’m providing is a guide, but you’ll have to use your own sourdough baking instincts to know when your dough is ready to shape. Here are some things to keep in mind for this recipe:
- First things first – before even thinking about baking, you need a strong, mature starter that ideally doubles in size in 4 – 8 hours. If you don’t have a starter, you can make one following this guide, but take 2 weeks to let it mature before baking.
- I have this recipe only in grams because precision is key when baking sourdough. A food scale will be your best friend!
- To help strengthen the gluten, we’re going to do a 30 minute autolyse. Autolyse is when you add the flour and wet ingredients together WITHOUT adding salt, and just let the dough sit. The flour will absorb the water and begin developing gluten. Building gluten strength is key when working with a wet dough.
- This recipe has two add-ins beyond basic flour, water, starter, and salt: red bean and black sesame.
- We’ll add the black sesame after our second coil fold. The dough will have had some time to rise before we add the sesame.
- We’ll add the red bean paste through a process called lamination. During lamination, we gently stretch the dough out into a thin sheet. Using our fingers, we’ll gently spread on the red bean paste and then roll the dough back up. Lamination not only allows for even distribution of filling, it also helps build gluten strength.
- Because of the add-ins, the dough will take a little longer to rise. To help with that, the recipe calls for a generous amount of starter (33%).
- The extra sugar from the red bean paste will make the loaf brown more quickly than your average sourdough, so make sure to keep an eye on it.

My process for this sourdough
I’m outlining my typical schedule to give an idea of when my sourdough has finished each stage and when I add the red bean and sesame seeds. Like I said earlier, your schedule may very a bit depending on your kitchen conditions. The process spans over 2 days, so make sure you give yourself enough time.
Day 1
11:00 am – Remove starter from the fridge and feed with 100g all-purpose flour + 100g lukewarm water. I probably had 50 – 100g of starter before feeding.
3:30pm – Starter has grown about 2x in size. Time to start the autolyse! Mix together flour, water, and starter.
4:00pm – Add in the remaining water and salt
4:30pm – 1st set of coil folds
5:00pm – Add black sesame seeds and do 2nd set of coil folds
5:30pm – Laminate the dough and add red bean paste and do 3rd set of coil folds
6:15pm – Shape into a boule and let proof
7:15pm – Place in the fridge for overnight cold retard
Day 2
10:00am – Pre-heat oven to 500F with uncovered Dutch oven inside. Take the dough out of the fridge, cover with sesame seeds, and score.
10:45am – Bake for 25 minutes with lid on and then reduce to 450F and bake for 12 – 15 minutes with lid off.
2:00pm – Slice into loaf after it has thoroughly cooled.
If you’ve read this far, I think you’re ready to get baking!
Other sourdough recipes to love:
If you make this recipe, let me know! You can comment below or tag me on Instagram @halicopteraway or #halicopteraway.

Black sesame and red bean sourdough
Equipment
- Large mixing bowl
- Medium bowl or Proofing basket
- Food scale
- Dutch oven (or you can use my no Dutch oven method, linked in notes)
Ingredients
Dough
- 100 g fed and active starter, 100% hydration
- 225 g warm water
- 300 g bread flour
- 7 g salt
Filling and topping
- 20 – 30 g black sesame seeds, plus more for topping
- 85 g red bean paste
Instructions
- In a large mixing bowl, mix together your starter plus 215g of water. Stir to disperse. Add the flour and mix with your hands until a shaggy dough forms. Cover and let sit for 30 minutes.
- Add the salt and remaining 10g of water to the dough. Use your hands to incorporate. The dough may look like it's coming apart, but keep going until everything is incorporated. Cover and let sit for 30 minutes
- Gently slide your hand under the middle of the dough and fold it over itself twice using the coil fold method. This helps gently develop the gluten. Cover and let sit for another 30 minutes.
- Add the sesame seeds to the dough and perform another set of coil folds. The seeds will naturally incorporate into the dough during the folding process. Cover and let sit for another 30 minutes.
- Laminate your dough: sprinkle a working surface with water to prevent sticking. Turn your dough onto the surface and very gently stretch until thin, without breaking the dough. It should be about 8 – 10 inches long on each side. Use your fingers to gently spread the red bean paste evenly across the surface of the dough. Roll up the bottom of the dough towards the middle. Take the left edge of the dough and bring it to the middle. Then, take the right edge and bring it over to the left. Fold down the dough from the top to create a rough dough ball. Place the ball back in the bowl. If the dough is loose enough, perform another set of coil folds. Cover and let sit for another 30 – 45 minutes.
- Line a medium bowl with a floured kitchen or paper towel. Lightly flour a working surface and turn the dough onto the surface. Gently shape into a boule. The dough will be quite sticky, so be gentle with the shaping. The dough may rip a little and the red bean could come through – that's okay. Place the dough seam side up in your floured bowl.
- Cover and let rise for another 45 minutes to 1 hour. The dough should feel airy and jiggle a little when you shake the bowl. Place in the fridge for at least 8 hours and up to 48 hours.
- When you're ready to bake, preheat the oven to 500°F with your uncovered Dutch oven inside. Take the loaf from the fridge and sprinkle with flour. Turn the dough onto floured parchment paper. Spritz or lightly brush the surface of the loaf with water and cover with black sesame seeds, then score.
- Place the scored loaf in the Dutch oven and cover with the lid. Bake for 25 minutes. Remove the lid and reduce temperature to 450°F and bake for another 12 – 15 minutes until a rich deep brown and hollow when tapped.
- Remove from oven and let cool completely (about 2 hours) before slicing.

